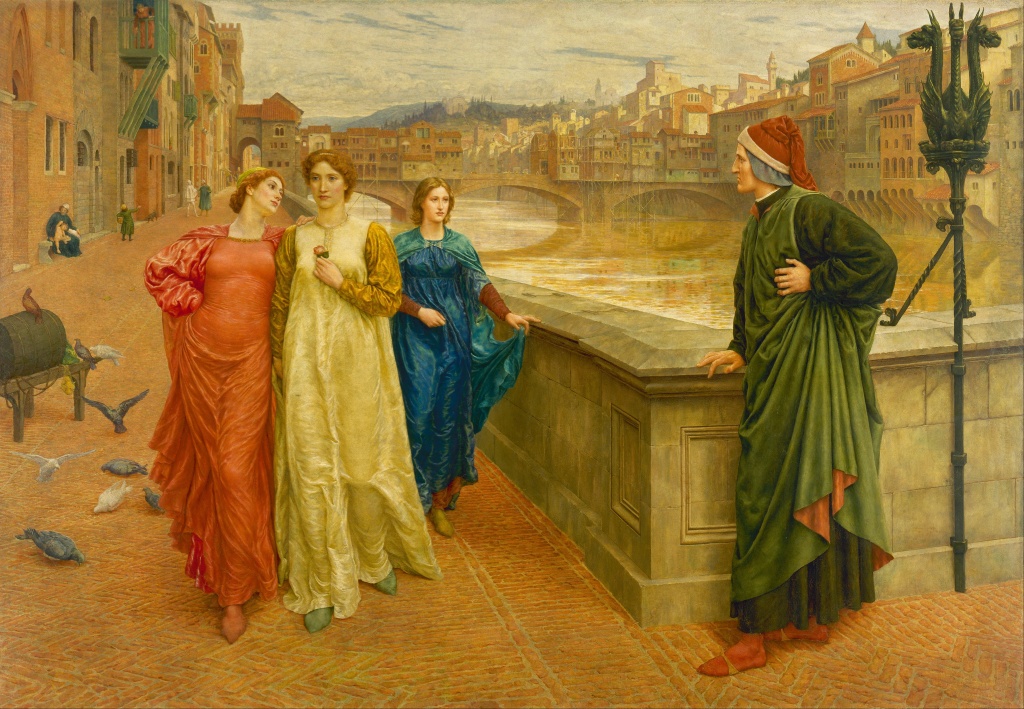
When I was a grade-school kid growing up in a small town in western Wisconsin, my Mom had a picture hanging in our house that showed four figures in a medieval cityscape. I walked past the picture a thousand times without ever asking what it was about.
I did steal a glance at the painting often enough that its general composition etched itself into my memory. The two things that struck me most about the picture back then were their strange footwear–thin sandals and silky tights, even for the man!–and the fact that the three women were rather plain looking in my pre-adolescent male opinion.
Fast-forward more than 50 years later. A few weeks ago, I was watching an excellent two-part PBS special, “Dante: Inferno to Paradise.” In four hours, the special told the story of “The Divine Comedy,” the epic work by the Italian poet Dante Alighieri about a journey through hell, purgatory, and heaven. At one point, the screen flashed with the painting that had been hanging in our living room on Youlon Street.
So that was Dante I was gazing at all those years ago! While I had no idea who he was back then, as an adult I’ve come to admire him and his masterwork. I’ve read the John Ciardi translation (New York: W.W. Norton & Company, 1970), the Rod Dreher book, How Dante Can Save Your Life: The Life-Changing Wisdom of History’s Greatest Poem, and audited the free and engrossing Hillsdale College online course on Dante and his poem.
After the PBS show I learned online that the original was painted by Henry Holiday in 1882-84 and hangs in the Walker Gallery in Liverpool, England. It depicts Dante encountering his love interest Beatrice (wearing the white dress) in Florence, Italy, back in the late 1200s. He was infatuated with Beatrice, but she and her companions rebuffed him because of unfavorable rumors about Dante. Beatrice married another and died young, but Dante could never forget her.
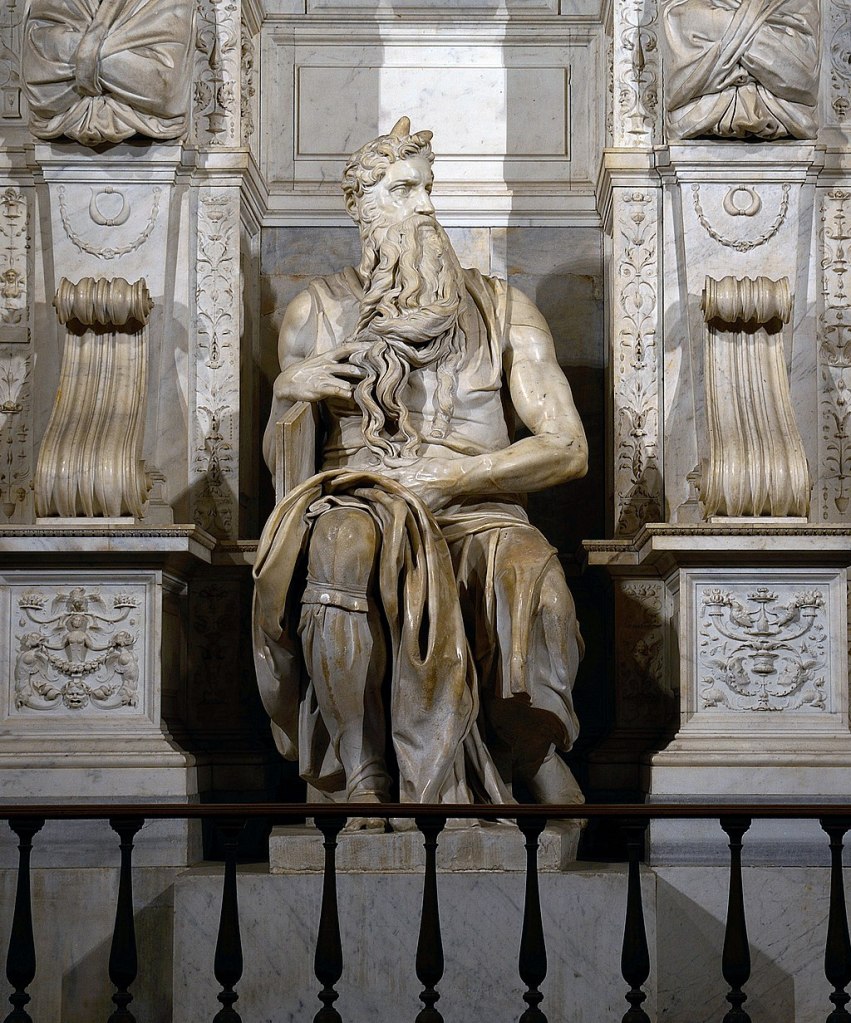
Connecting that picture in our house to Dante after all these years makes me appreciate my dear and late mother, Gail Griswold, all the more. She had an appreciation for the finer arts that were lost on me as a kid. The big wooden stereo box in our living room featured a two-foot-high replica of Michelangelo’s statue of Moses, with those funny little horns on his head that my Mom told me were rays from heaven. When she wasn’t busy raising four boys or working at the nursing home, she would read 19th century Russian novels and listen to Bolero and other works of classical music on the stereo.
How sweet it would be to go back in time to a quiet afternoon and ask my mother to explain to her 11-year-old son just who were those eccentric figures in the painting. She would have been equally surprised by the question and delighted to answer.
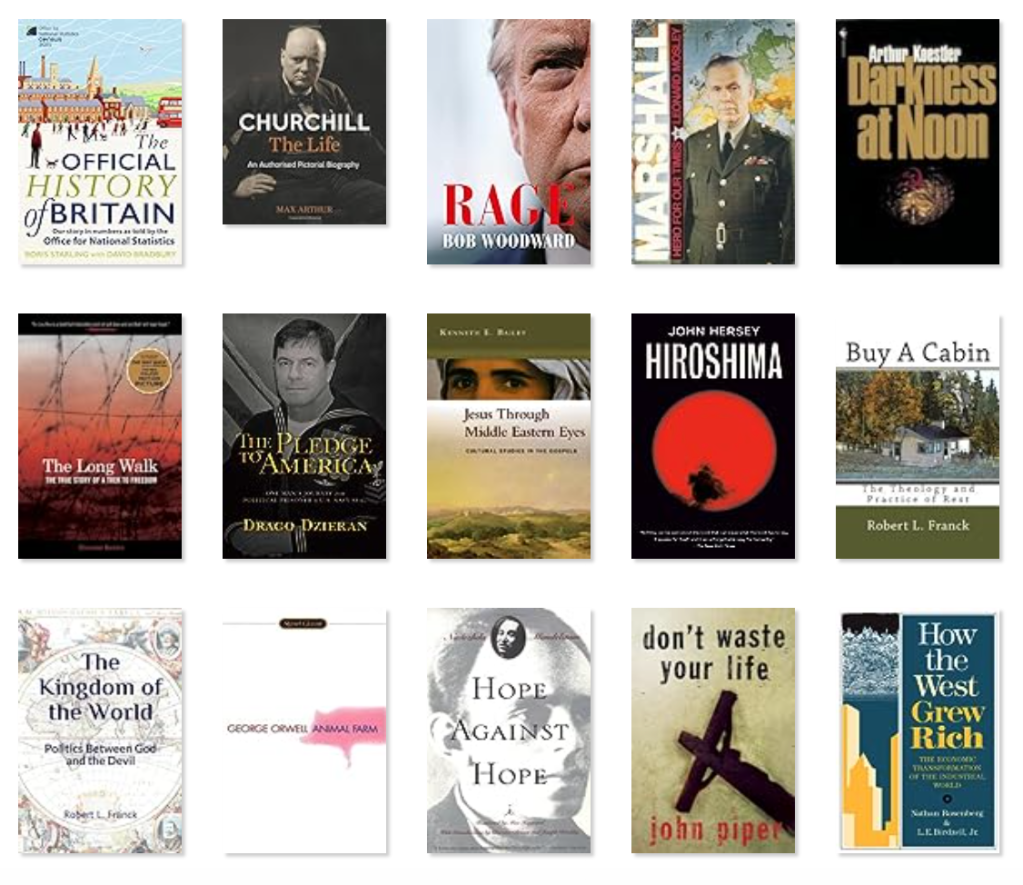
In the past year, I managed to read 40 books. Being retired from paid employment, I have the time as well as the desire to travel in my mind to places I haven’t been before, or to explore familiar topics in more detail. I’m a plodding reader, so I need to put in extra time to read this many books. That also means I need to be choosy about what I read—no airport crime thrillers on my list! I was also a lazy student as a kid and an undisciplined reader for many years as an adult, so I’m also playing catch up by reading books that I assume every literate person has already read.
National Review’s founder William F. Buckley Jr. didn’t get around to reading Herman Melville’s Moby Dick until he was 50 years old. After finishing the book, he reportedly told his friends, “To think I might have died without having read it.” One of my goals in retirement is to read as many of those kinds of books as possible before God calls me home.
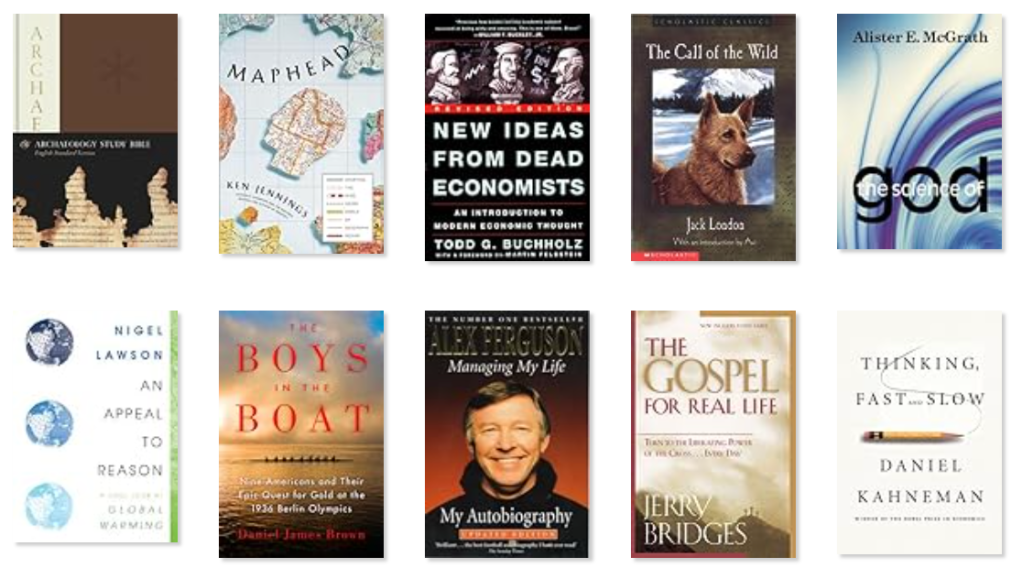
I’ll attach a full list below of the books I read last year, but among my favorites were:
The Boys in the Boat: Nine Americans and Their Epic Quest for Gold at the 1936 Berlin Olympics by Daniel James Brown. This was a great personal story about young men growing up in the Northwest in a time of the Great Depression and the rise of the Nazi regime in Germany. It was also a story about the highest form of training and teamwork.
Hope Against Hope by Nadezhda Mandelstam. A friend in college first brought this book to my attention, and now more than 40 years later I finally got around to reading it, and I’m so glad I did. It’s a moving personal story of a literary couple whose life together was destroyed by Stalin’s purges of the 1930s. The Soviet system turned these peaceful, generous, cultured people into hunted animals. Along the way, I met people who showed courage and kindness in helping them survive, including Boris Pasternak. I’ll never forget the image at the end of the book of Osip Mandelstham’s naked and frozen body thrown into a mass grave outside the transit camp near Vladivostok. This is how the communist regime treated the man considered to be Russia’s greatest poet of the 20th century.
A Gentleman in Moscow by Amor Towles. A great story with lots of sympathetic characters, told against the backdrop of Stalin’s Russia.
Jesus Through Middle Eastern Eyes: Cultural Studies in the Gospels by Kenneth E. Bailey. A Christian friend has recommended this book to me for a decade or two. I’m glad I finally read it. It gave me a deeper understanding of just how radical the message of Jesus was on the role of women in society and how we should treat the poor and the outcast.
The Structure of Scientific Revolutions by Thomas S. Kuhn. Another classic that I’m glad I finally read. Science does not progress in linier fashion, but instead undergoes periodic revolutions in thinking. The book helped me see that scientists are people like the rest of us, prone to group-think and slow to embrace challenges to conventional thinking.
Books read in 2023 by category:
History and Biography (19)
The Boys in the Boat: Nine Americans and Their Epic Quest for Gold at the 1936 Berlin Olympics by Daniel James Brown
Hope Against Hope by Nadezhda Mandelstam
Fyodor Dostoyevsky: A Writer’s Life by Geir Kjetsaa
Hiroshima by John Hersey
How the West Grew Rich: The Economic Transformation of The Industrial World by Nathan Rosenberg and L.E. Birdzell Jr.
The Black Book of Communism: Crimes, Terror, Repression by Stéphane Courtois, Andrzej Paczkowski and Karel Bartosek
The Cold War: A New History by John Lewis Gaddis
Managing My Life: My Autobiography by Alex Ferguson
Inventing Freedom: How the English-Speaking Peoples Made the Modern World by Daniel Hannan
Churchill: The Life by Max Arthur
The Literary Churchill: Author, Reader, Actor by Jonathan Rose
The New World (A History of the English Speaking Peoples, #2) by Winston S. Churchill
The Birth of Britain (A History of the English Speaking Peoples, #1) by Winston S. Churchill
The Official History of Britain: Our Story in Numbers as Told by the Office for National Statistics by Boris Starling and David Bradbury
Marshall: Hero for Our Times by Leonard Mosley
The Pledge to America: One Man’s Journey from Political Prisoner to U.S. Navy SEAL by Drago Dzieran
Robert E. Lee: A Life by Allen C. Guelzo
Surrender: 40 Songs, One Story by Bono
Long Walk: The True Story of a Trek to Freedom by Sławomir Rawicz
Literature and Art (4)
A Gentleman in Moscow by Amor Towles
The Call of the Wild by Jack London
Darkness at Noon by Arthur Koestler
Animal Farm by George Orwell
Current Affairs (6)
An Appeal to Reason: A Cool Look at Global Warming by Nigel Lawson
Globalization by Donald J. Boudreaux
The Myth of American Inequality: How Government Biases Policy Debate by Phil Gramm, Robert Ekelund and John Early
Superabundance: The Story of Population Growth, Innovation, and Human Flourishing on an Infinitely Bountiful Planet by Marian L. Tupy and Gale L. Pooley
New Ideas from Dead Economists: An Introduction to Modern Economic Thought by Todd G. Buchholz
Rage by Bob Woodward
Religion (8)
ESV Archaeology Study Bible
Jesus Through Middle Eastern Eyes: Cultural Studies in the Gospels by Kenneth E. Bailey
The Gospel for Real Life: Turn to the Liberating Power of the Cross… Every Day by Jerry Bridges
Buy A Cabin: The Theology and Practice of Rest by Robert L. Franck
The Kingdom of the World: Politics Between God and the Devil by Robert L. Franck
The Science of God by Alister McGrath
Don’t Waste Your Life by John Piper
Gentle and Lowly: The Heart of Christ for Sinners and Sufferers by Dane C. Ortlund
Science (3)
The Structure of Scientific Revolutions by Thomas S. Kuhn
Thinking, Fast and Slow by Daniel Kahneman
Maphead: Charting the Wide, Weird World of Geography Wonks by Ken Jennings
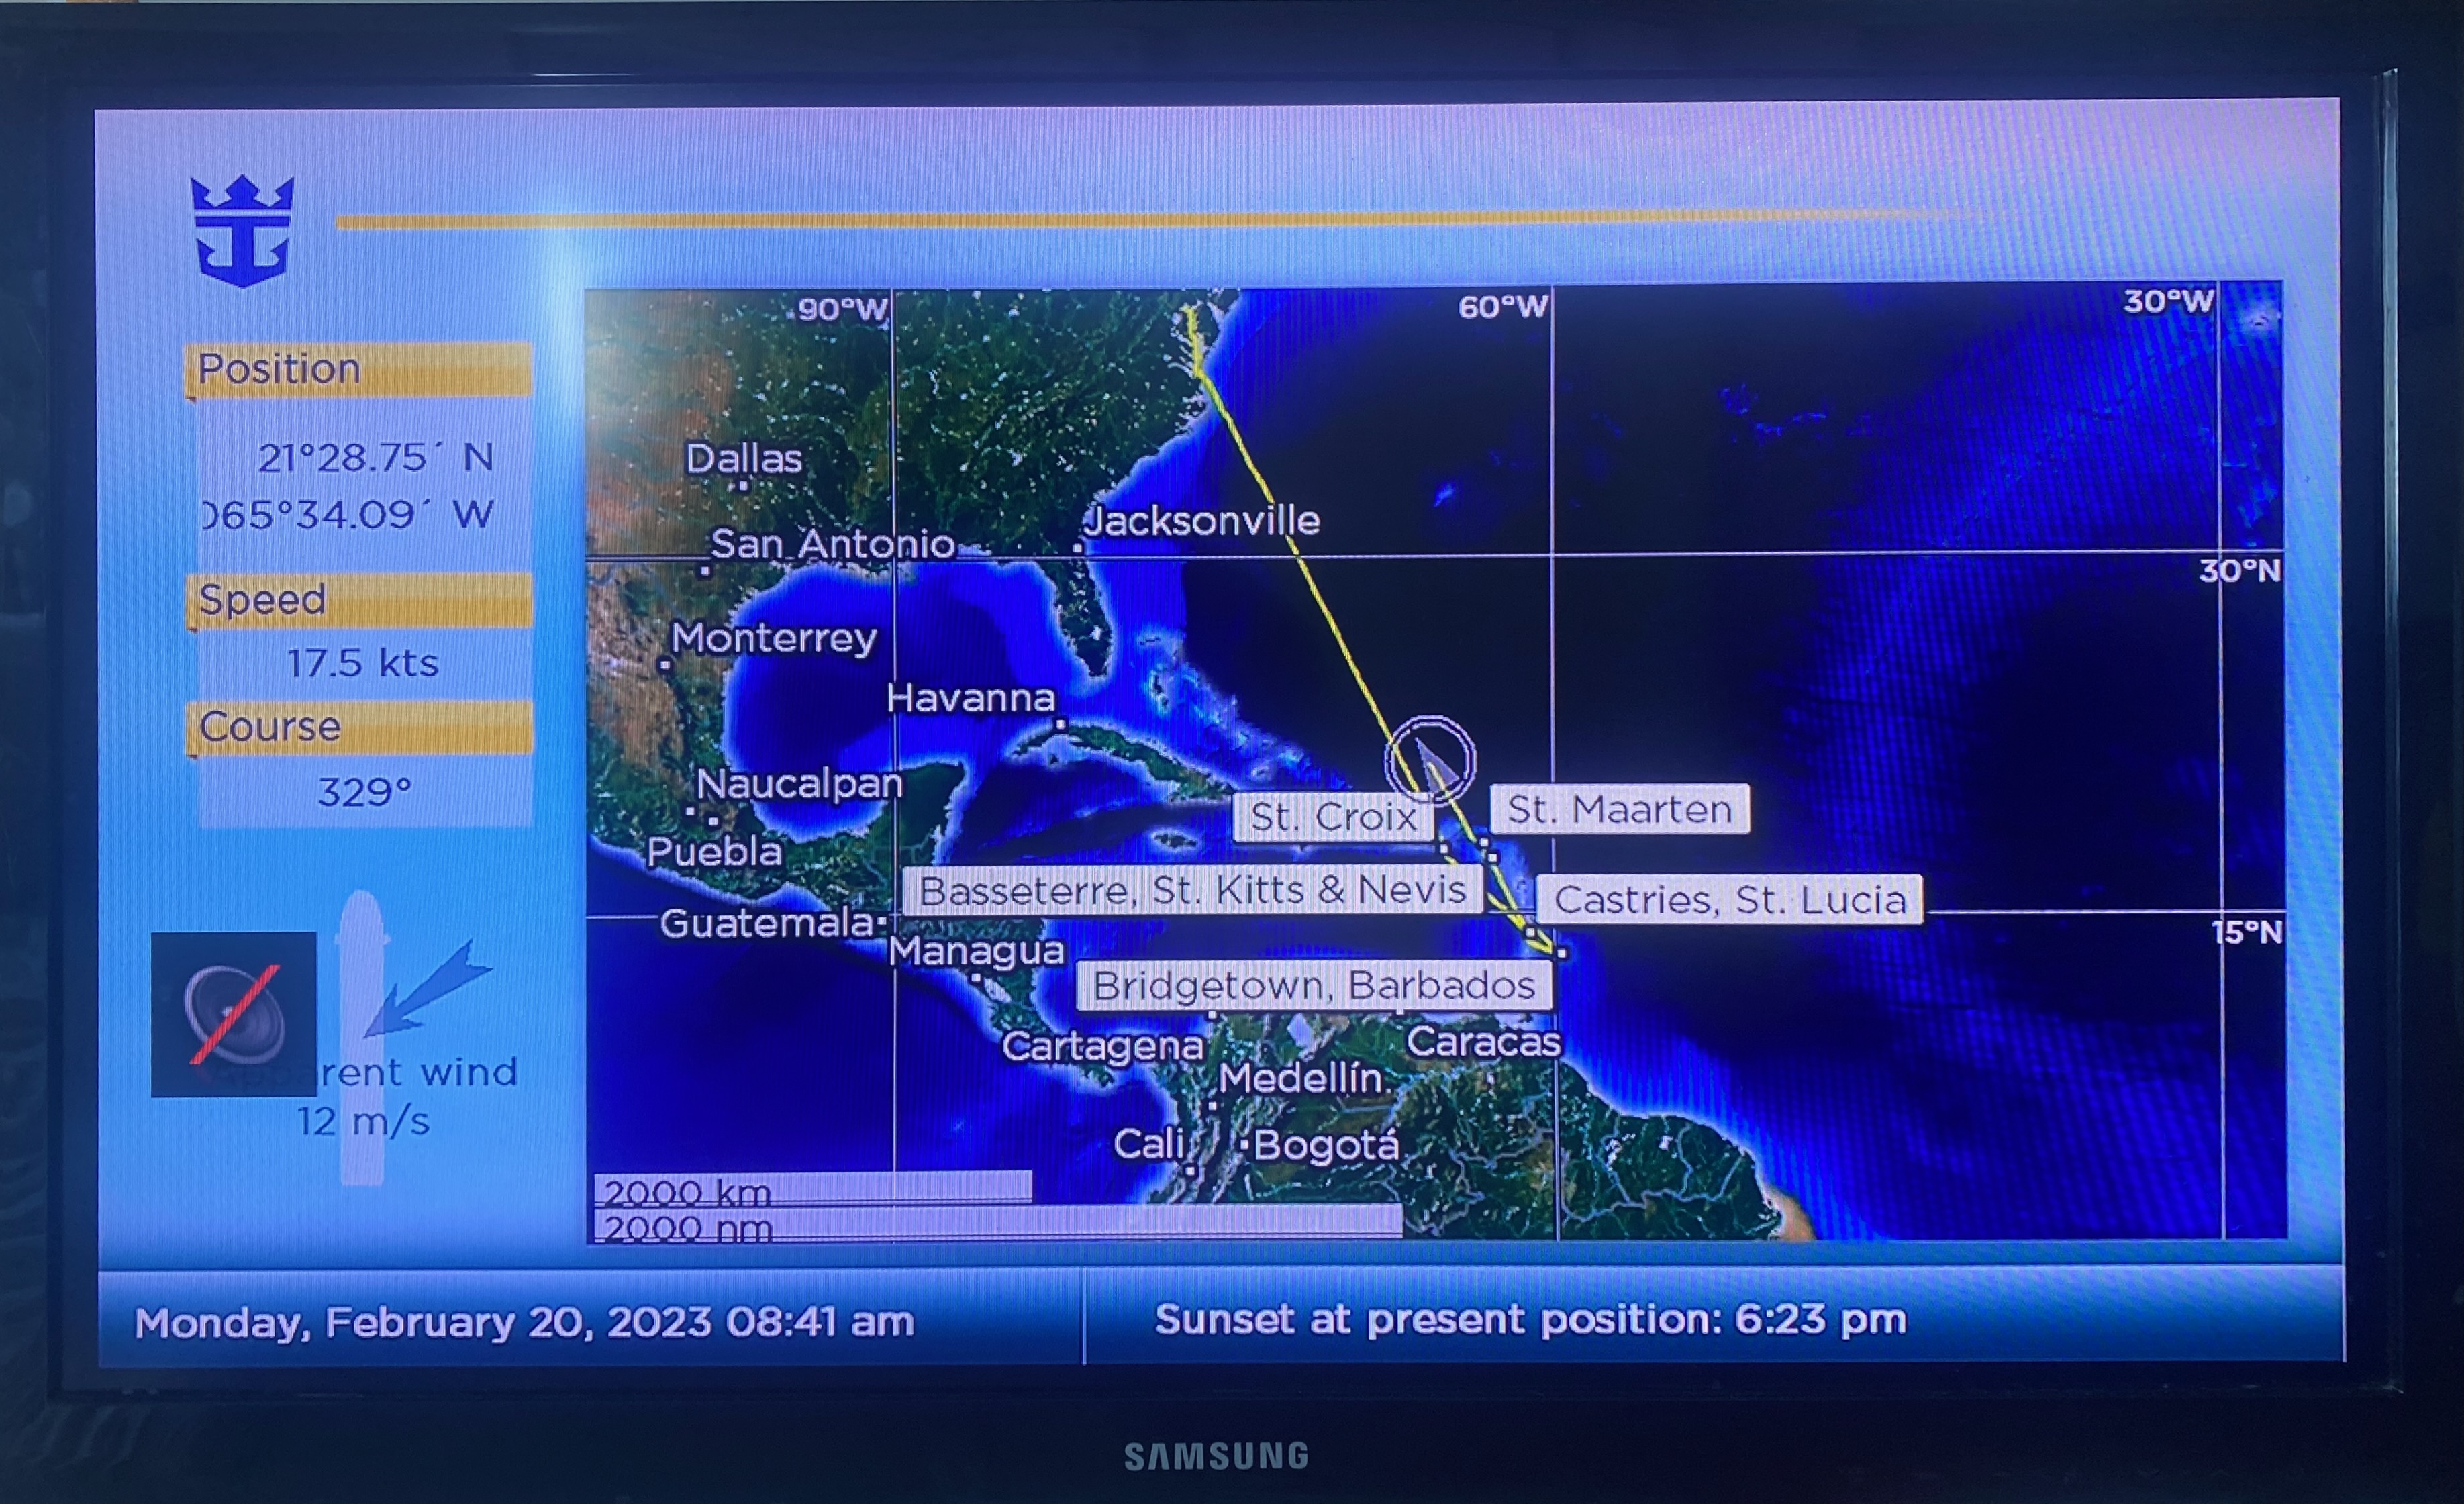
With snow falling outside our Vienna townhouse today, it’s a pleasant diversion to think back on the cruise we took to the Caribbean last February. Elizabeth and I have settled into a pattern of taking a cruise together every decade, coinciding with a wedding anniversary. We cruised from New York City to Bermuda in 2003 for our 20th, around the Hawaiian Islands in 2013 for our 30th, and last February from Baltimore to five Caribbean Islands for our 40th. While the memories are still fresh in my mind, I thought I would share highlights from our most recent cruise for those of you who may be “Caribbean dreaming” along with me!
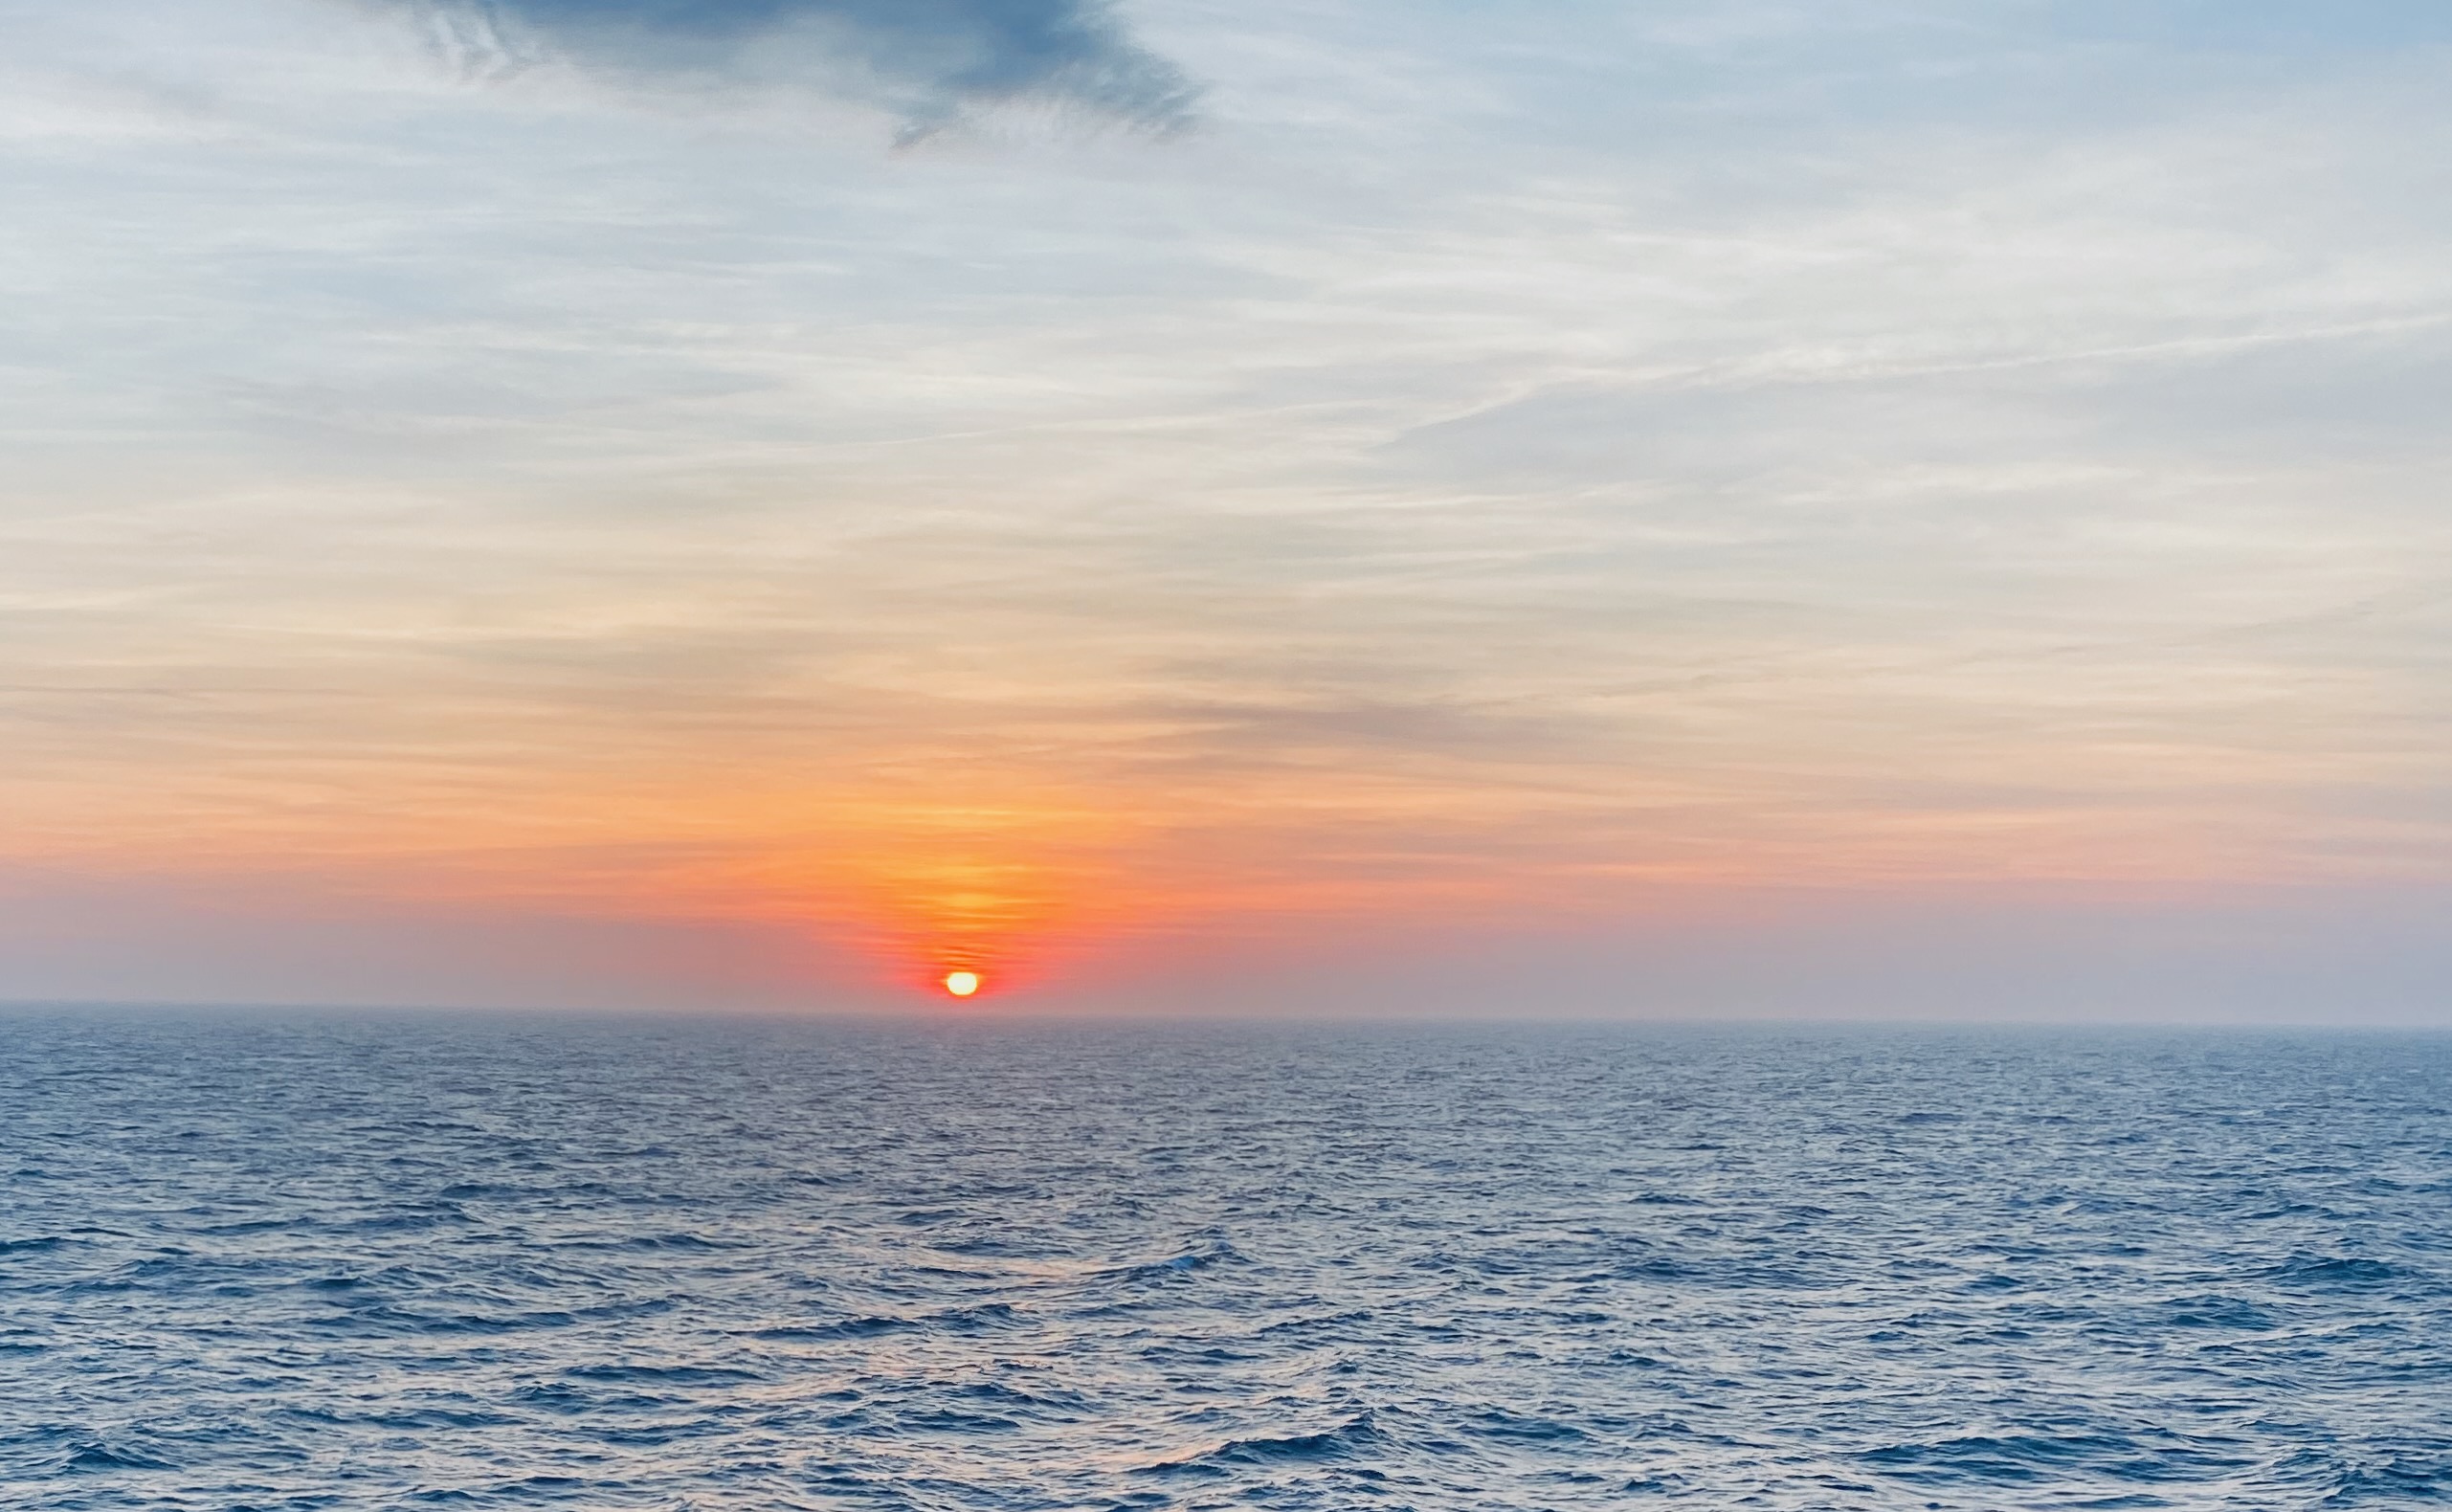
Baltimore was a convenient place to embark on our cruise. The port is only an hour-and-change Uber ride from our house in suburban Northern Virginia, saving us the necessity of flying to a warmer port like Miami. Of course, it also meant three days at sea before we reached our first port in the Caribbean, and three days back, but as I’ll relate below, passing days on a cruise ship on the high seas has its own pleasures.
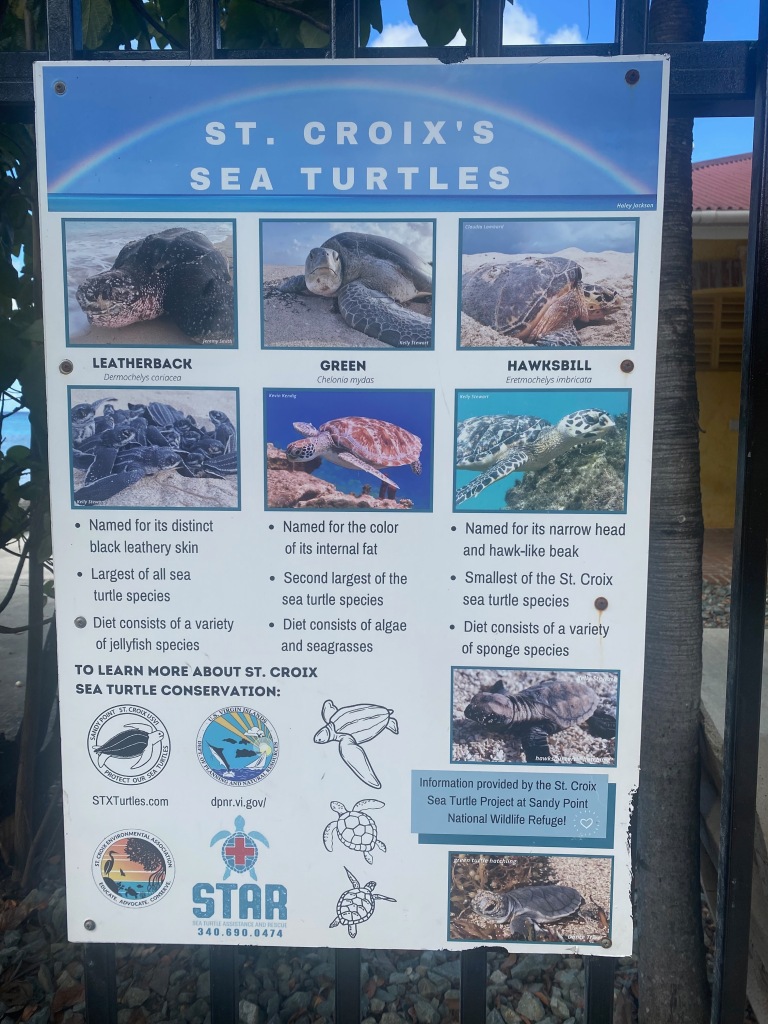
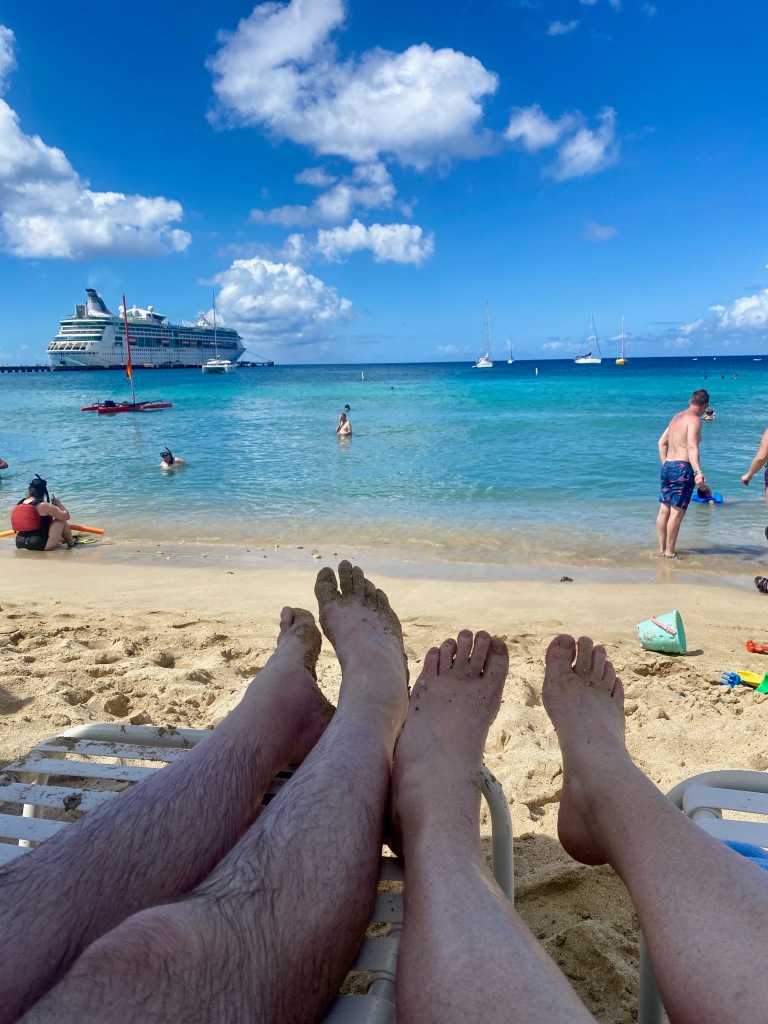
Our first port of call, on February 15, was Frederiksted on the west end of St. Croix in the U.S. Virgin Islands. The town itself was not much to blog about, but the weather was sunny and plenty warm for sitting in a beach chair. We booked a snorkeling excursion that allowed us to swim in the warm, clear waters, where we could spot the resident sea turtles. We could see them on the bottom about 15 or 20 feet below the surface. They would then rise up every few minutes to grab a breath of air before diving below again. They are used to people and didn’t mind us lurking 10 or 15 feet away. We swam twice, first near the pier and then at Paradise Beach. We both got a bit sunburned!
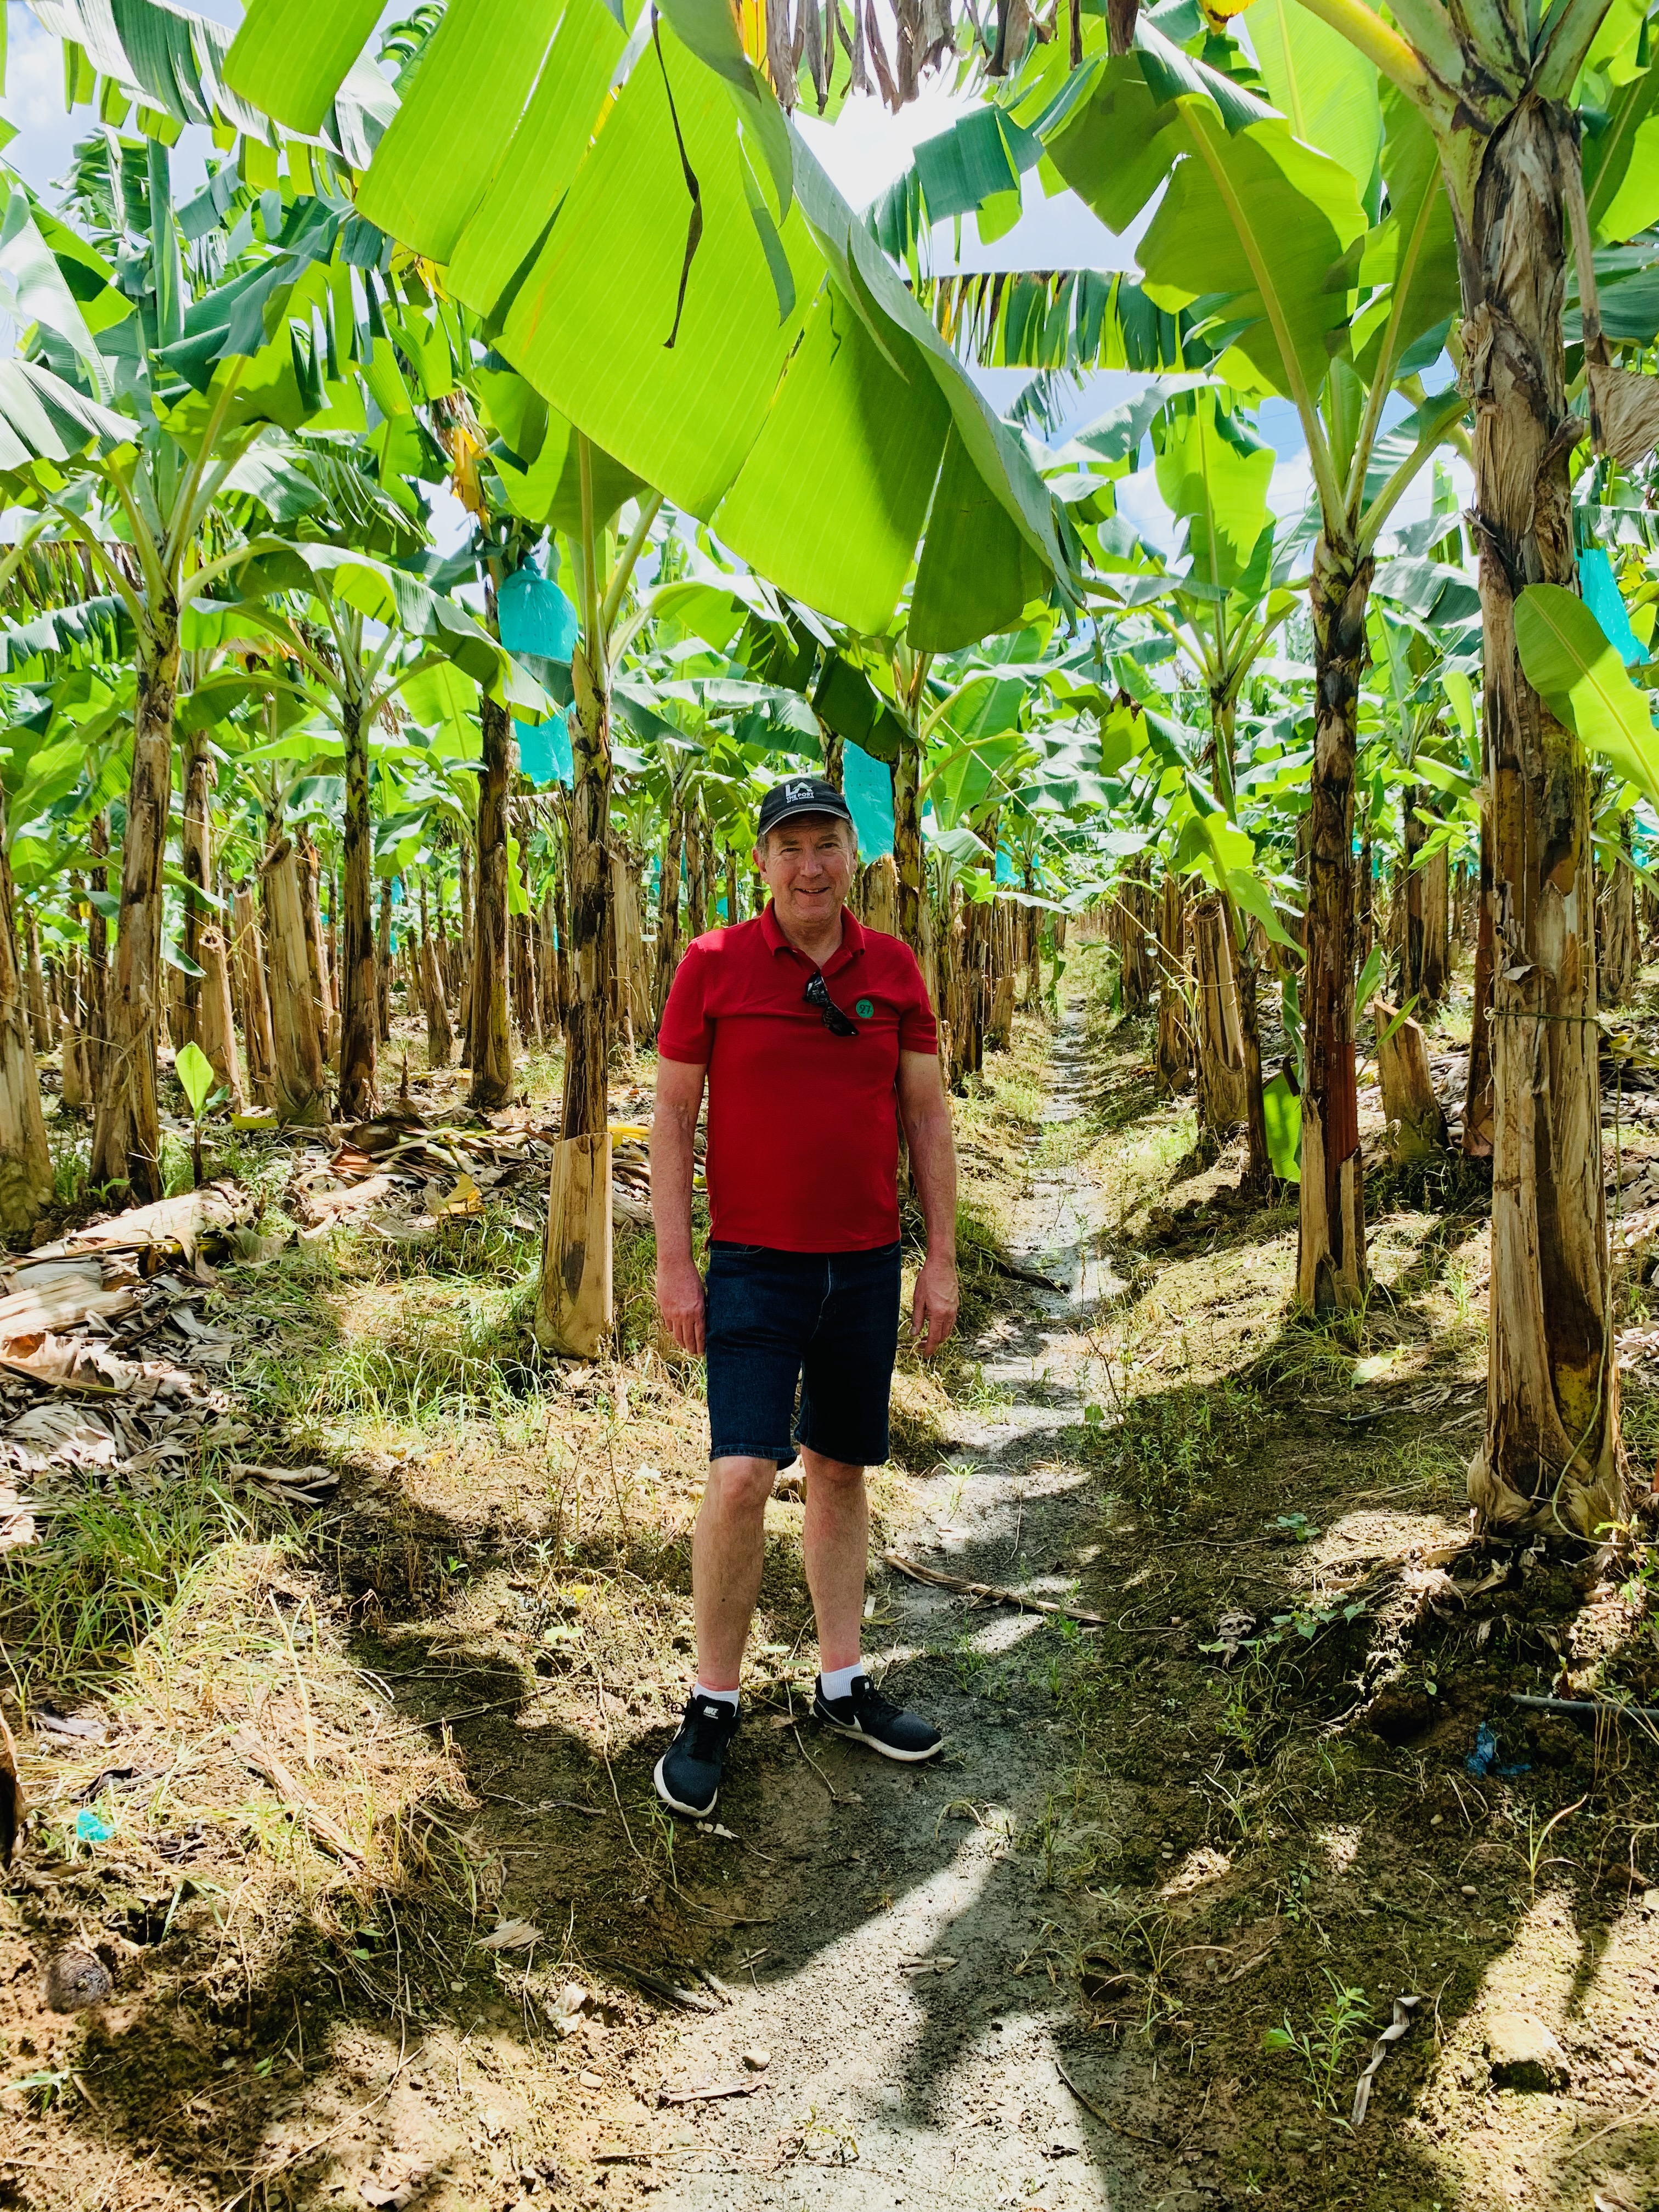
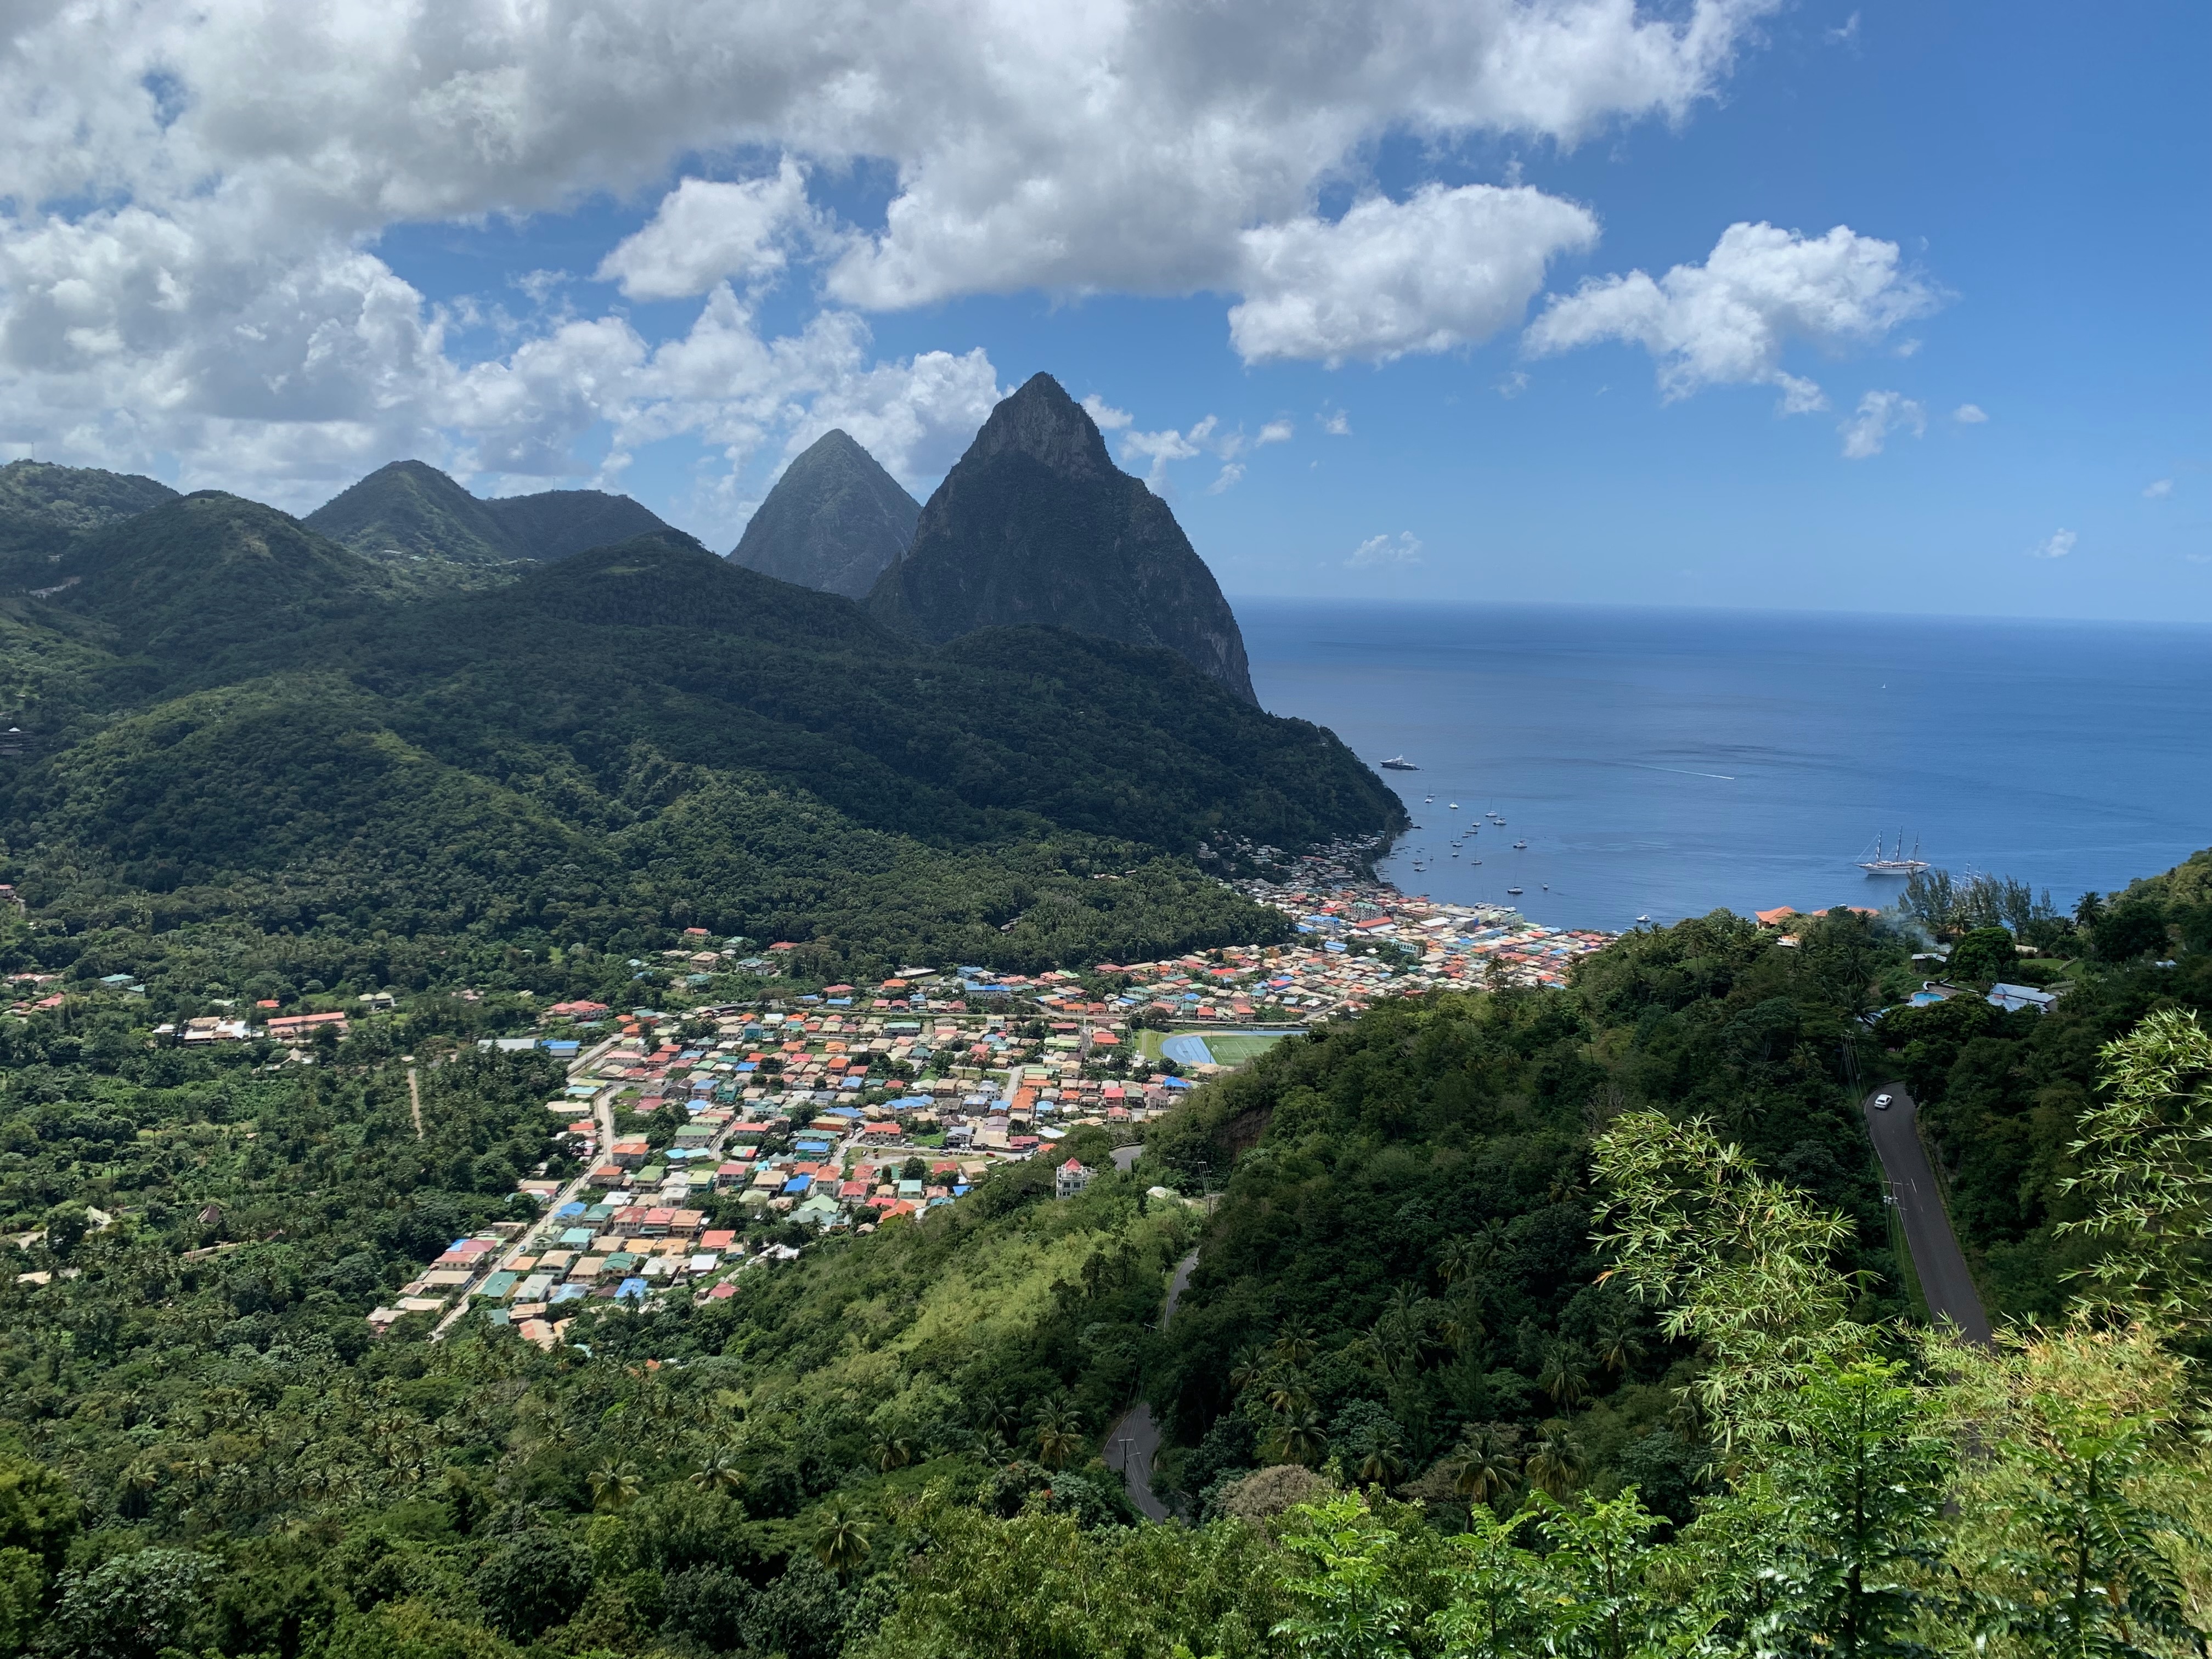
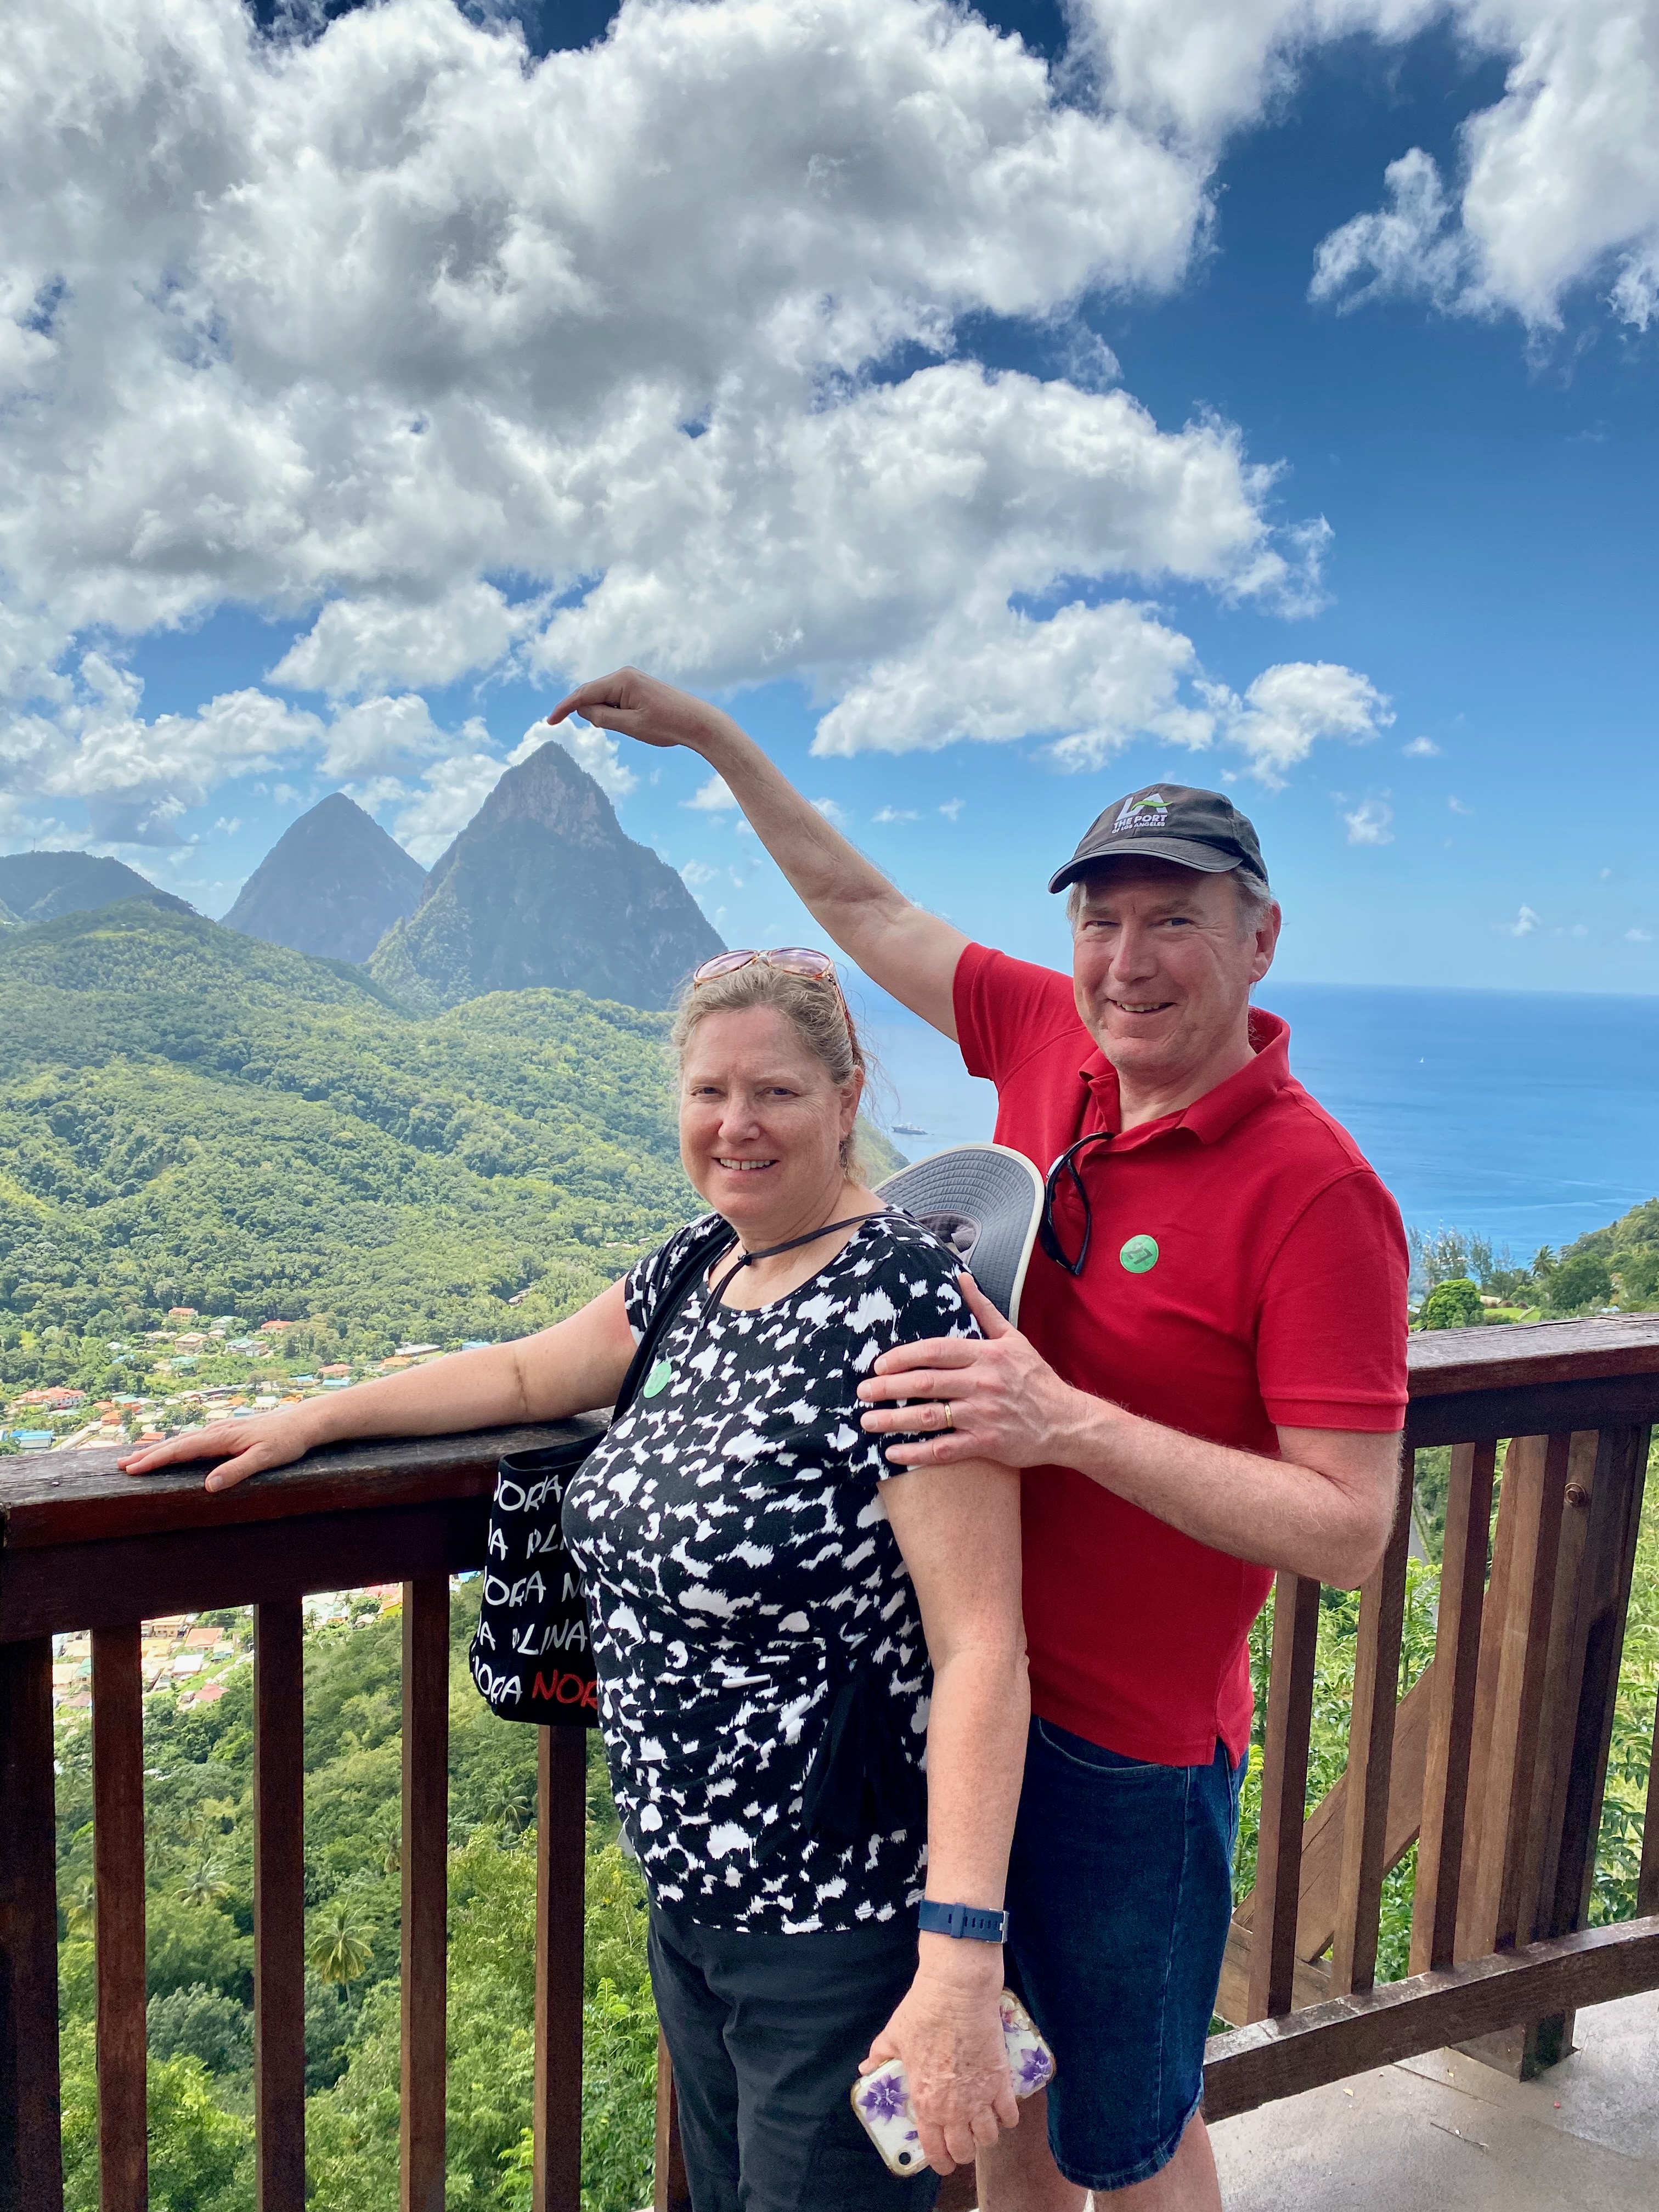
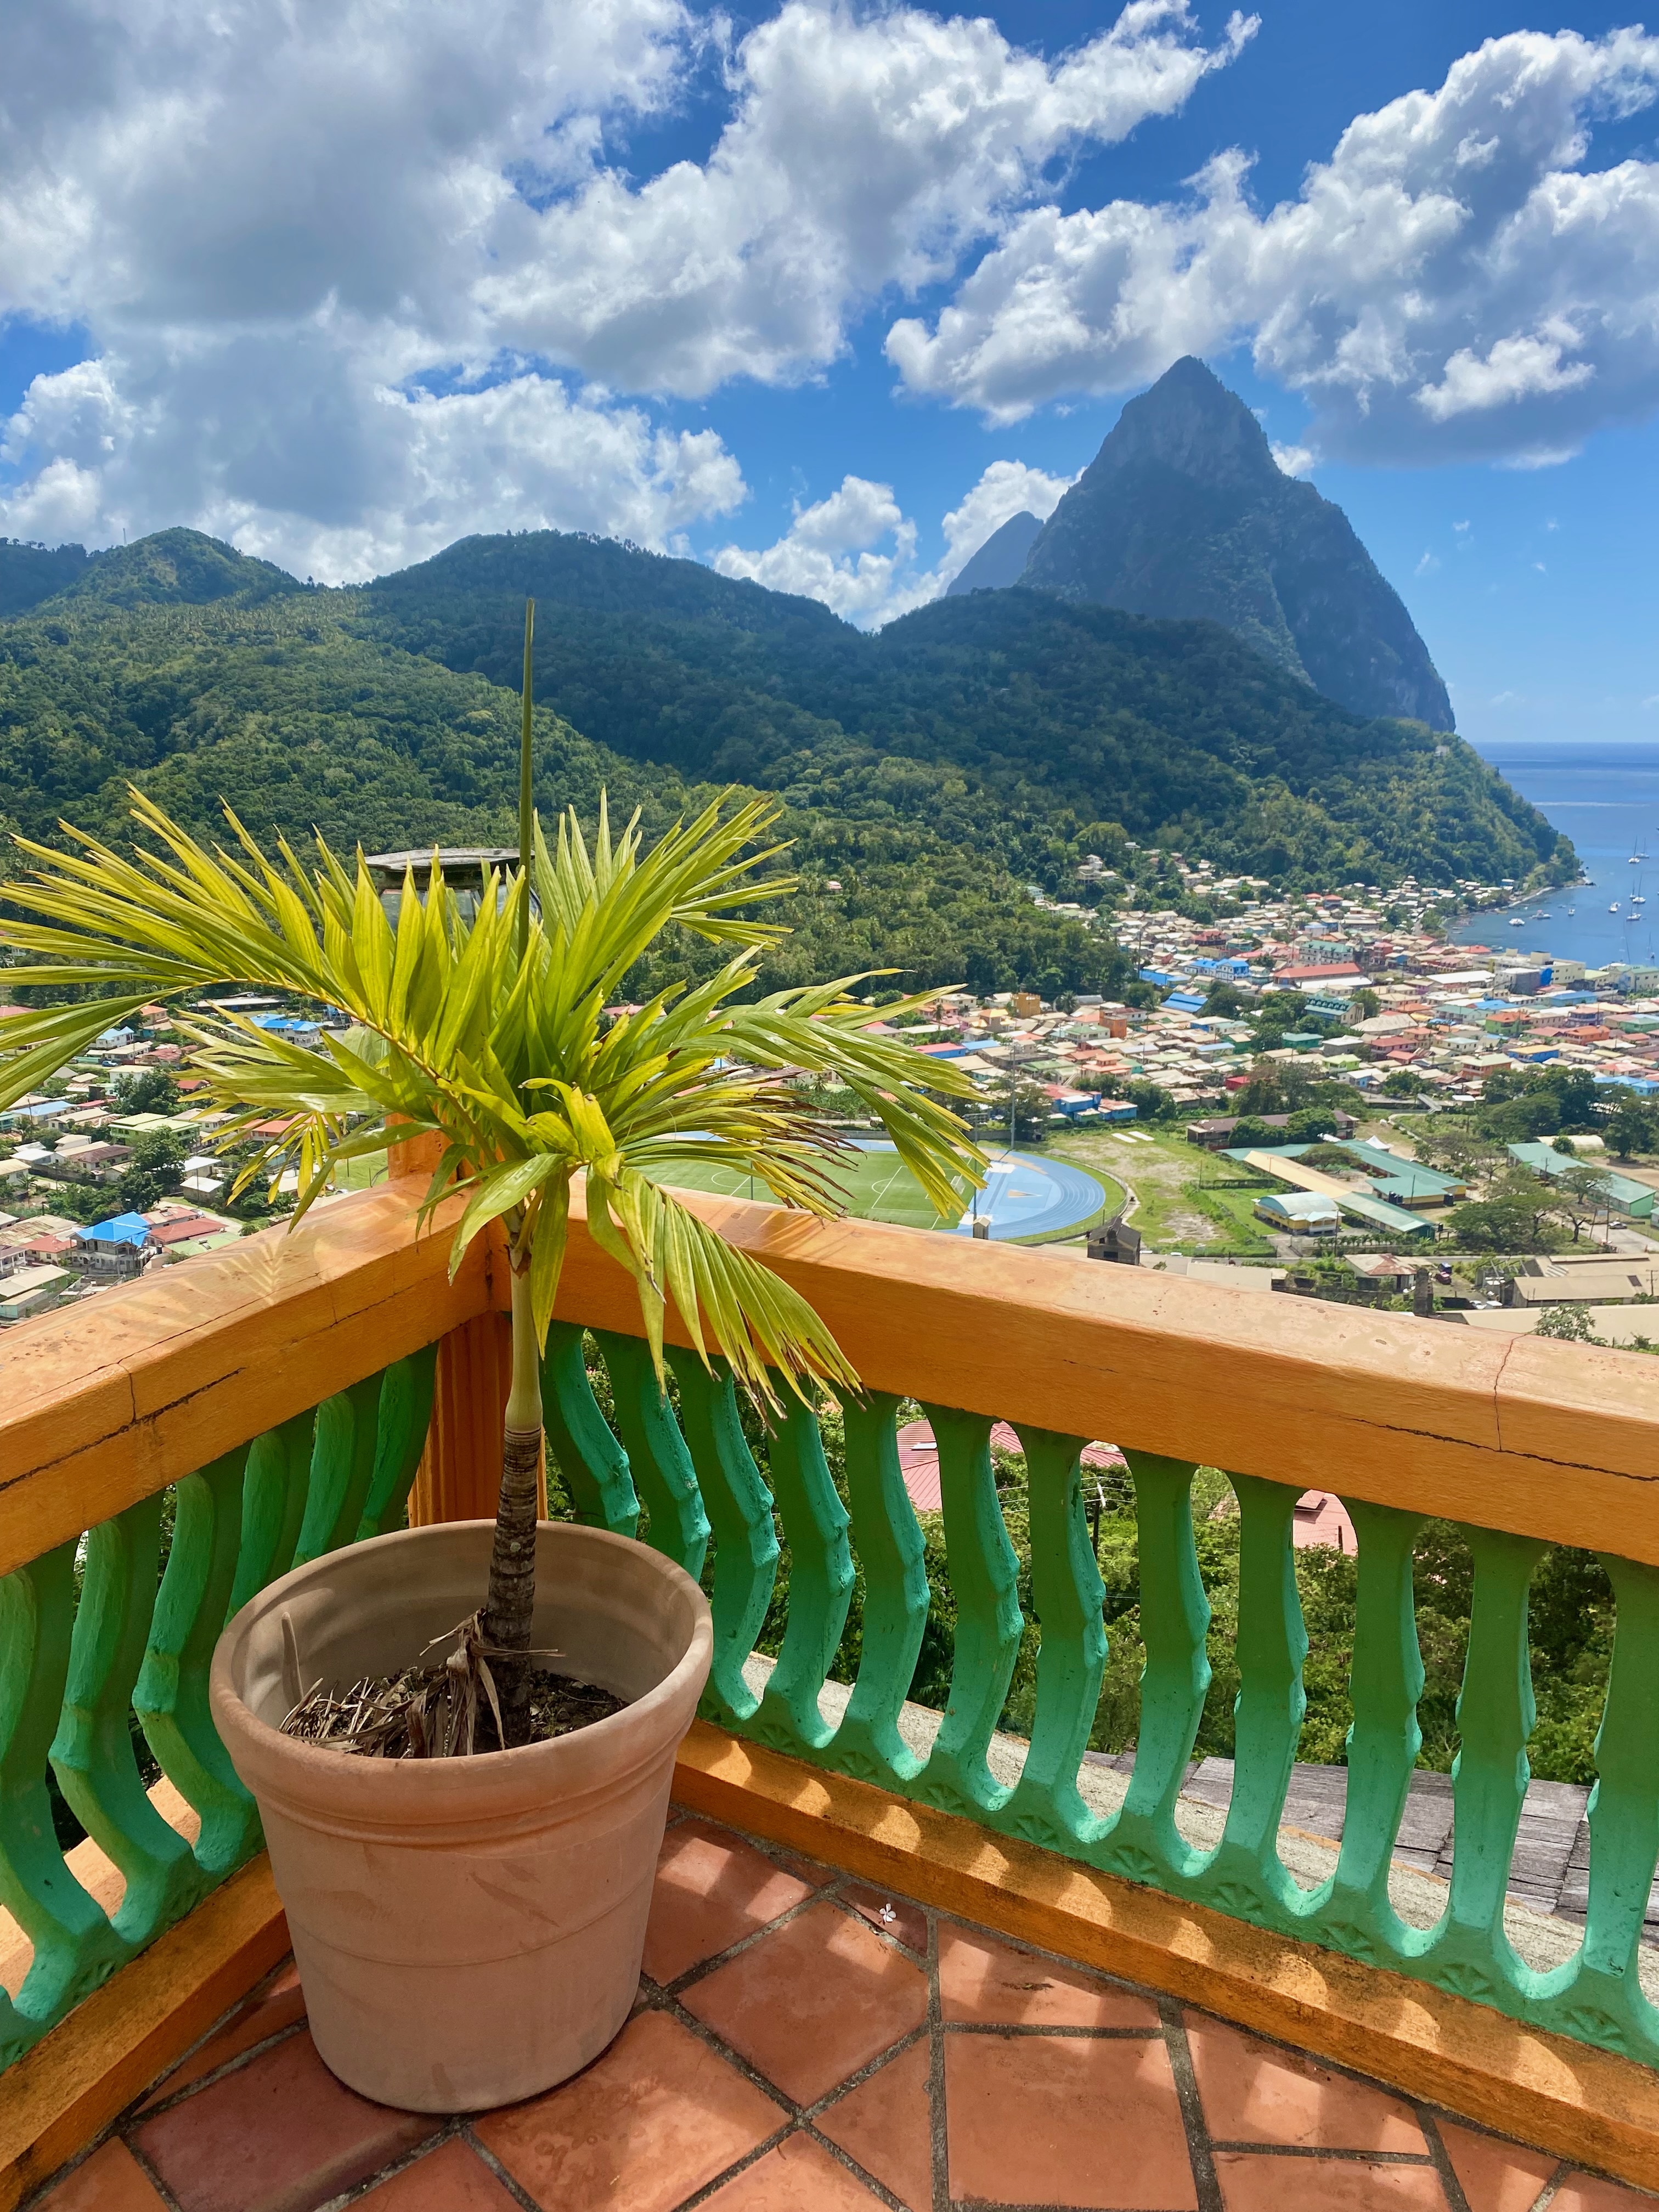
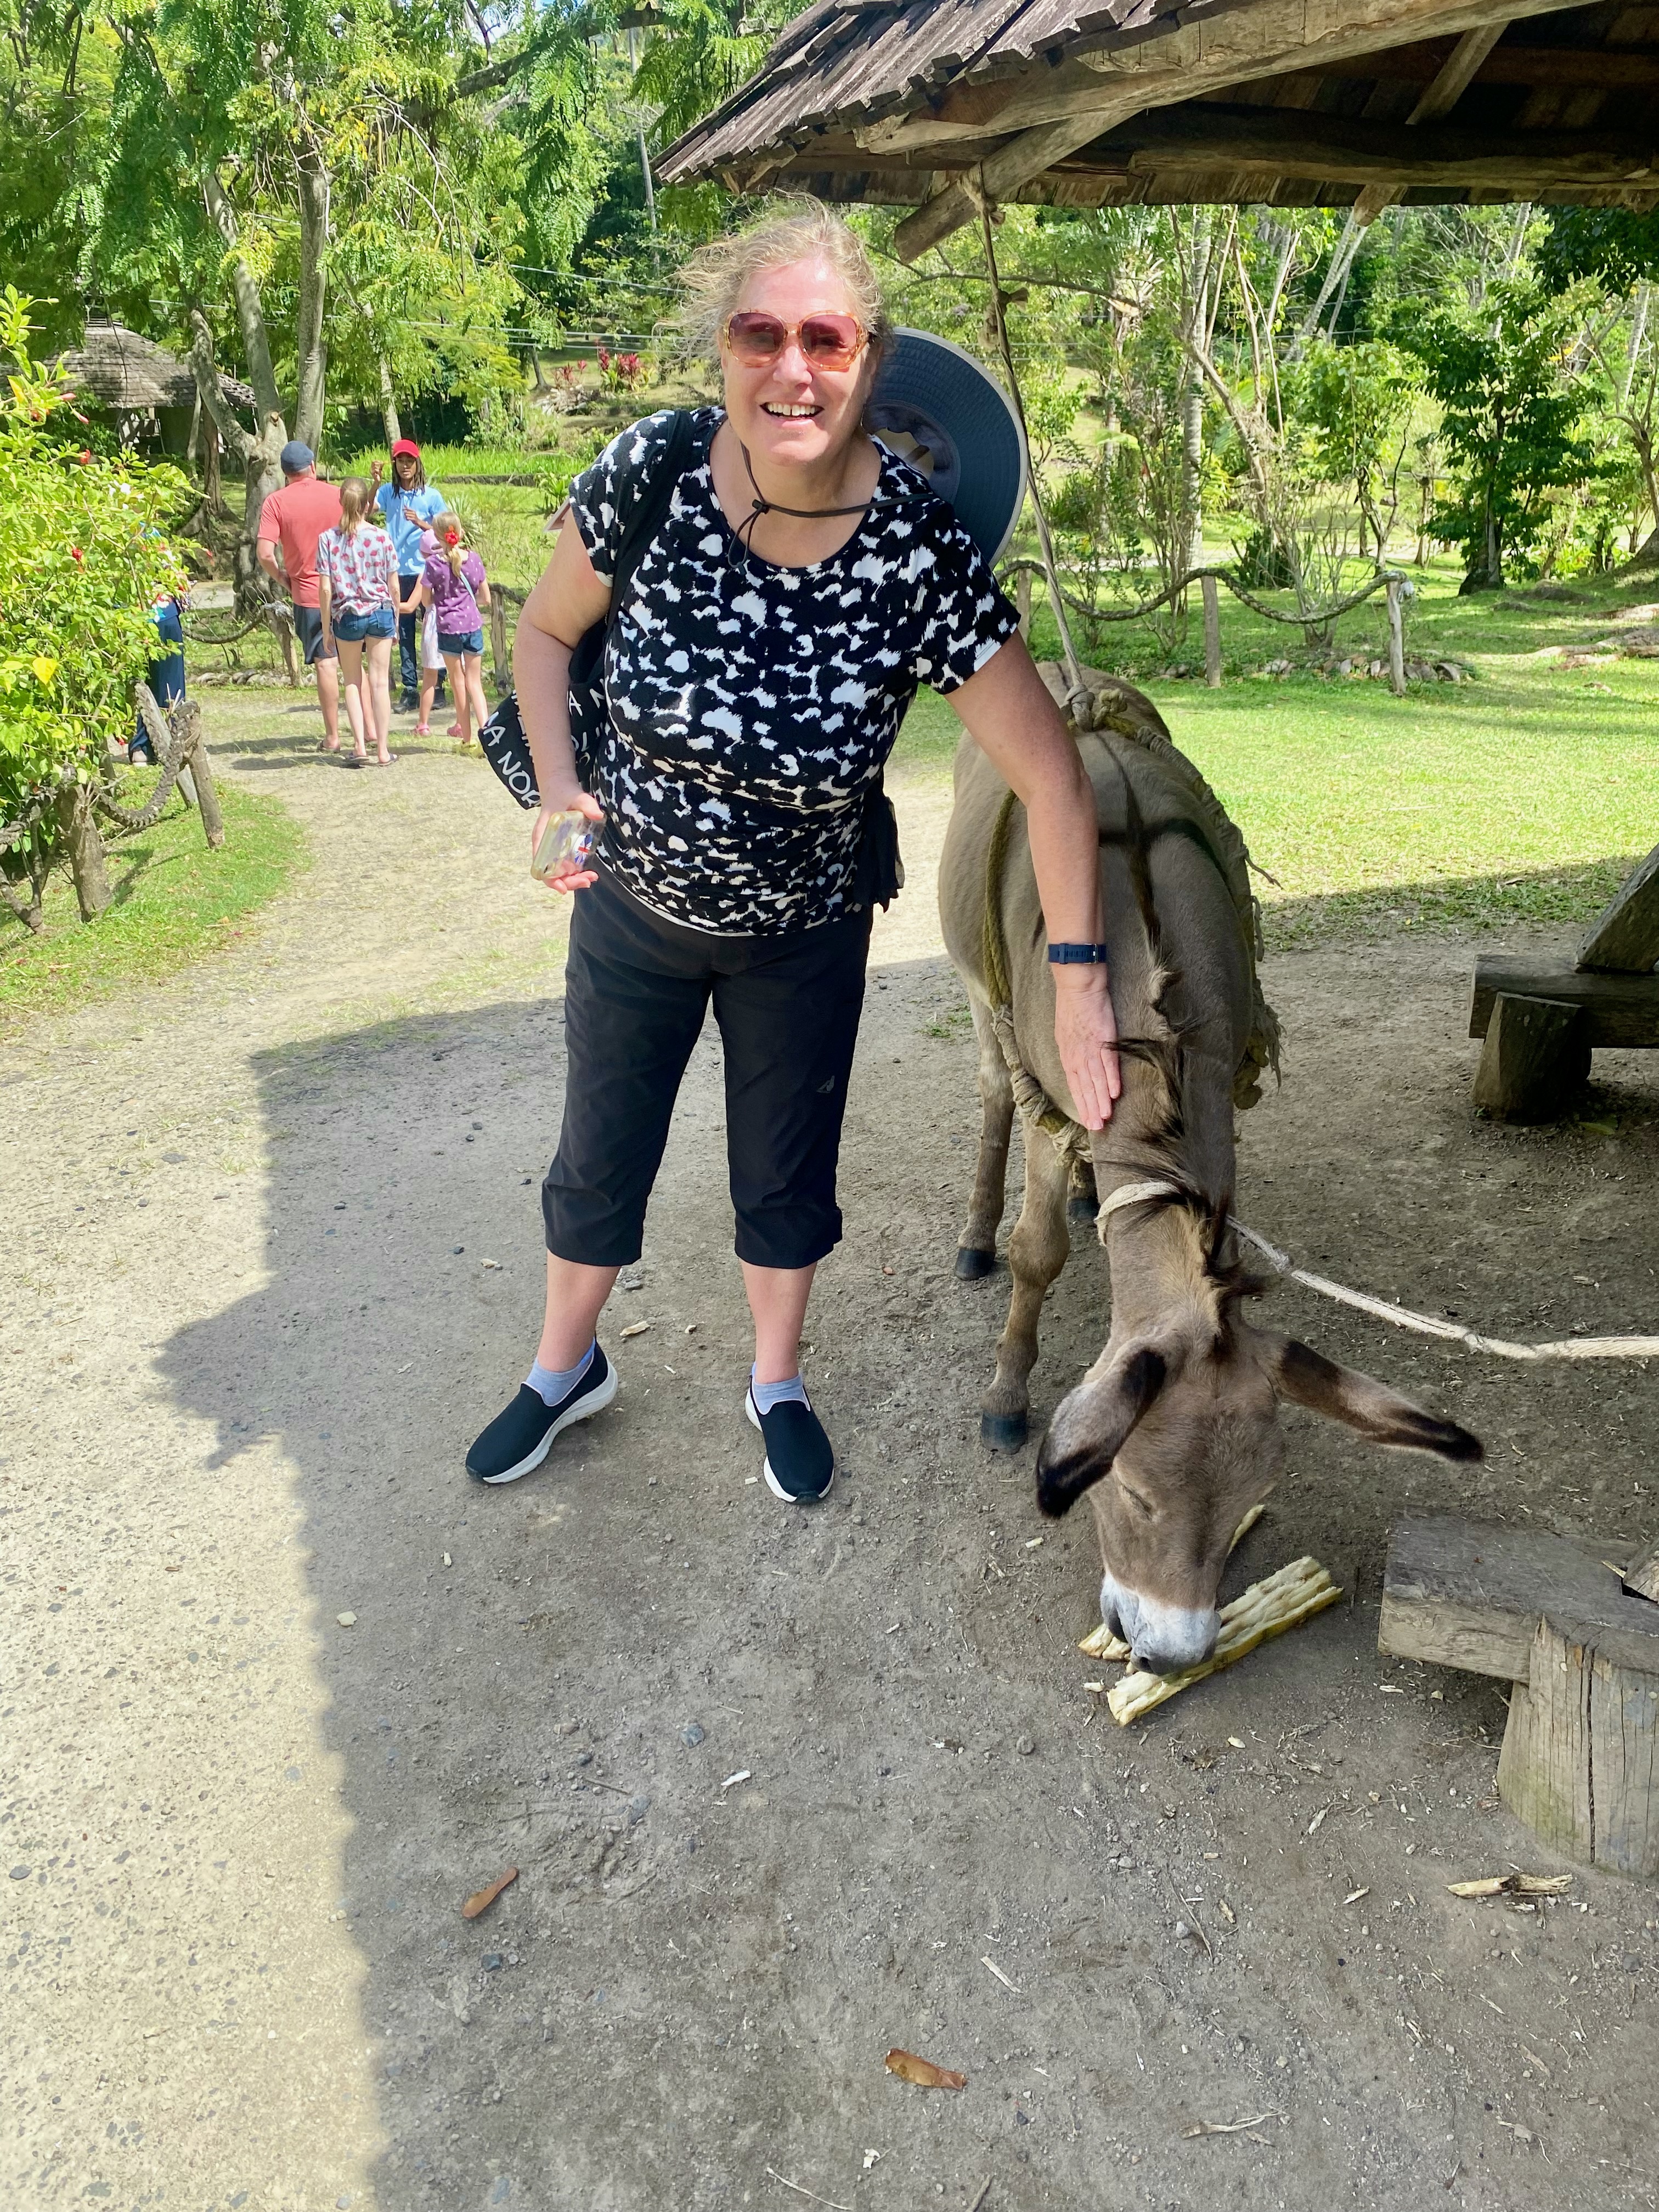
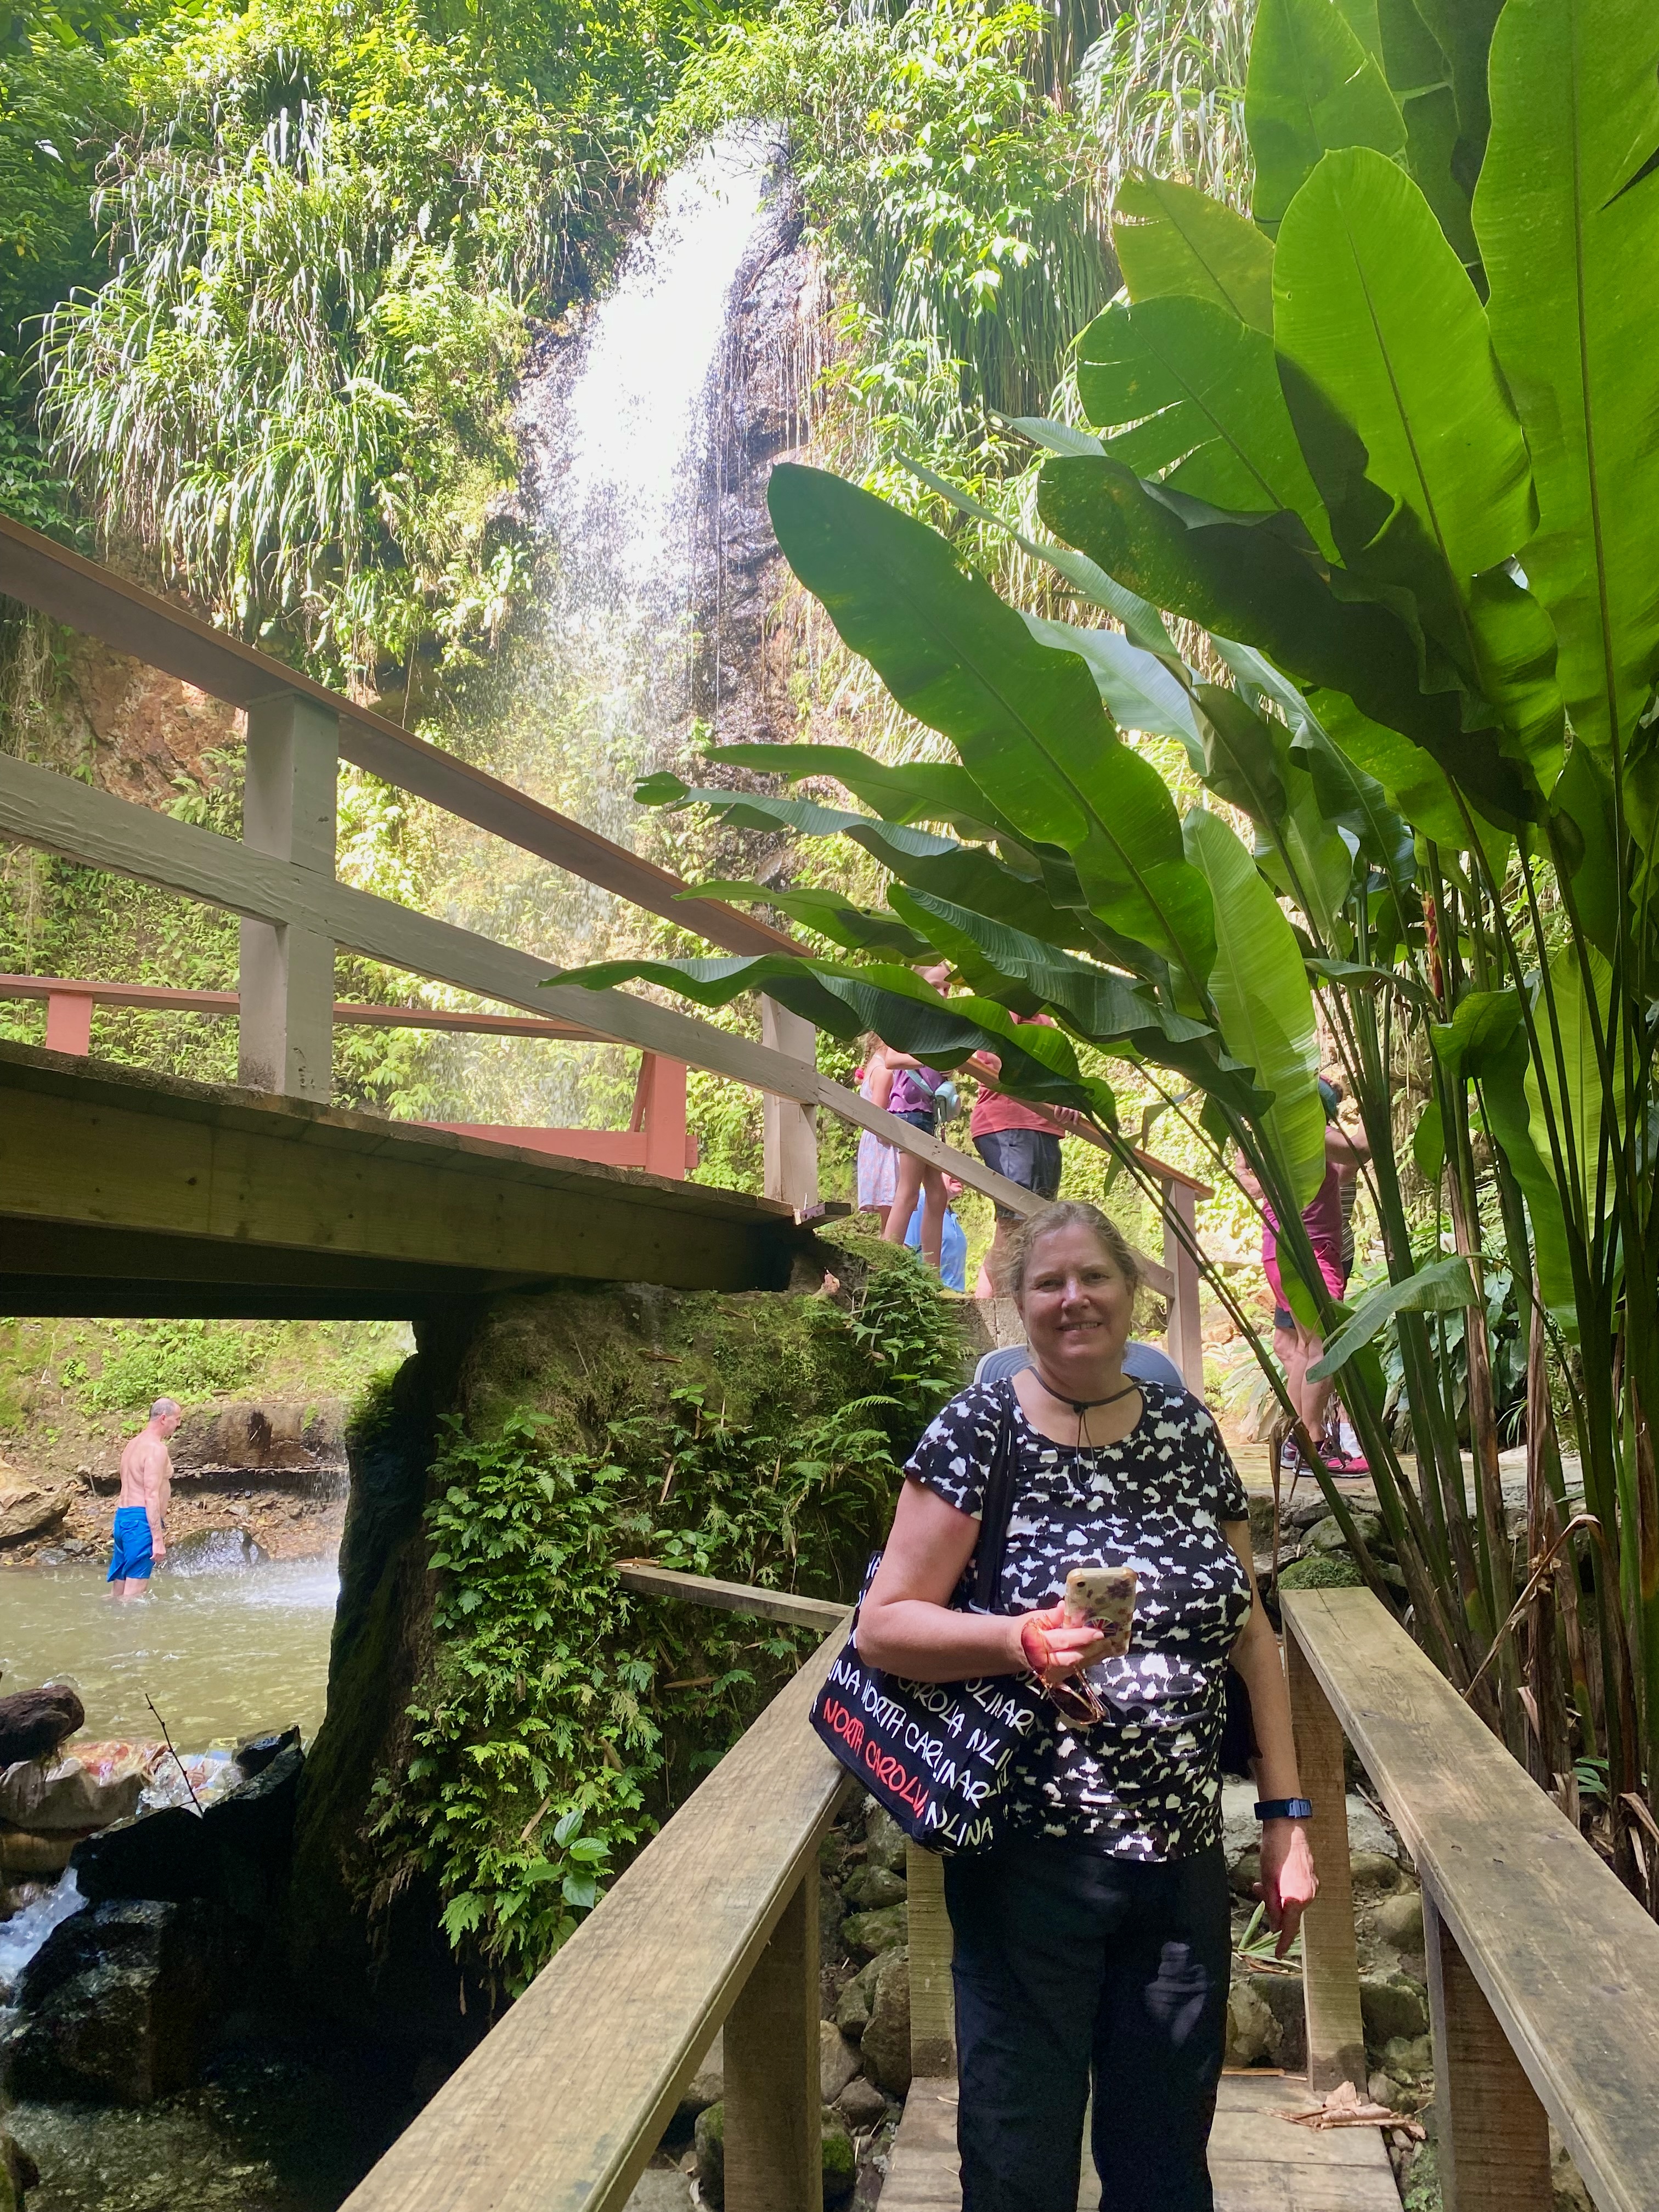
The next morning we docked at Castries on the island of St. Lucia. This was the poorest island we visited but also the one most densely covered in tropical rainforest. We booked a tour around the island with our native guide Kingsley. He told us about tapioca cake, a favorite food of the island, and about the native wildlife of mongoose, boas, and vipers (which I can thankfully say we did not encounter in person). The main crops grown on St. Lucia are bananas, coconuts, and cocoa, which grow all year around. We stopped for lunch along the southwest coast of the island with a grand view of the Pitons (rhymes with Tetons). You may have seen these striking formations on a calendar–green cones rising hundreds of feet above the coast. They are not volcanos but “lava plugs.”
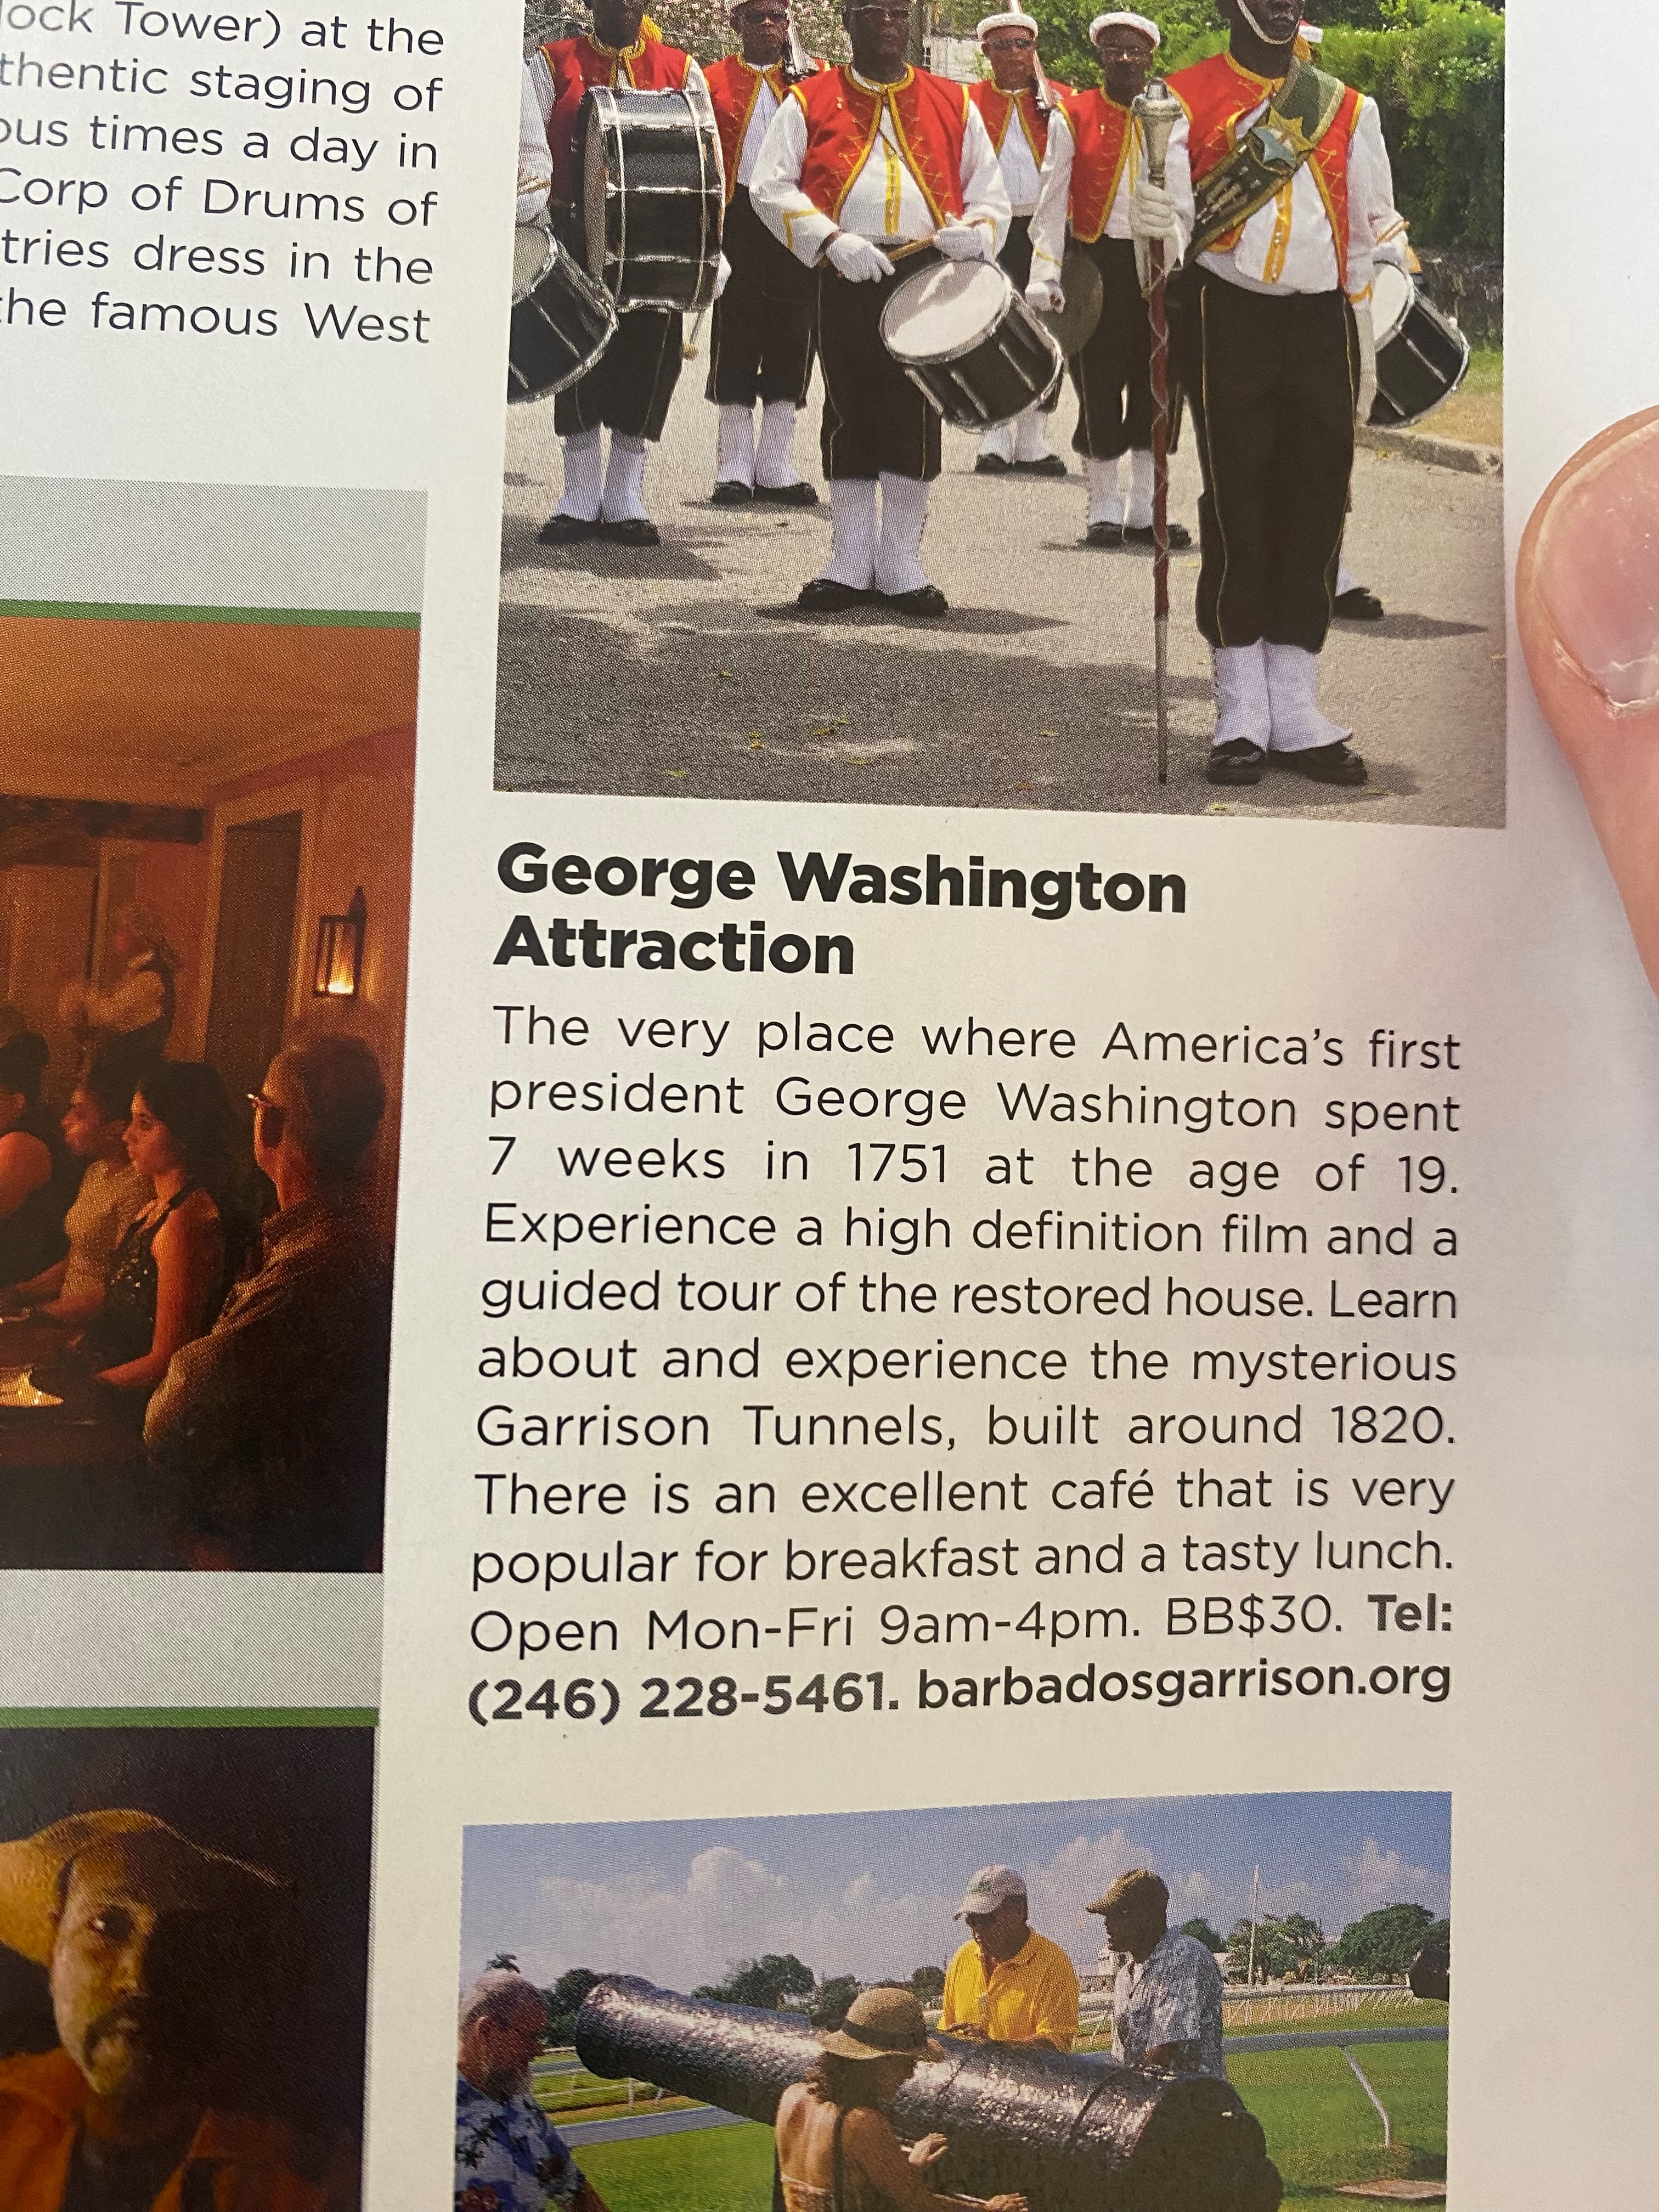
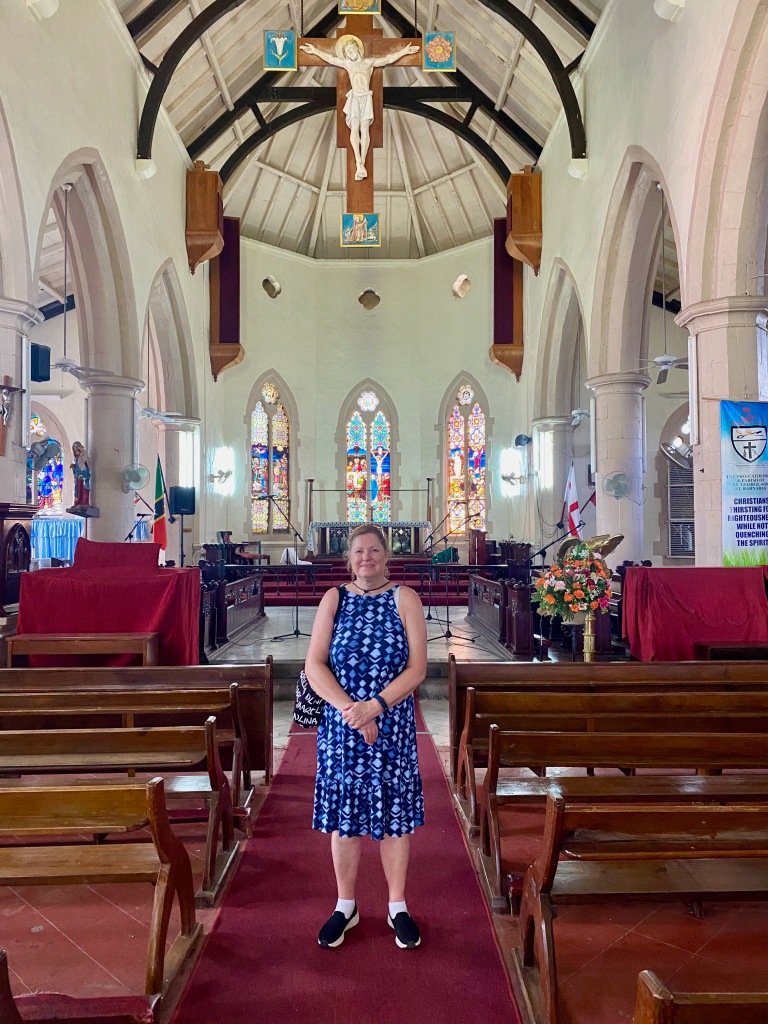
The next day we docked at Bridgetown, Barbados. We booked a shore excursion by bus with another informative guide. She told us the island was first occupied by the British in 1625 and never changed hands after that. It is home to the oldest synagogue in the Western hemisphere, founded in 1652. A 19-year-old George Washington visited Barbados for seven weeks in 1751. The guide said the 1651 Charter of Barbados was a model for the U.S. Constitution. At its colonial peak, the island was home to 400 Dutch windmills and 700 sugar plantations. Our tour took us to Malvern and Clifton plantations, Gunn Hill Signal Station, and St. John’s Parish Church. The church was set up on a cliff looking out on the more turbulent Atlantic side of the island. It was an appropriate place for the guide to tell us about the famous hurricane that struck the island in 1780, considered one of the most destructive on record. It killed 20,000 people and destroyed almost every building on the island, including those made of stone. As our tour drew to an end, Elizabeth and I got a good laugh when our guide, struggling as many people do with the “th” sound, made reference to the new British monarch, “Charles the T’ird.”
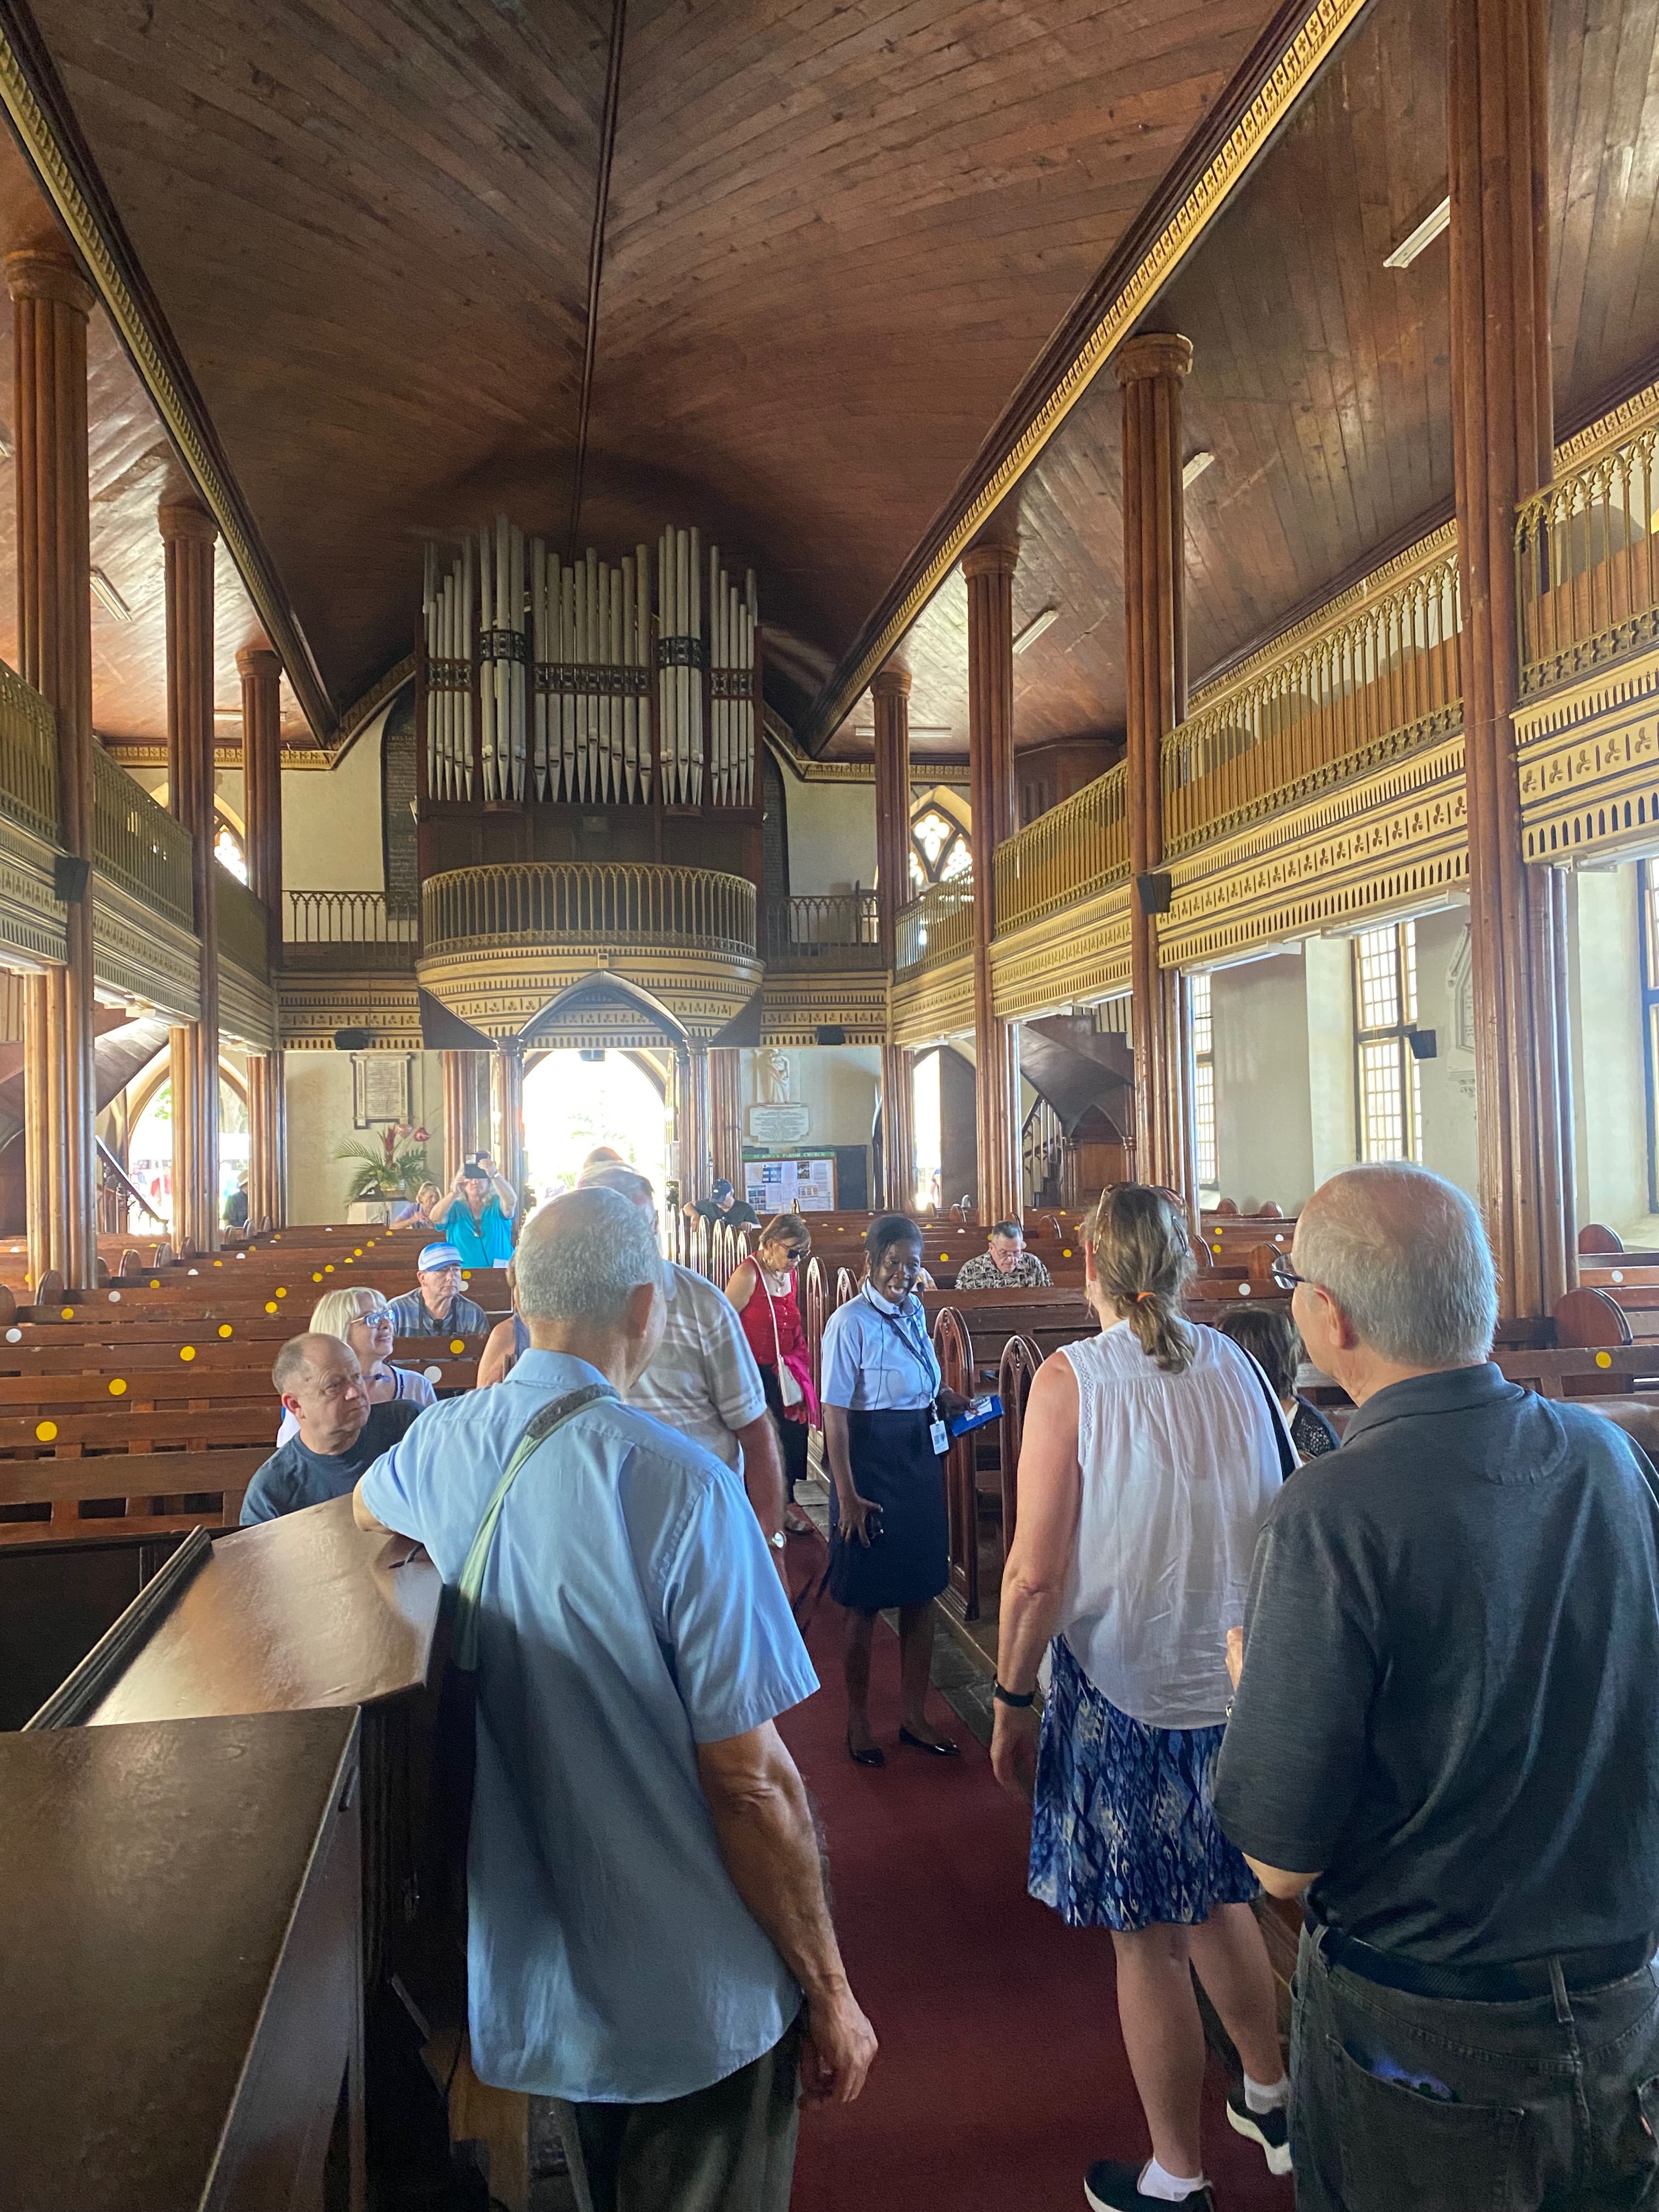
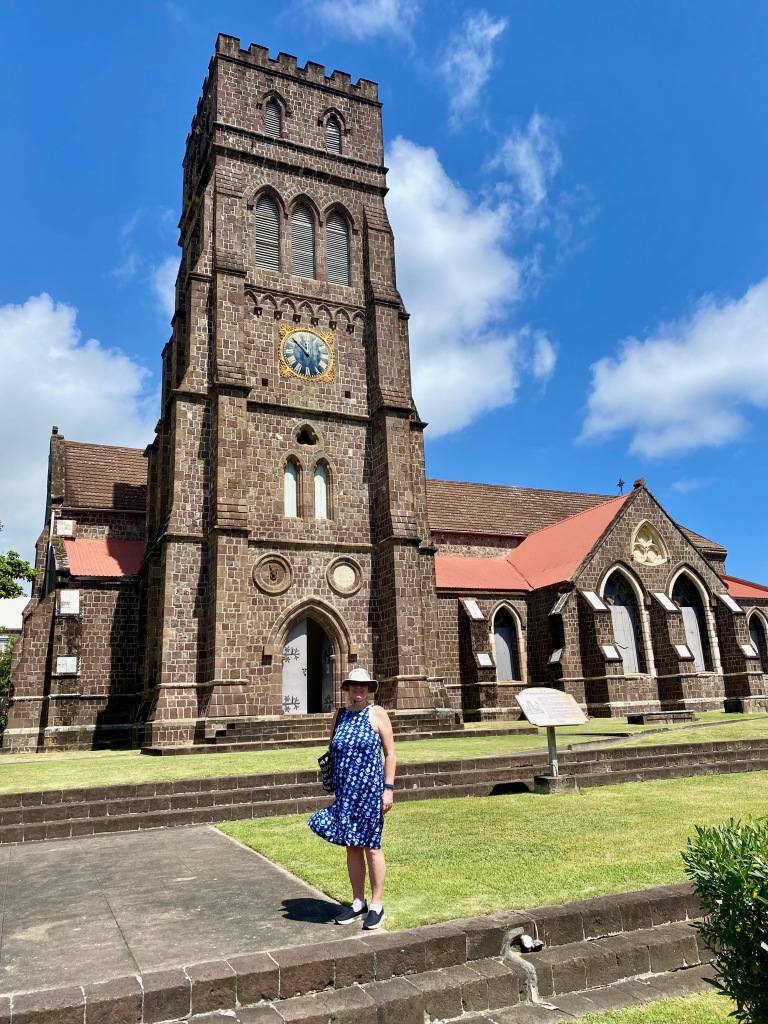
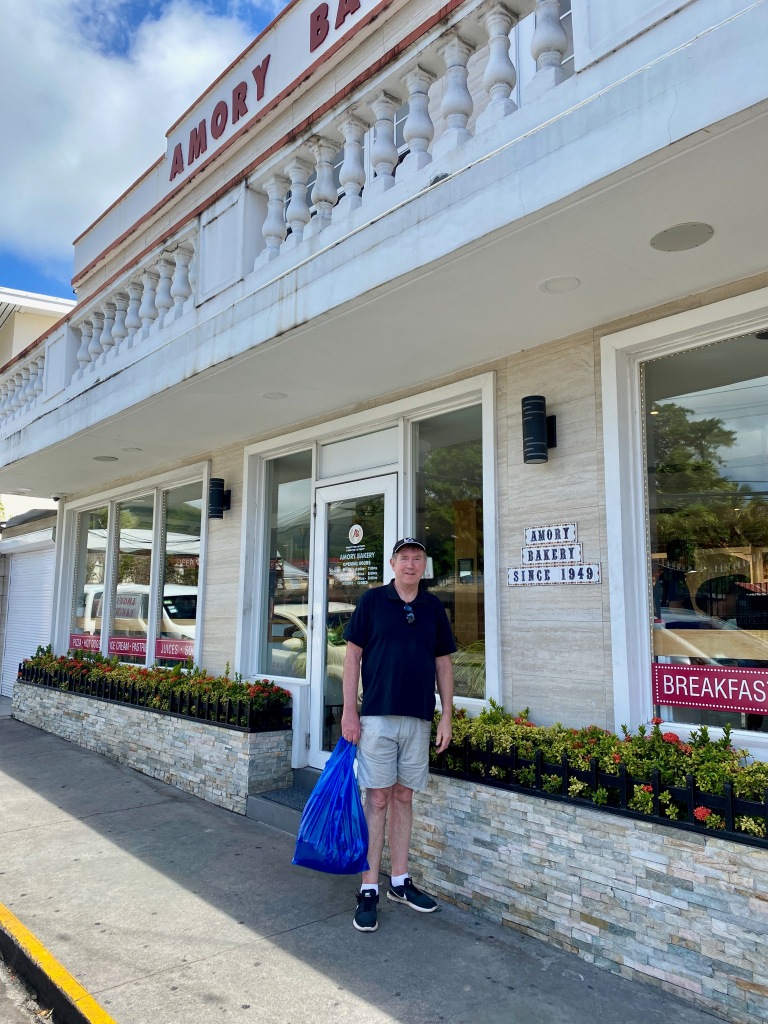
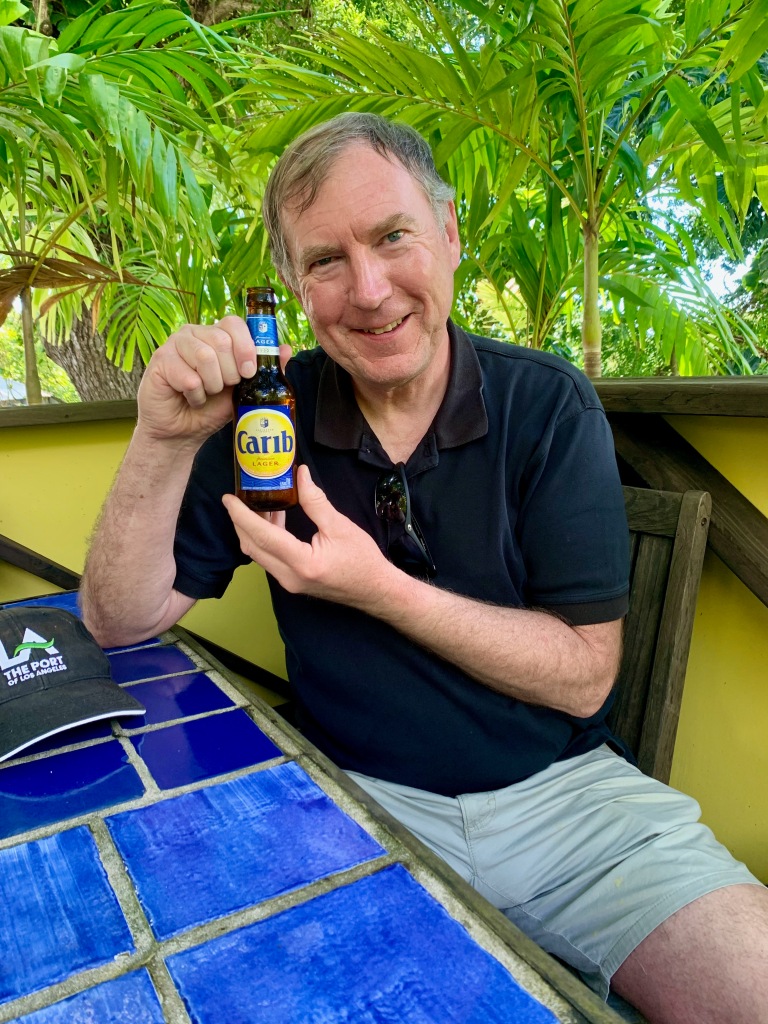
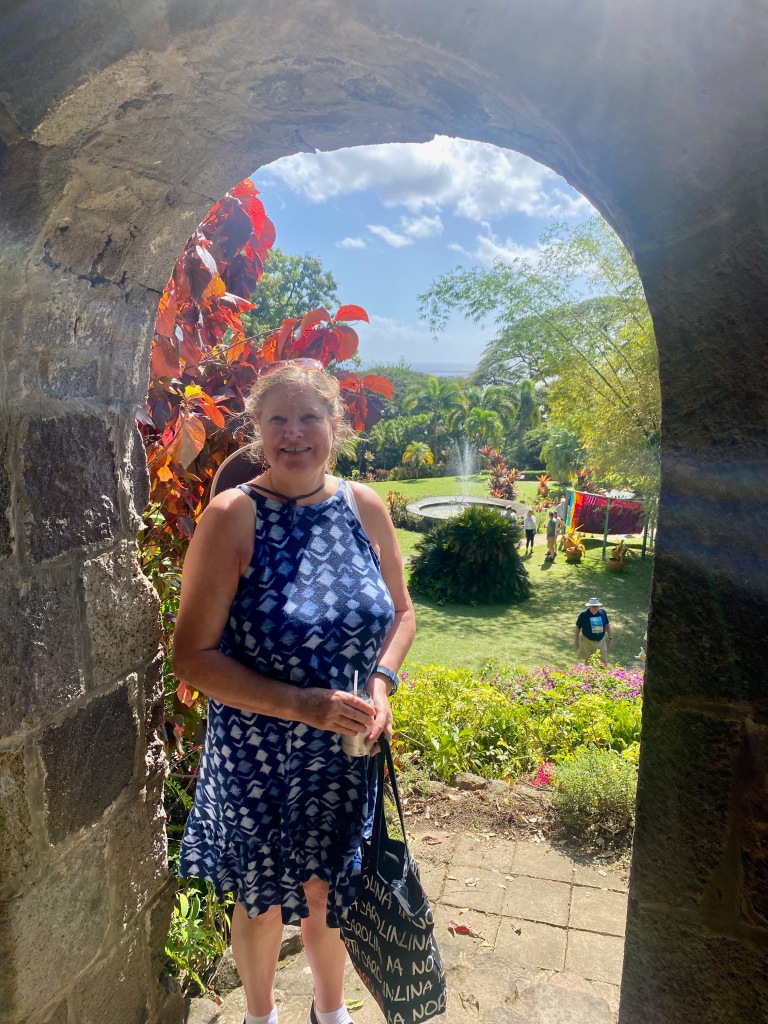
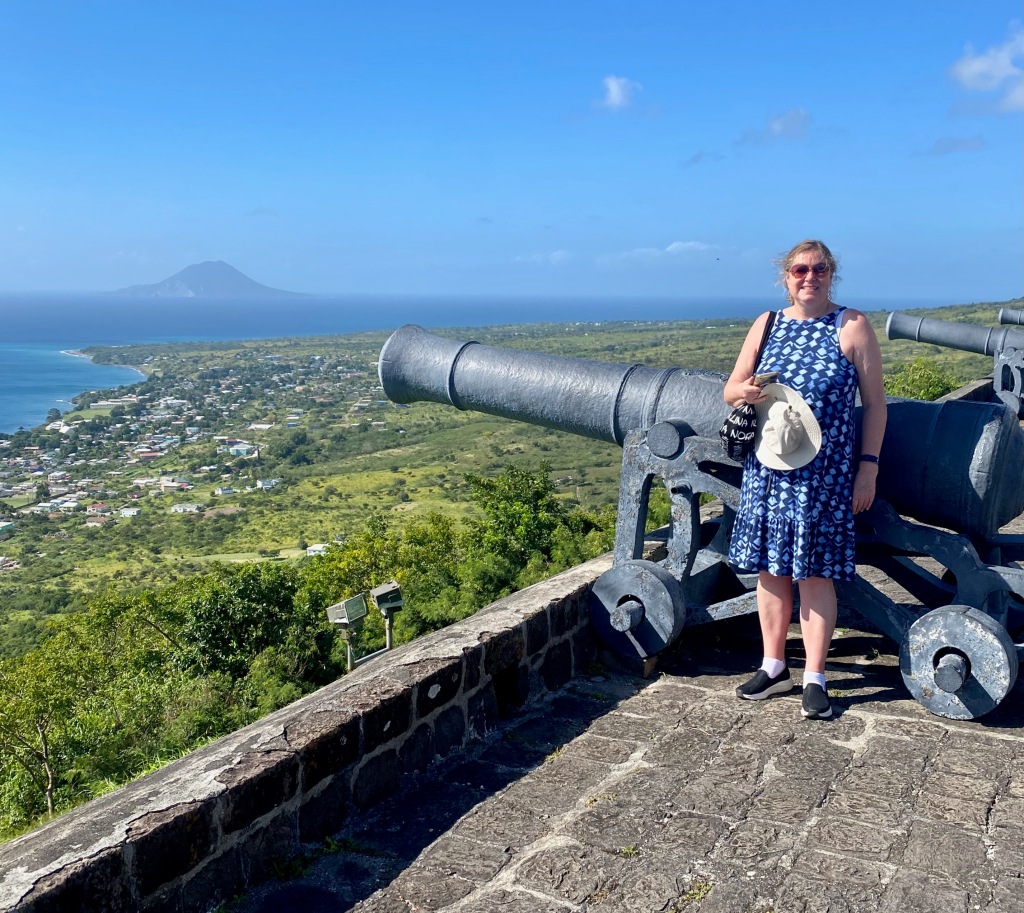
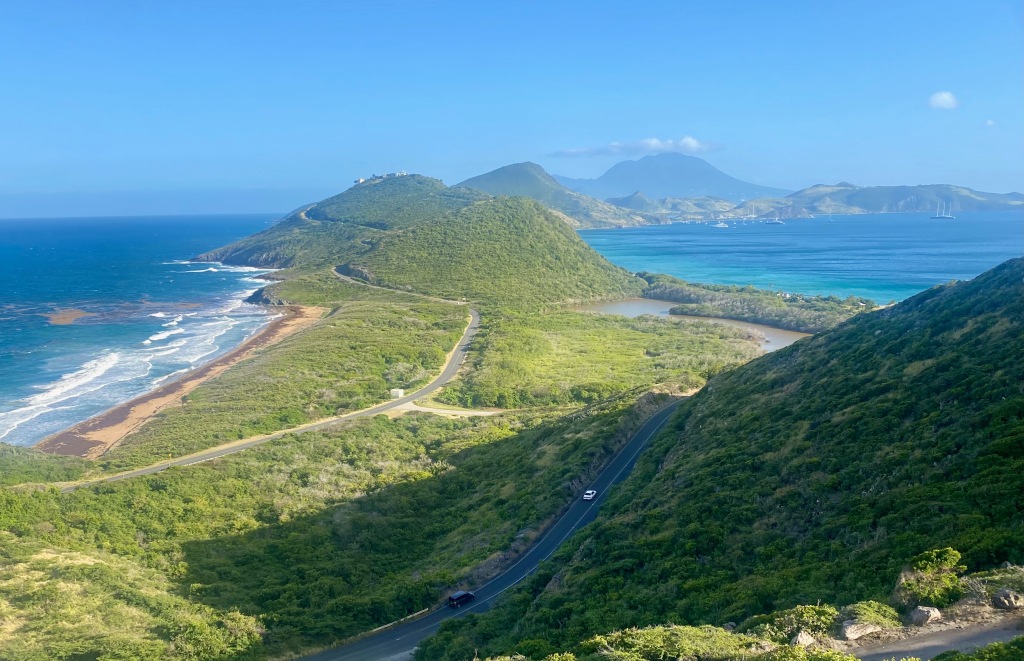
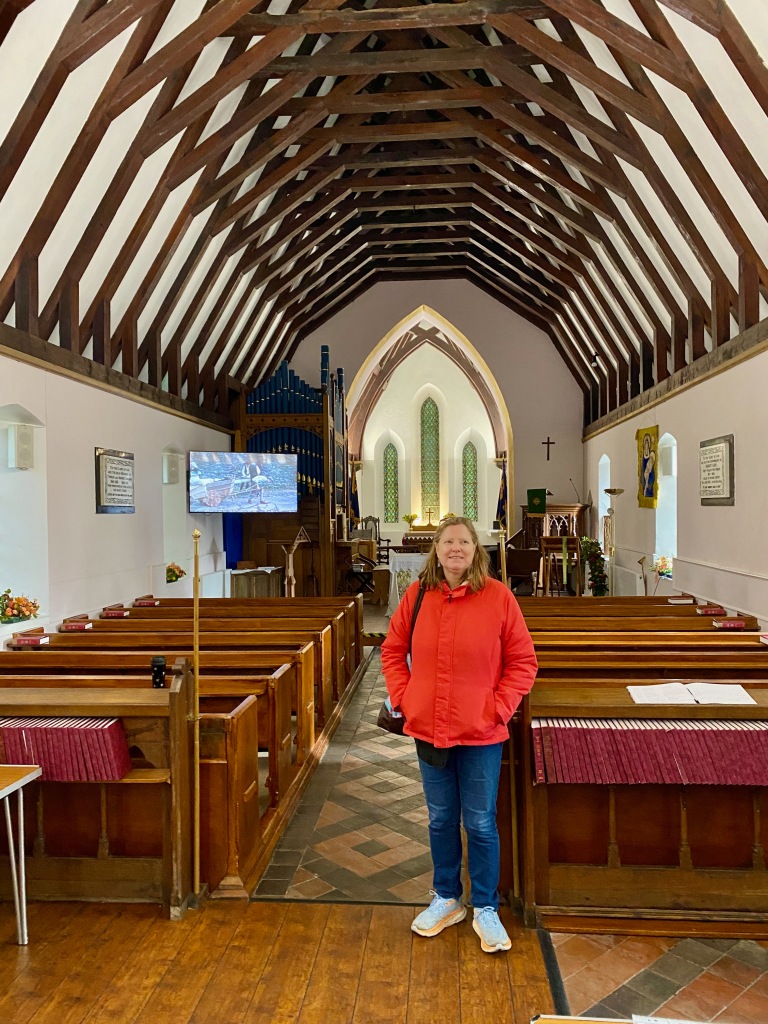
On the morning of February 18, we docked at Basseterre, the main city of St. Kitts. Once on shore, we wandered the city center, talking to volunteers at St. George’s Anglican Church and buying a few goodies at the wonderful Amory Bakery nearby. Our first stop on the tour was the Wingfield Estate, where we strolled the lush gardens and I enjoyed a Carib beer. Our guide Eric told us the island was the first British settlement in the Caribbean and is thus known as “The Mother Colony of the Caribbean.” The historic and scenic highlight was the Brimstone Hill Fortress, “The Gibraltar of the Caribbean,” set high up on a hill with spectacular views up and down the coast. It fell to those pesky French in 1782 but was given back to the British the next year by treaty. From the southeastern end of the island, we could see its neighbor Nevis, birthplace of Alexander Hamilton.
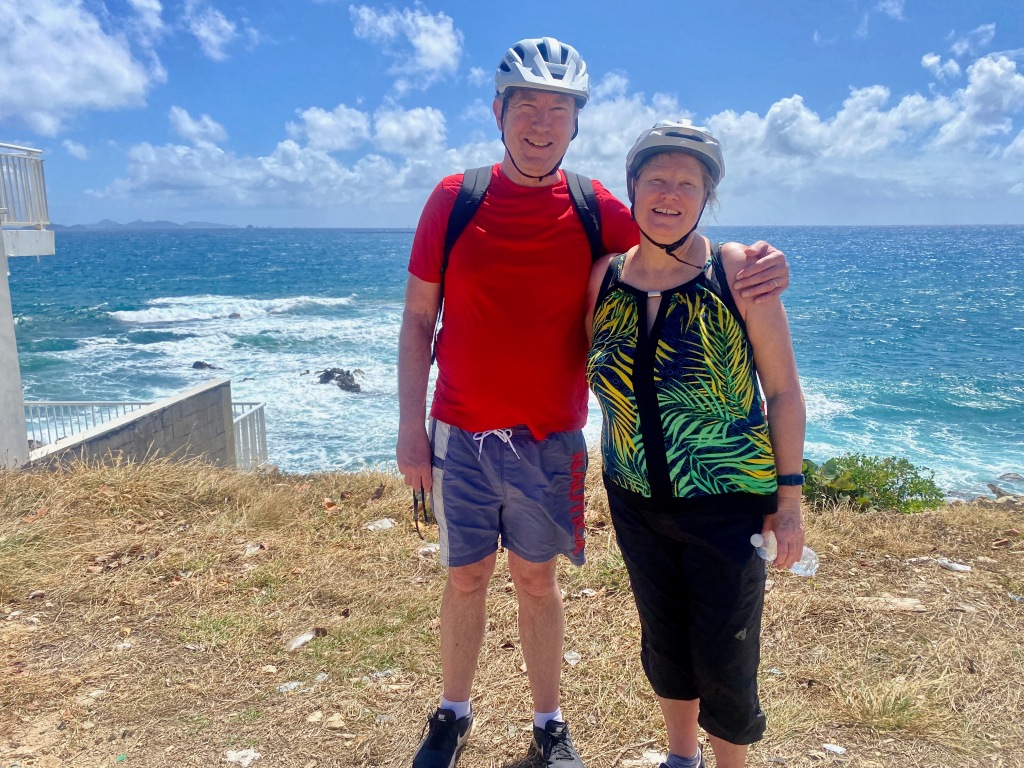
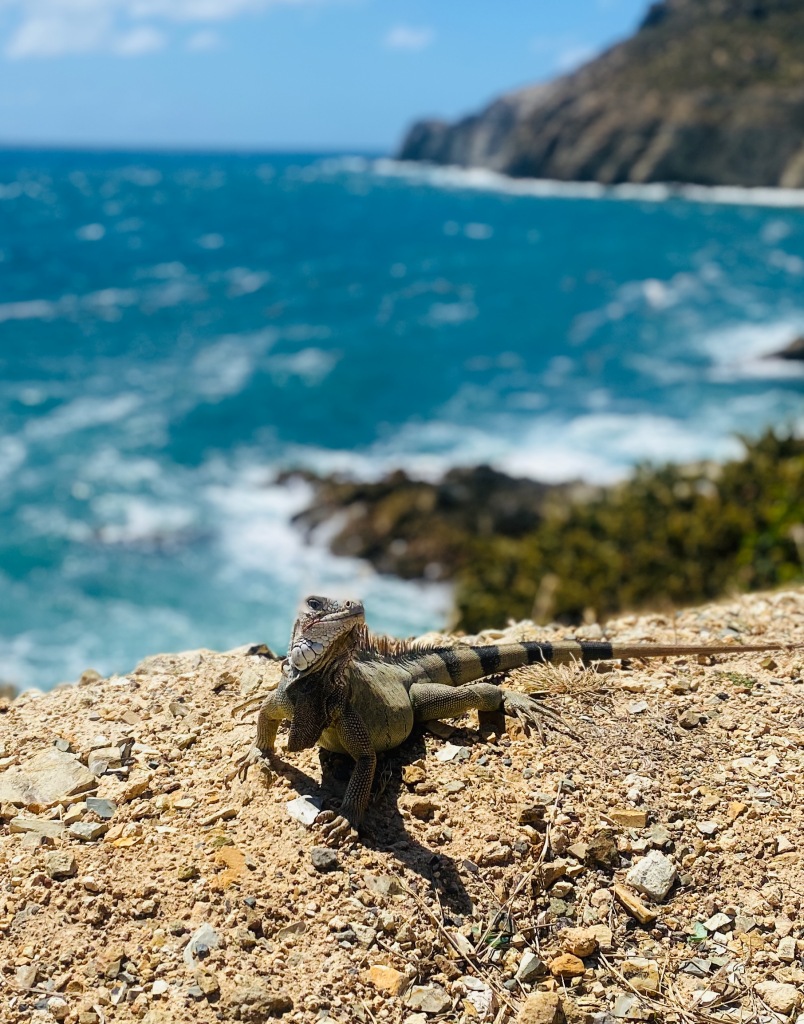
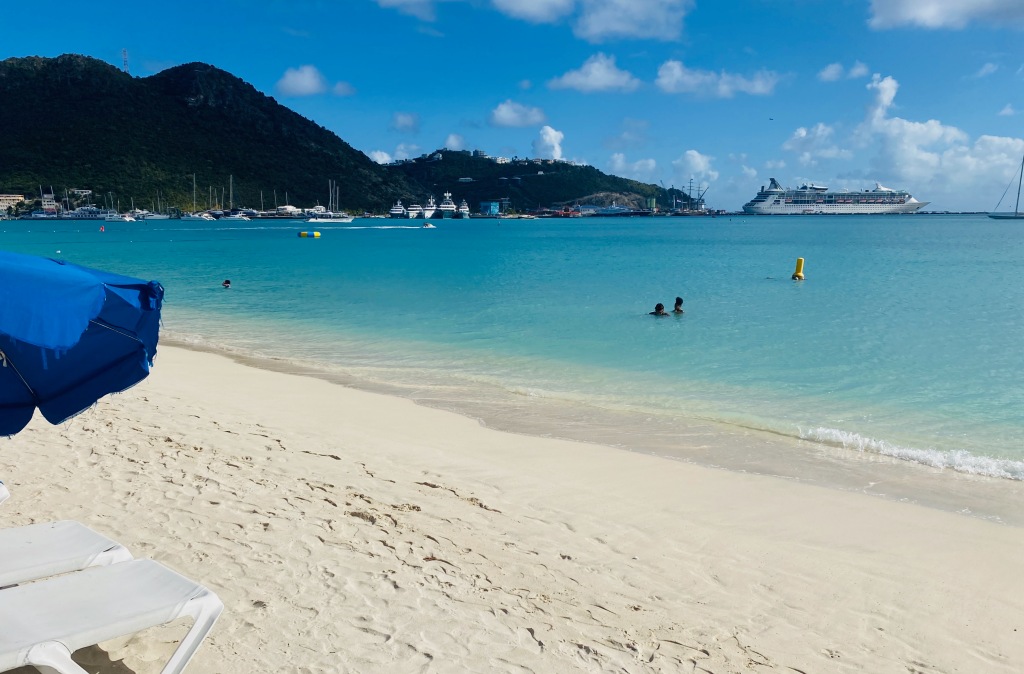
Our final stop in the Caribbean was the port of Philipsburg on St. Maarten. This is the Dutch side of the island with the French governing the other part. For our shore excursion, we took a bike tour with our guide Marcy. We hung out with friendly iguanas on the Atlantic side, which also offered us views of St. Barts Island, a French enclave where many celebrities own homes. We enjoyed a lunch down by the waterfront. I took a dip in the clear blue water, but it was too cold to be enjoyable. Hurricane Irma hit the island in 2017 flooding the beach front and depositing a small ship on Front Street.
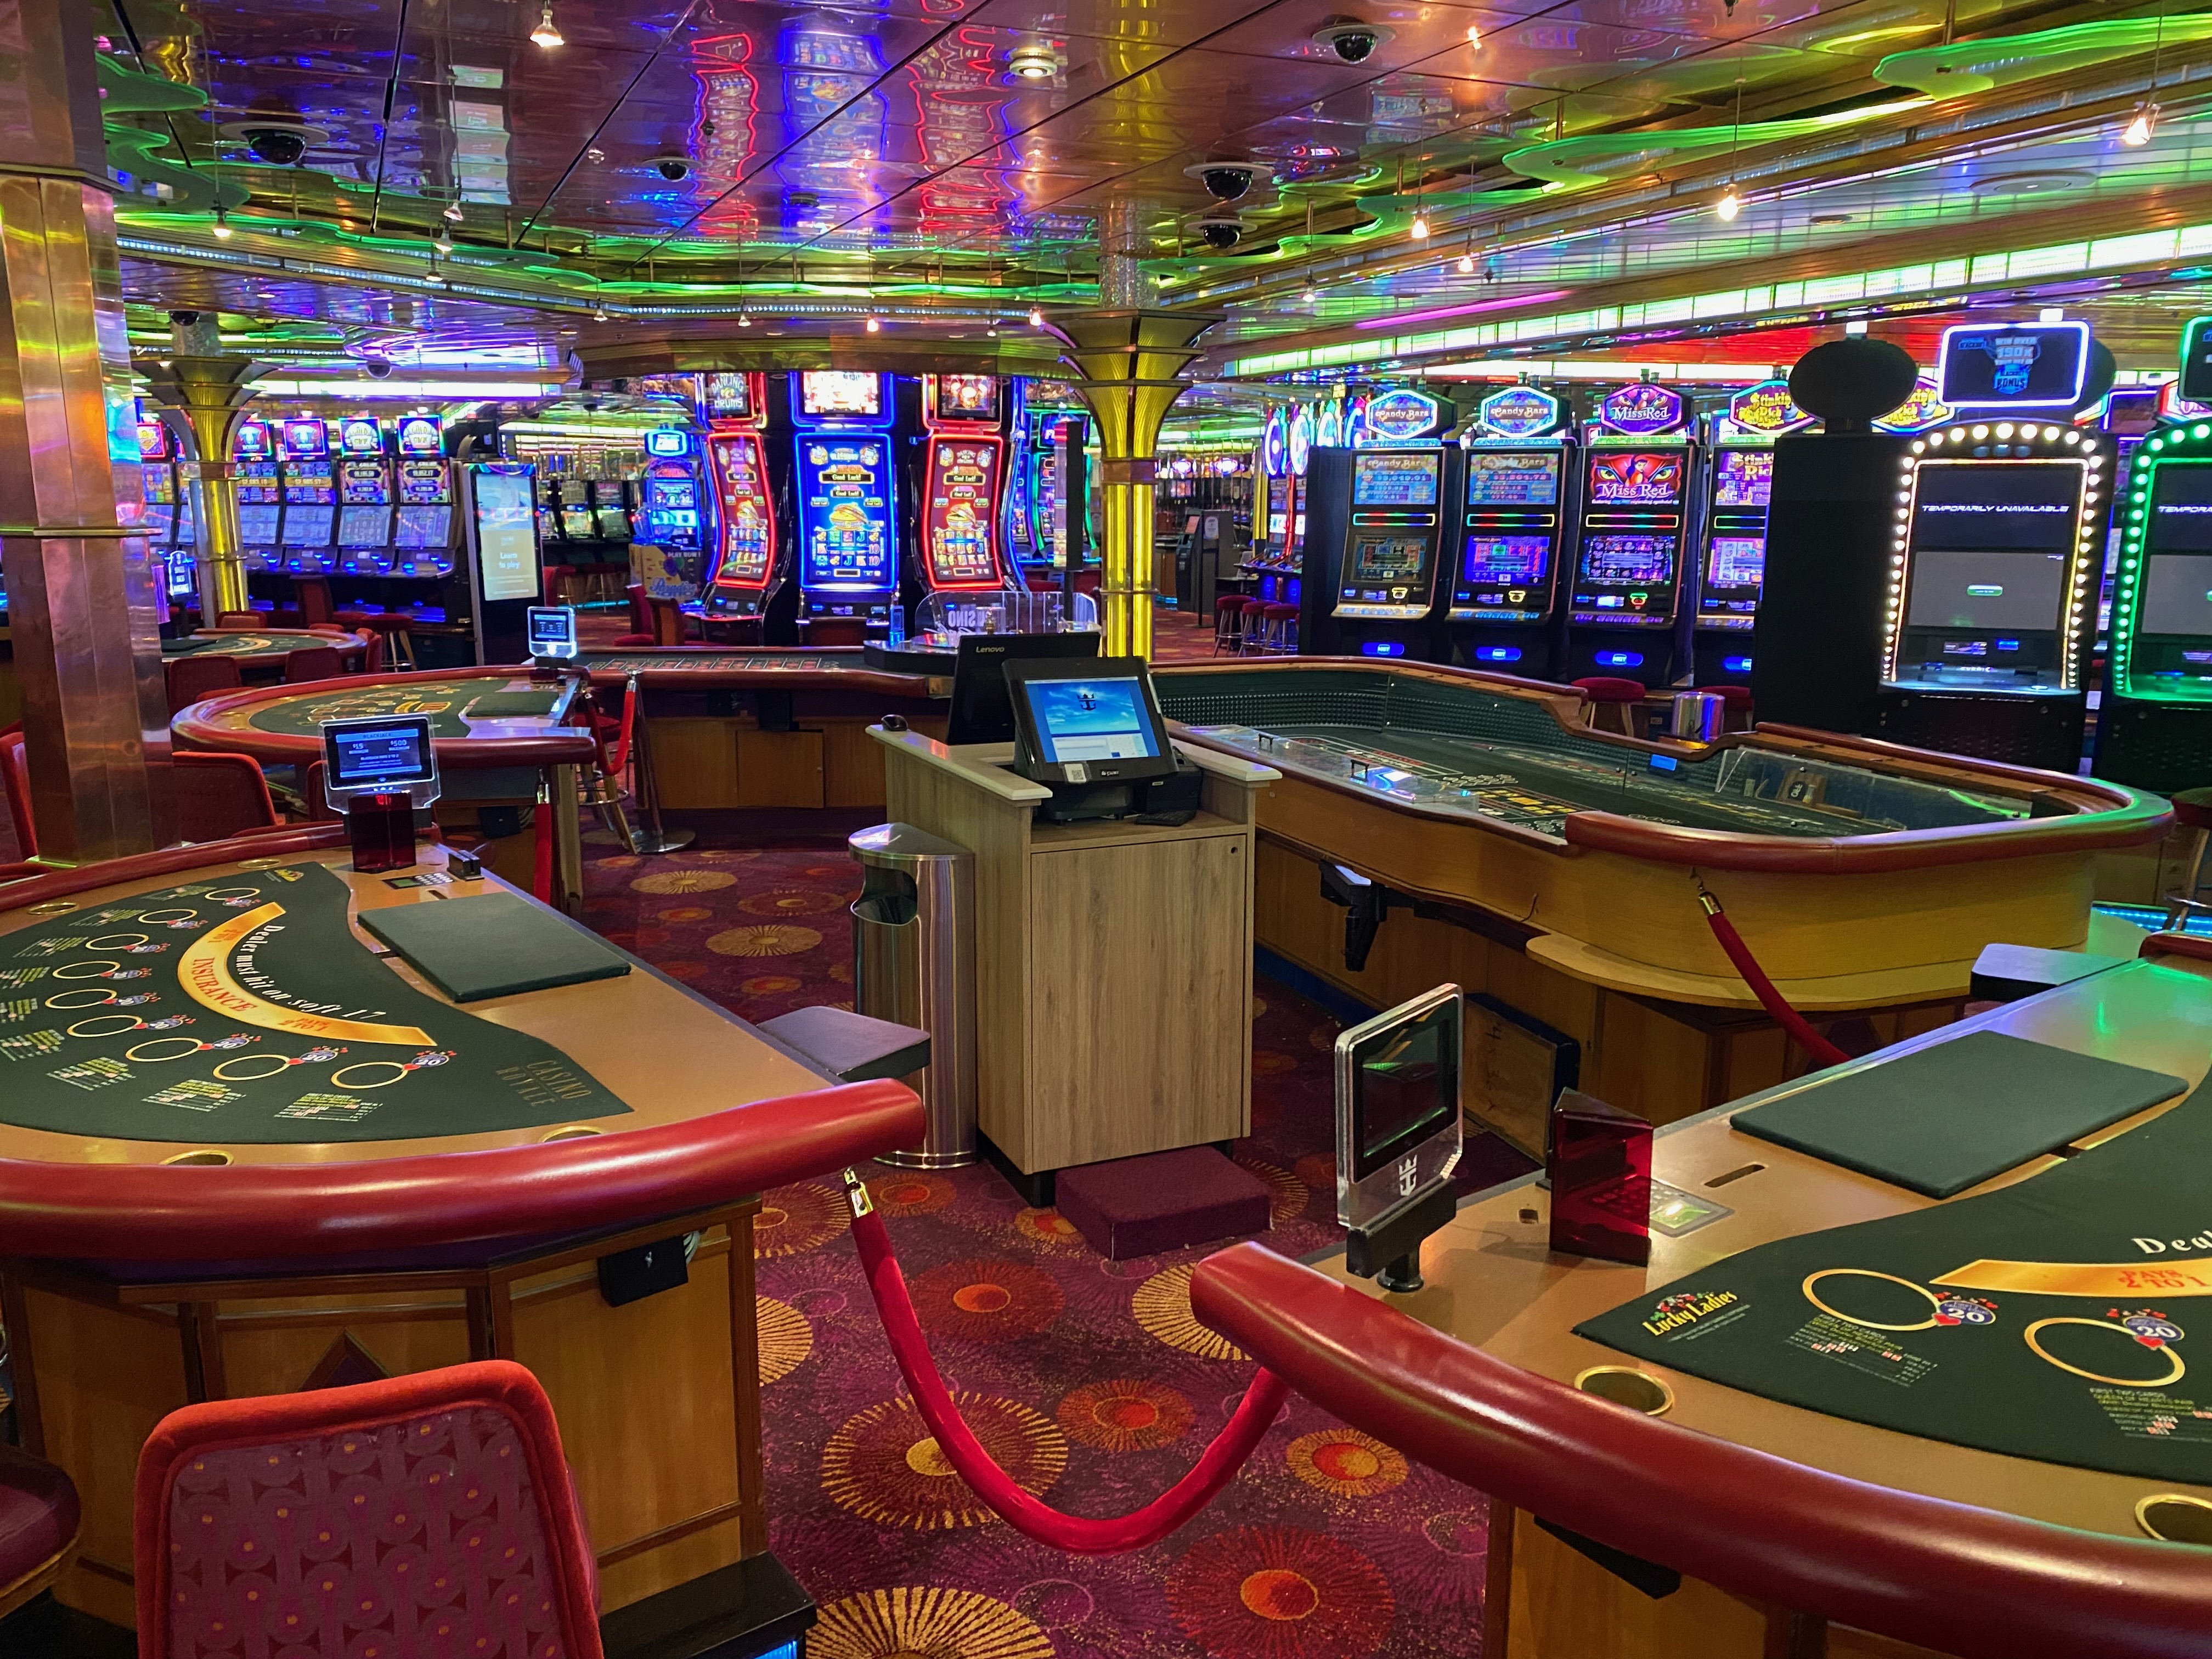
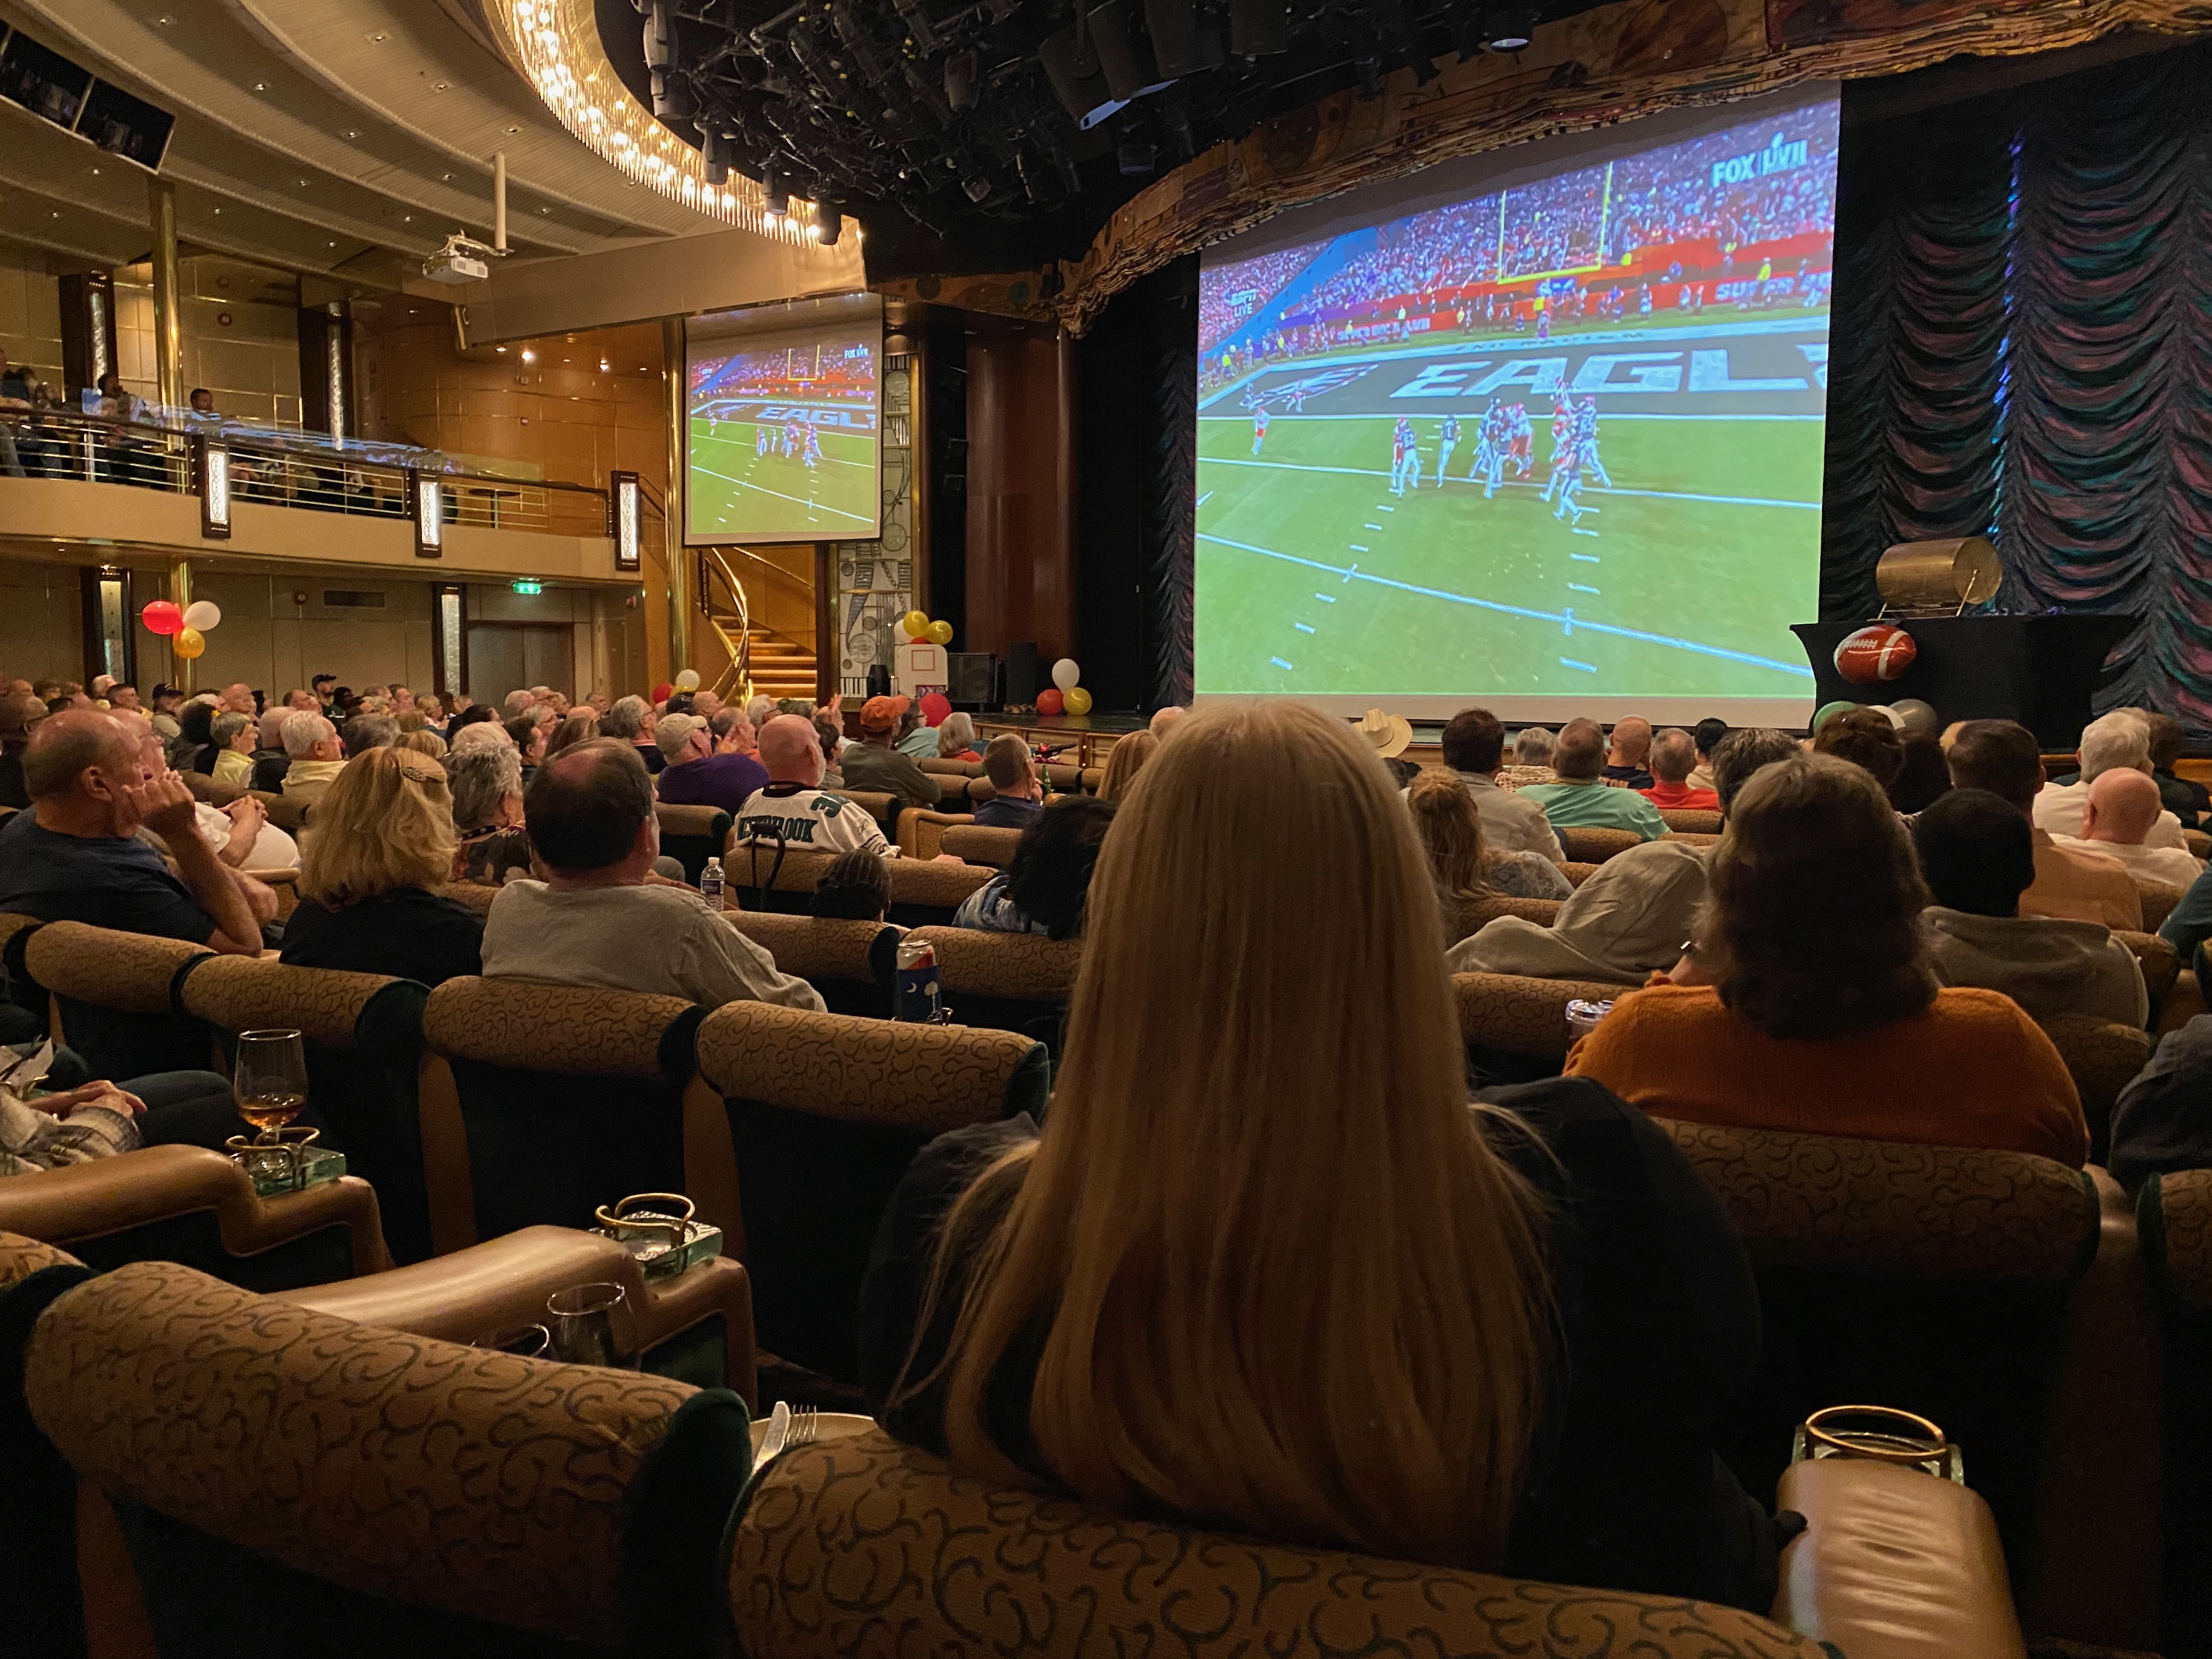
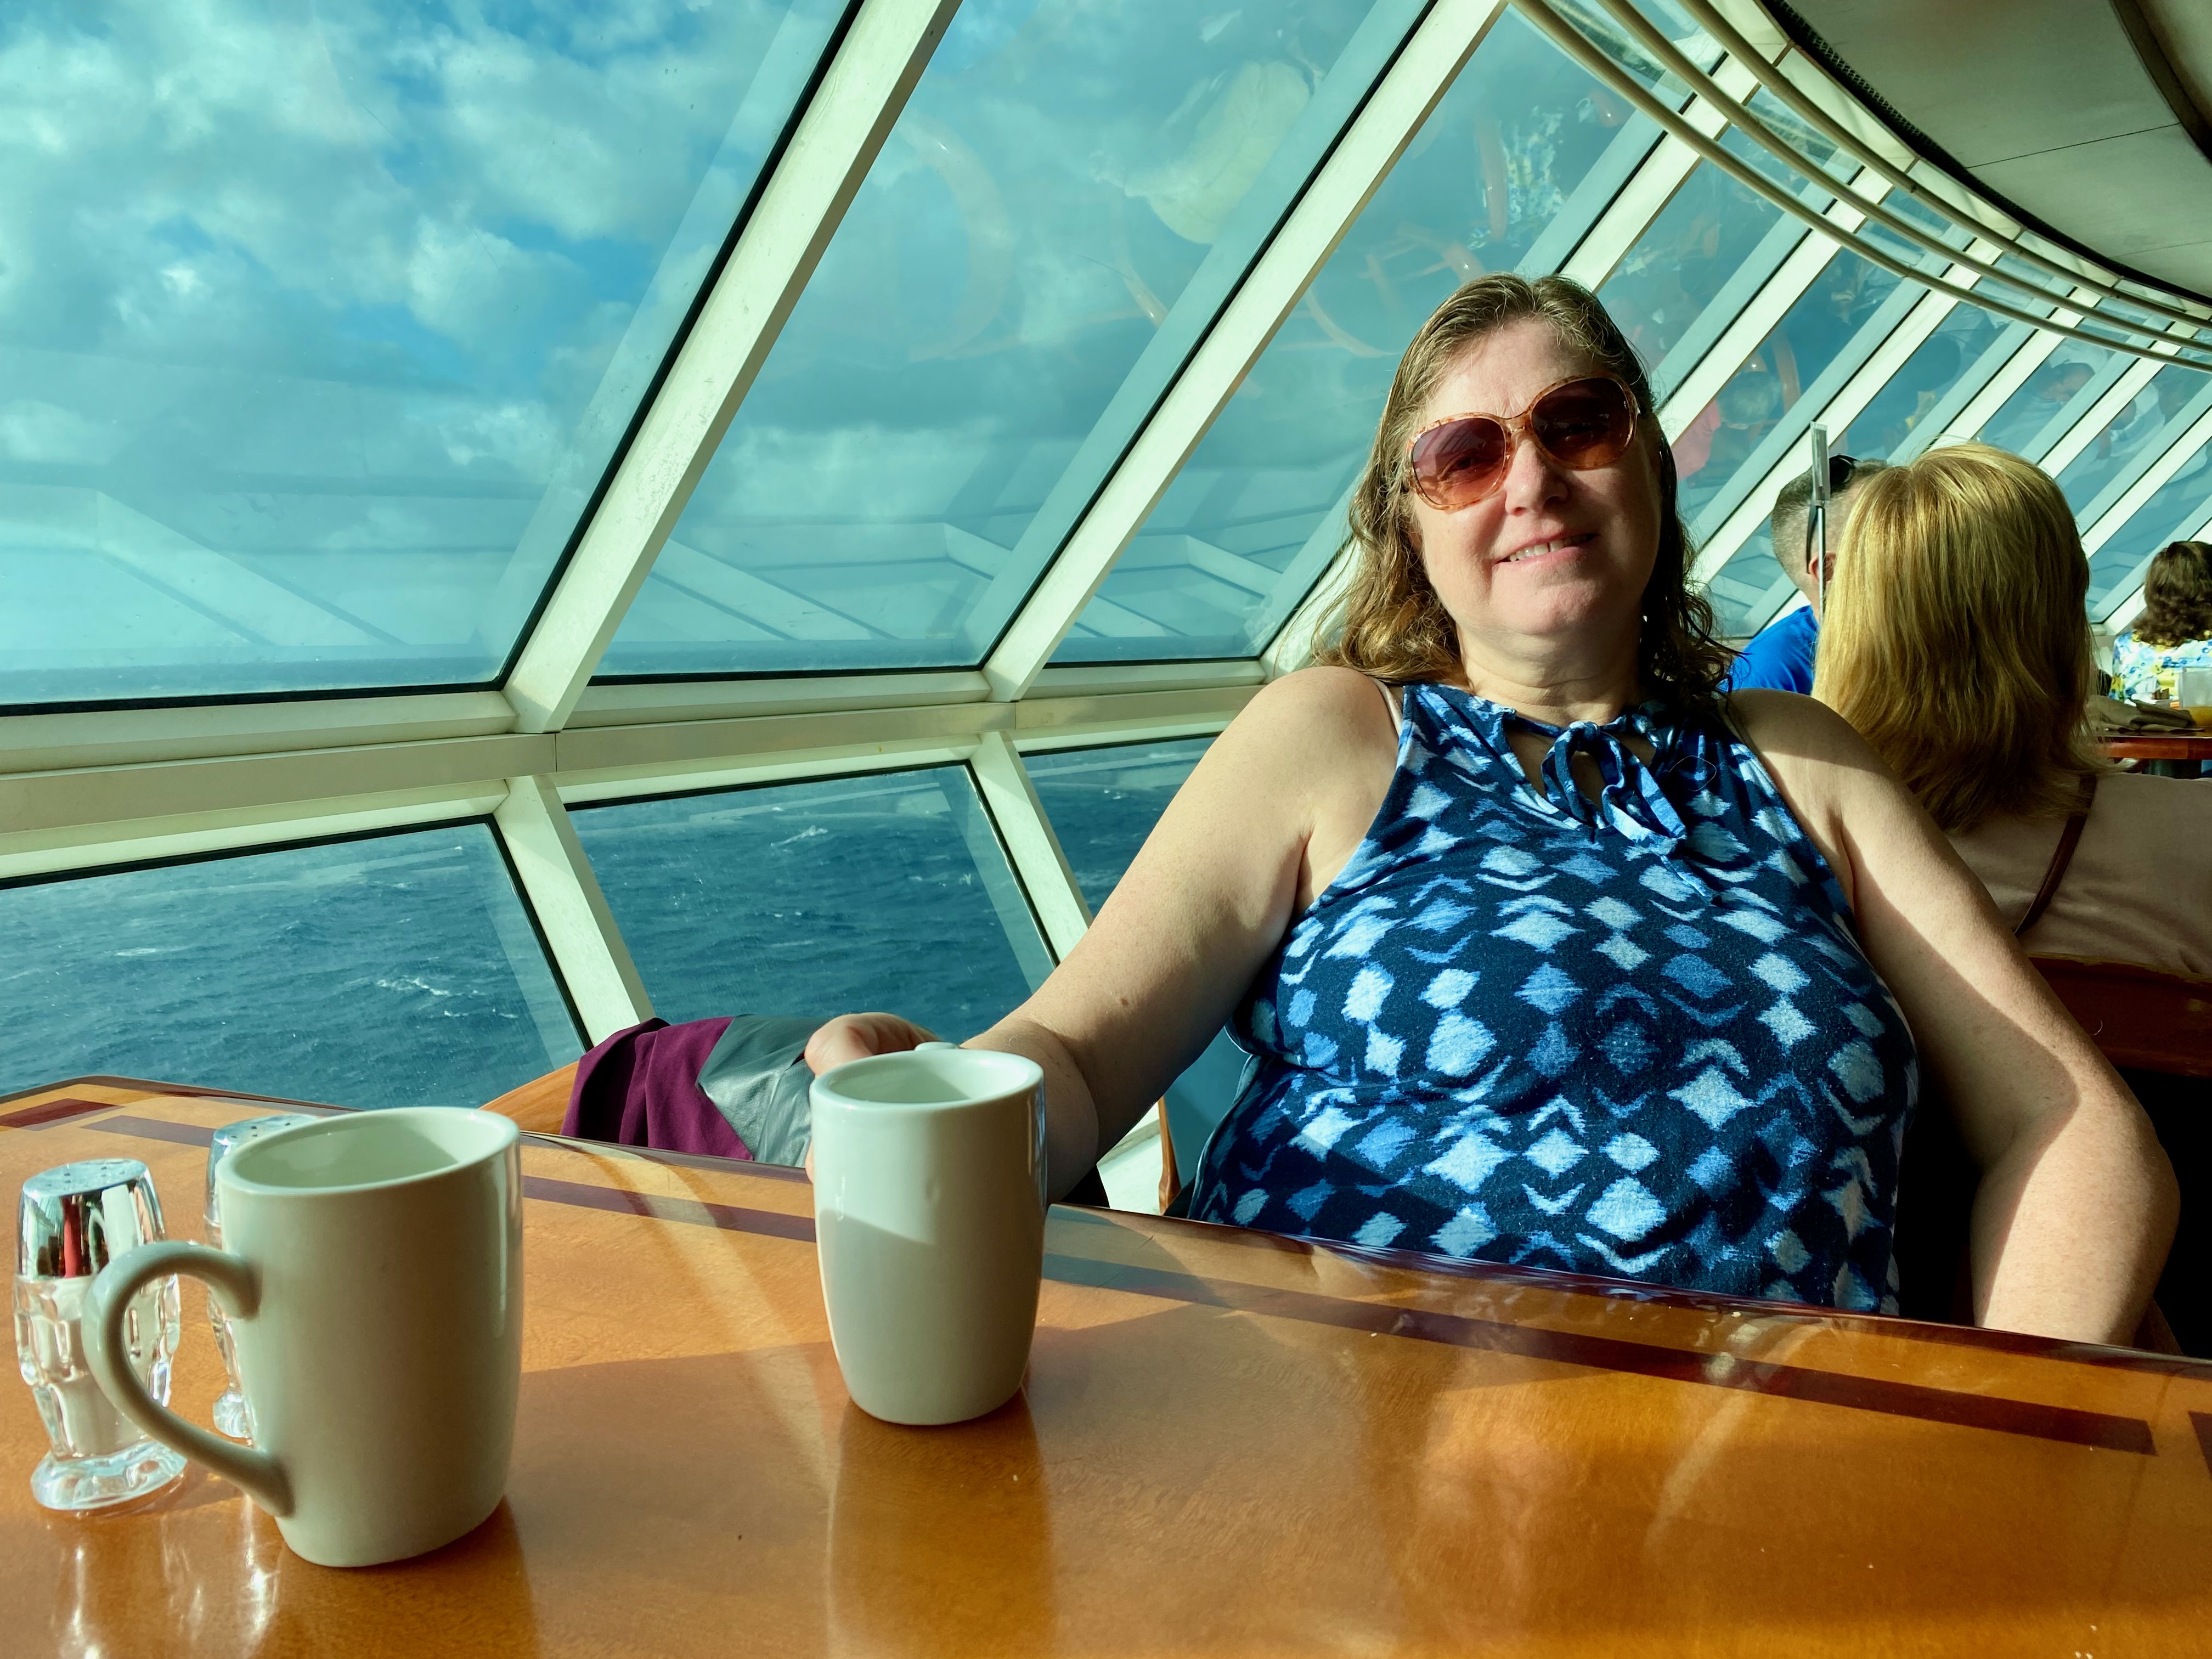
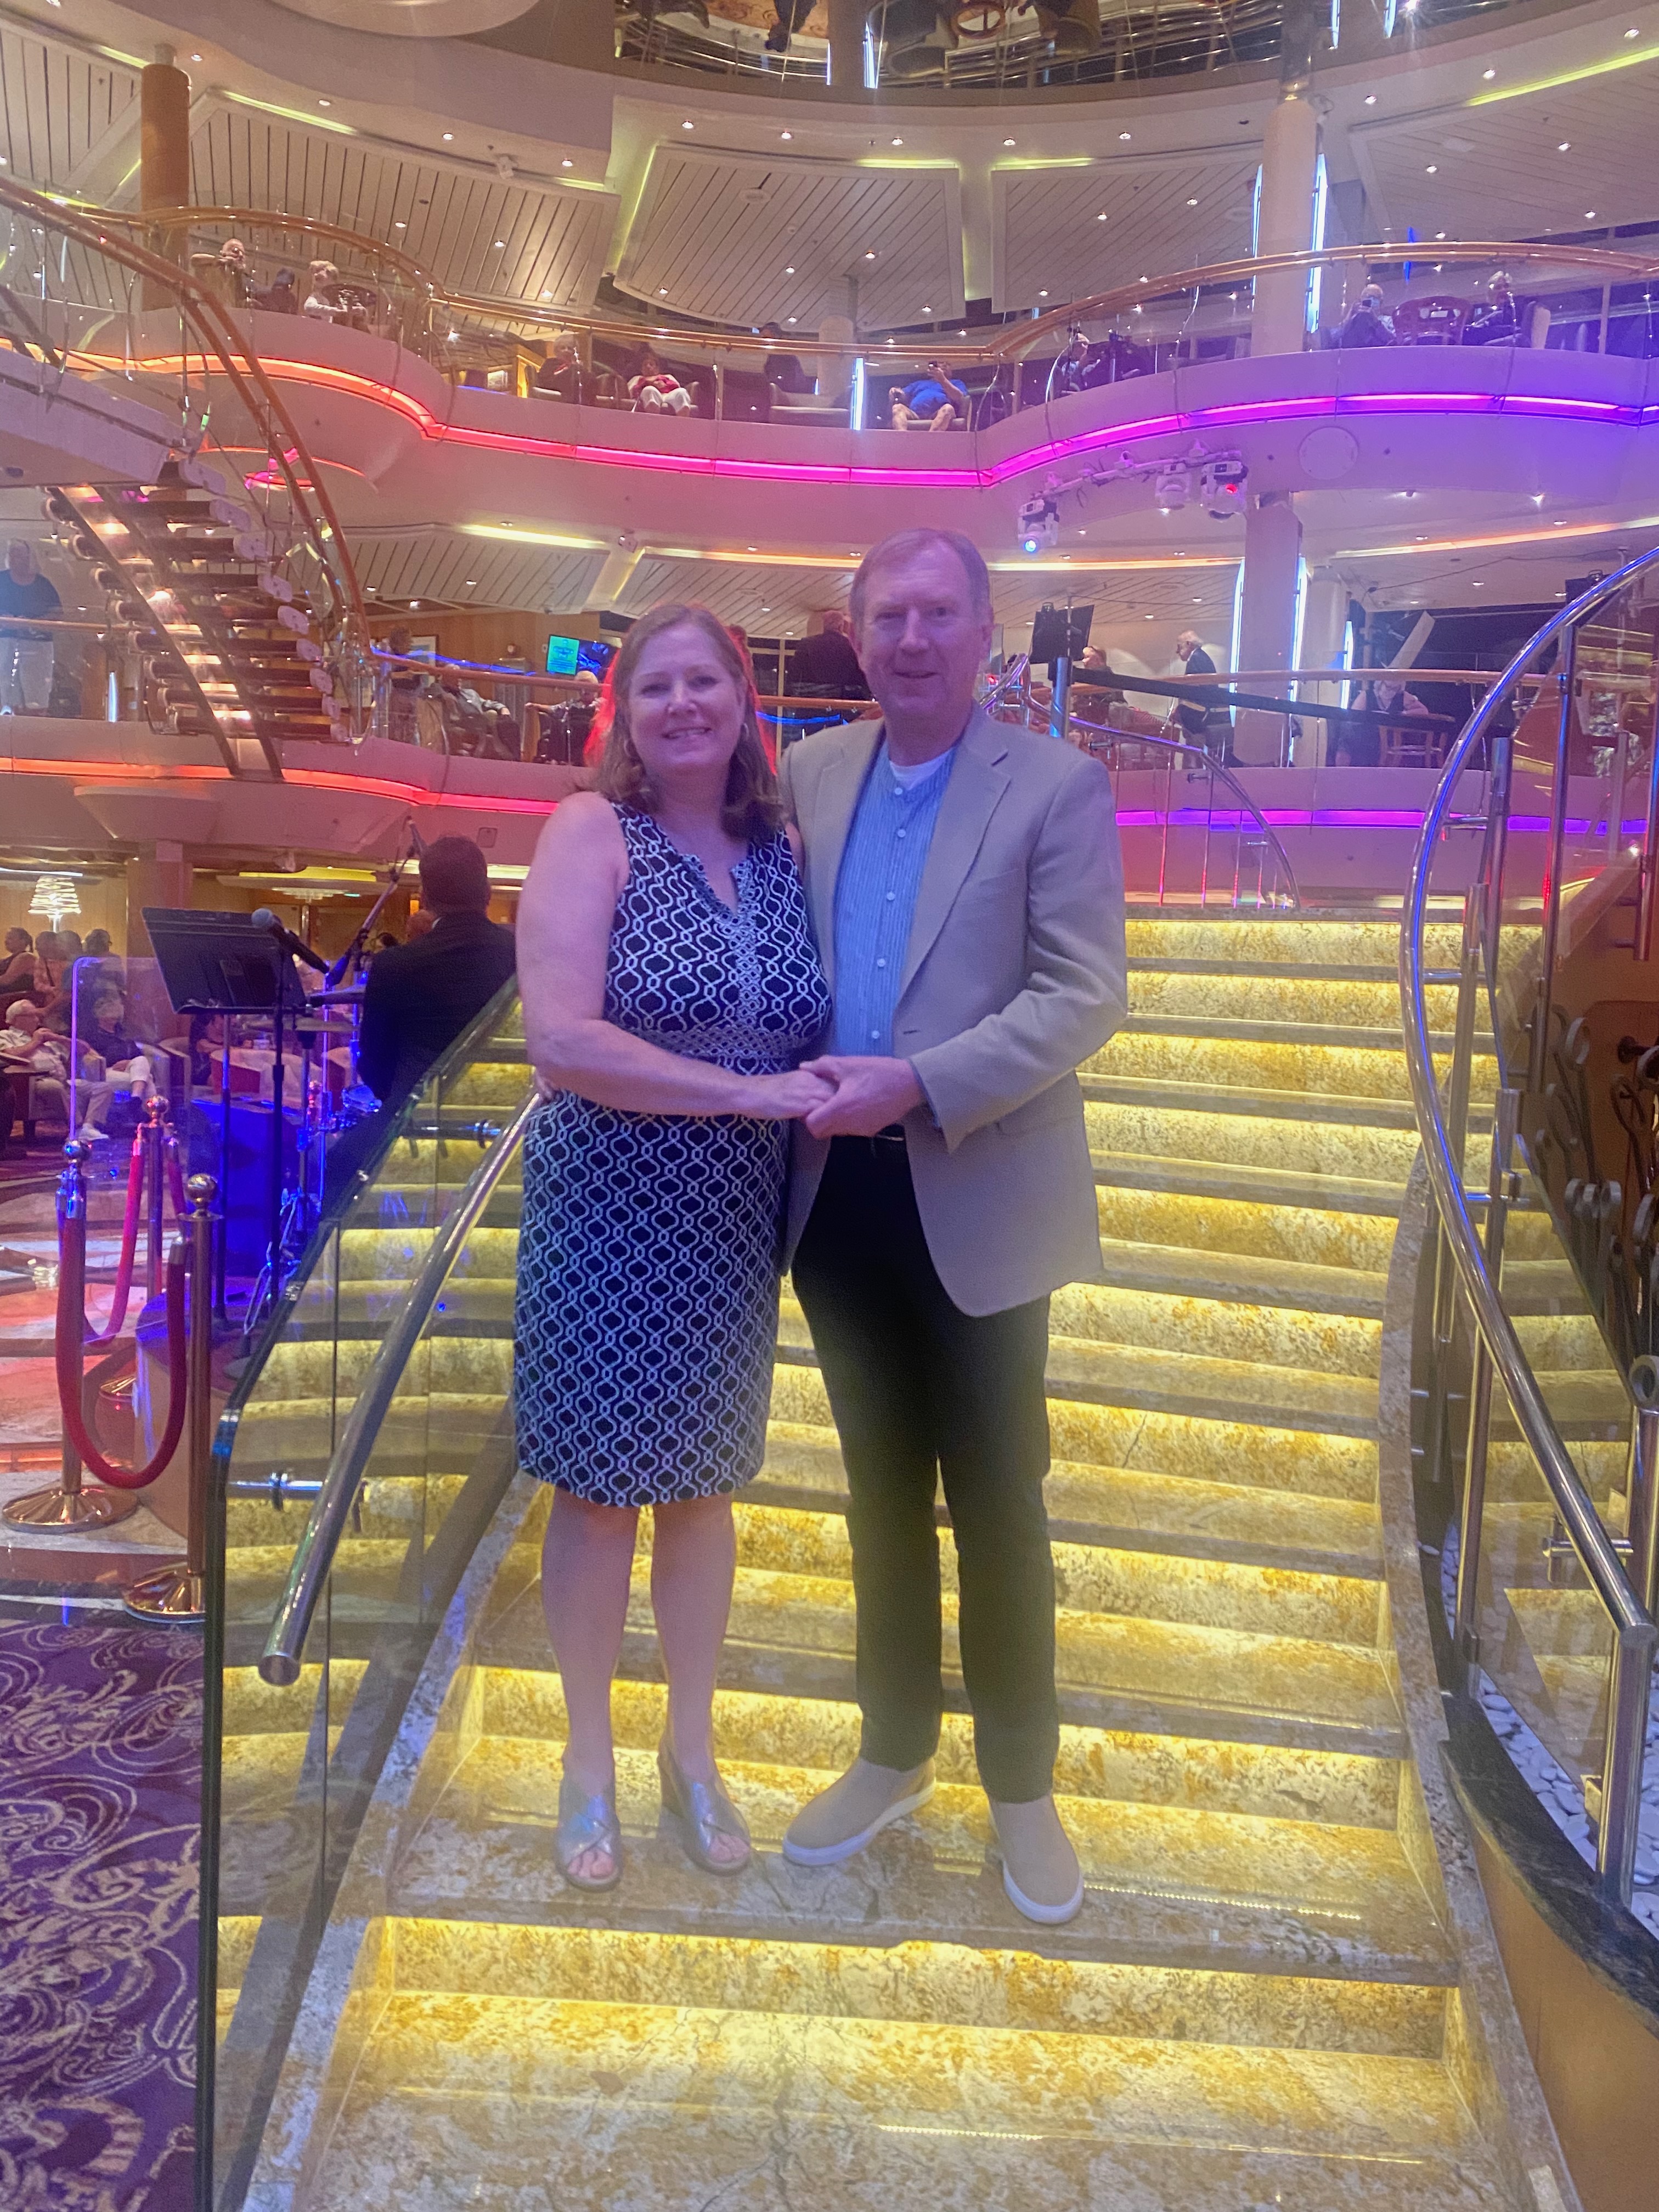
After St. Maarten, we set sail for Baltimore, 1450 nautical miles to the northwest. With the voyage to the Caribbean and back, we spent a total of six days at sea. We enjoyed life on the ship. We ate well–too well, I’ll confess–at the ship’s restaurants. The guest profile skewed older, and we talked to several people who were regular cruisers. Some had bought drink packages allowing them five drinks a day. We had an occasional drink, but the high prices ensured we practiced moderation. We saw several good shows, including one by a woman who did a credible job imitating the voice and style of the British pop star Adele. We also enjoyed Henry and the other pianists who would play requests at the lounges throughout the ship.
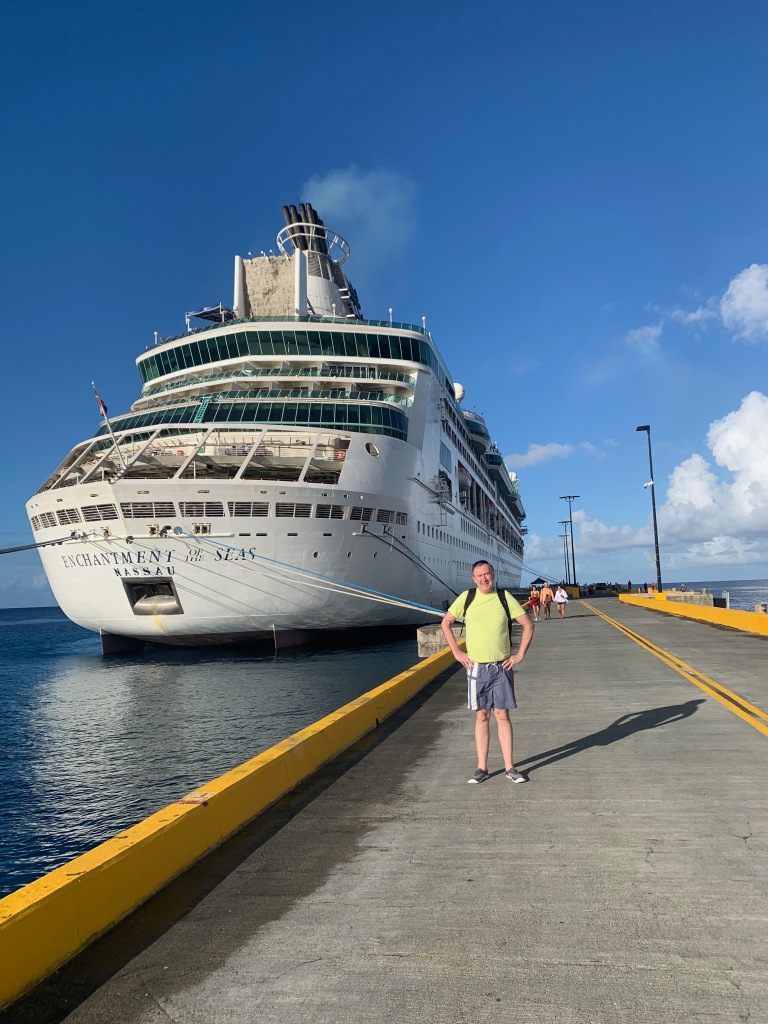
Our Royal Caribbean ship was called the Enchantment of the Seas. At 990 feet long, it’s considered a relatively small vessel for ocean cruising (only about 100 feet longer than the Titanic!). The ship had 11 decks, 1,142 staterooms, and can accommodate about 2,500 guests and 850 crew. Those numbers are very similar to the Titanic, but I refrained from noting that fact to other guests! One other factoid that jumped out at me from the fact sheet available on the ship is that one gallon of fuel will move the ship 80 feet through the water. As you’ve probably read, the trend in the industry is that the new ships are getting larger and larger. Our ship was among a shrinking minority in cruise fleets that are small enough to pass under the Chesapeake Bay Bridge, limiting the ships that are still able to sail from Baltimore.
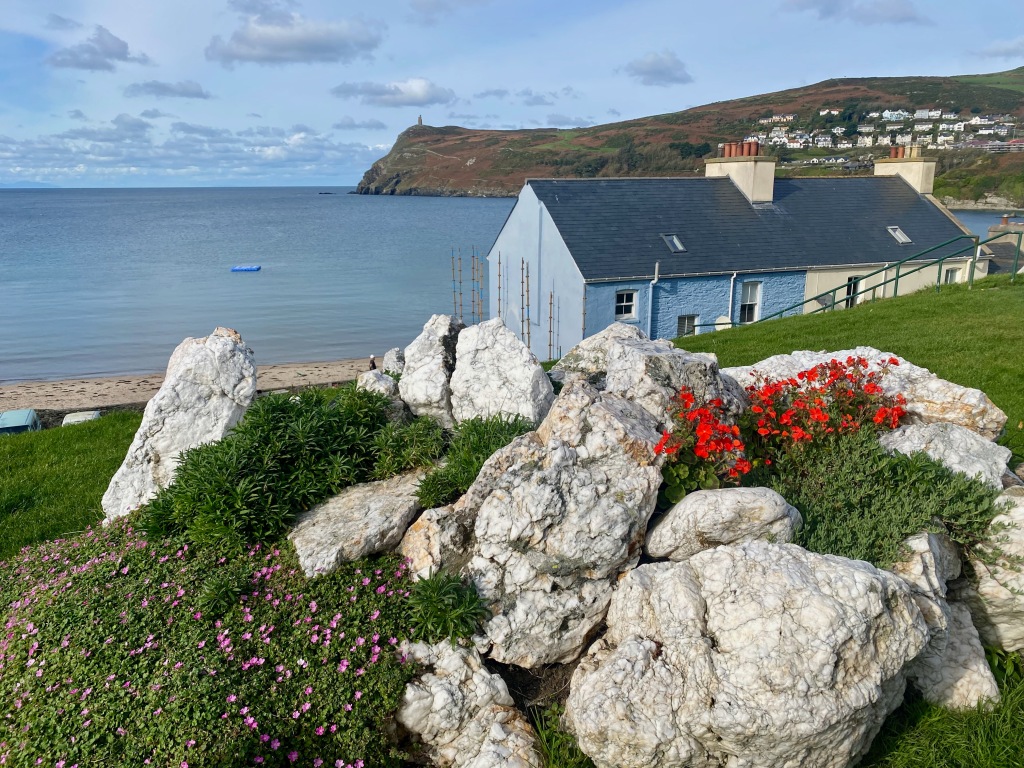
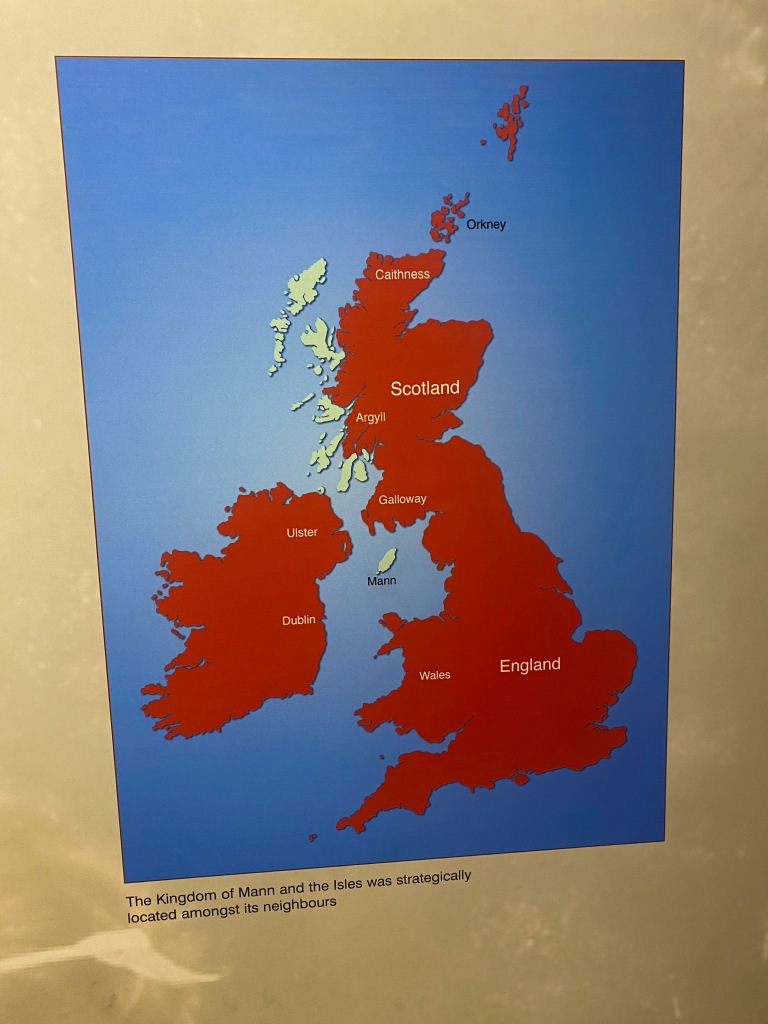
The Isle of Man will stay in my memory as a pastoral patch of green hills set in the Irish Sea, alive with the history of steam trains, castles and a Viking heritage of self-rule going back a thousand years.
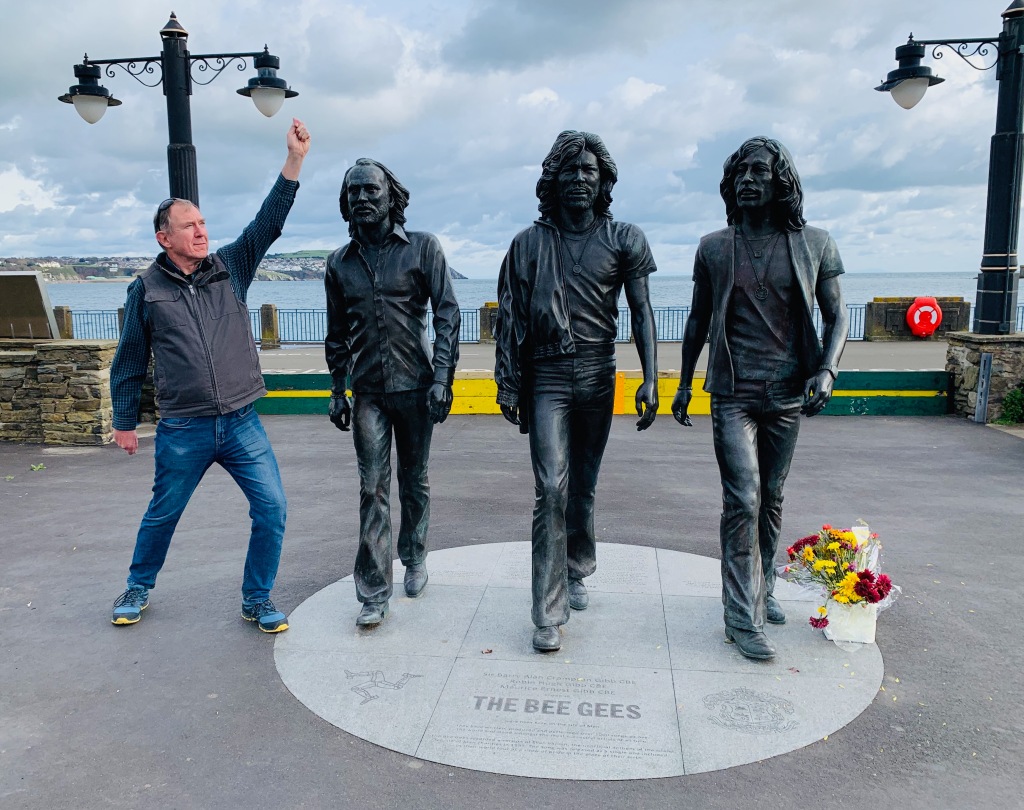
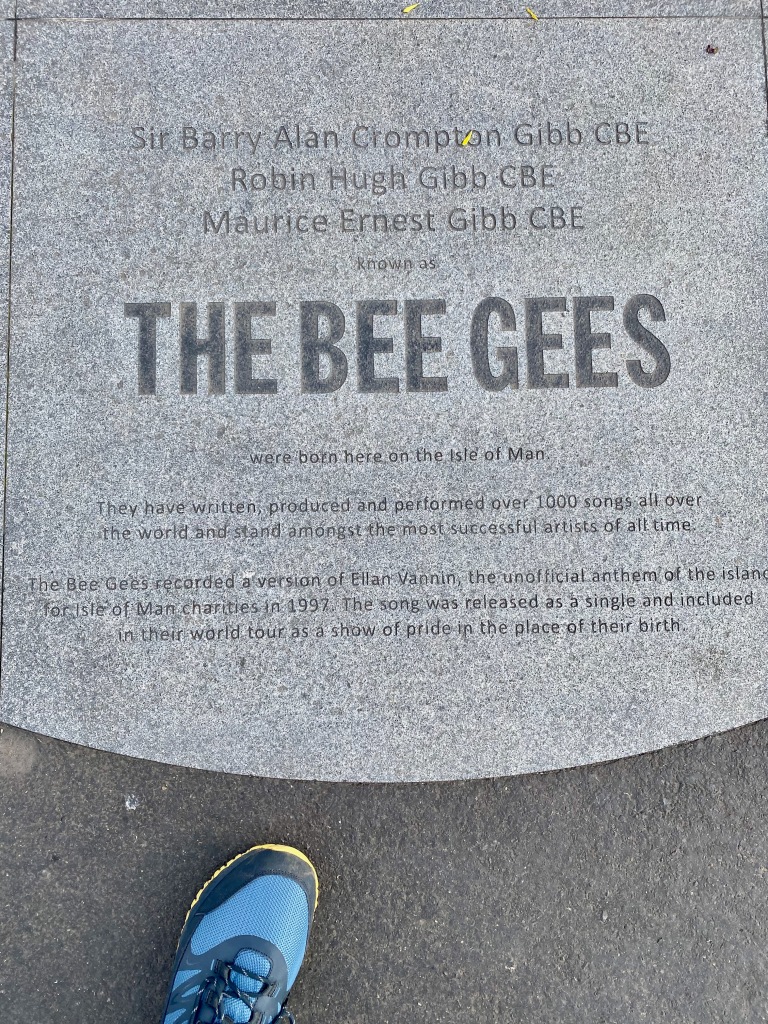
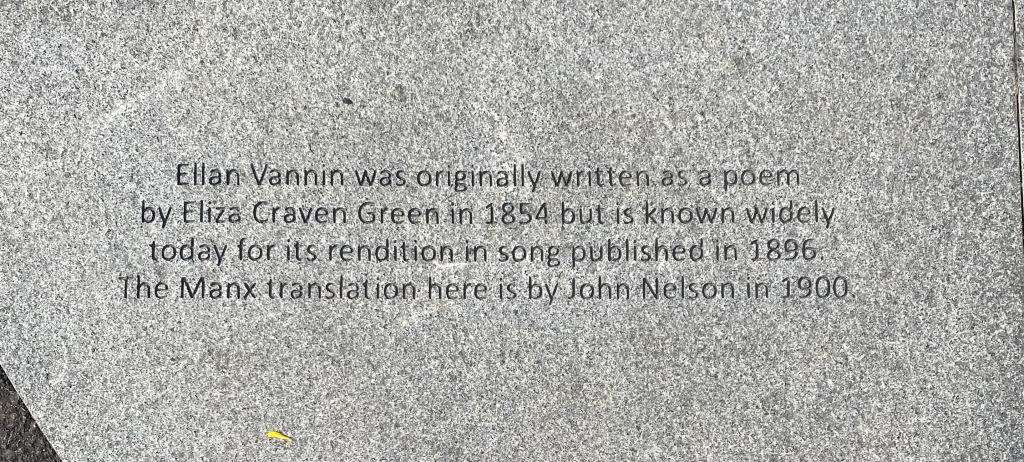
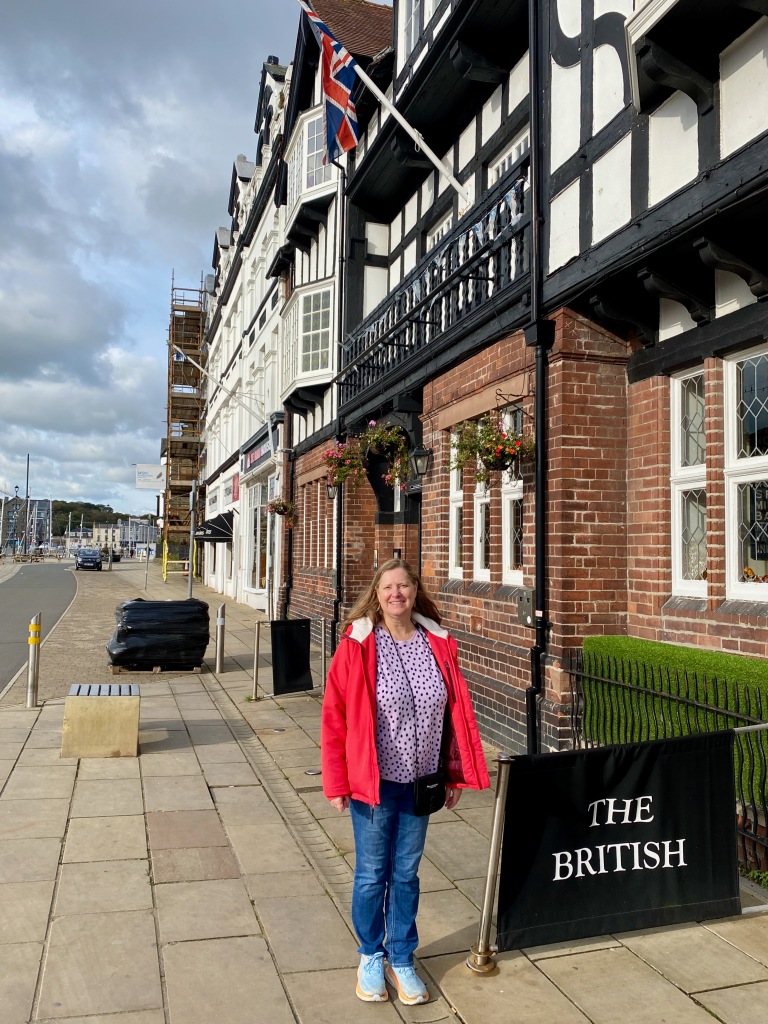
Looking for a field trip during our extended stay in the north of England, Elizabeth and I set off by ferry last week to spend four days on the Isle of Man. We arrived from Liverpool late in the evening of Sunday, October 15. Walking along the promenade the next morning, we found a statue of the three famous Gibb brothers—Barry, Maurice, and Robin, aka The Bee Gees. They were born on the Isle of Man but then moved with their family first to Manchester and then to Australia. Next to the statue was inscribed a famous 1854 poem, “Ellan Vallin,” which is the name of the island in Manx Gaelic. The poem was set to music later in the century and has become the island’s unofficial national anthem. It was performed beautifully by Robin Gibb and the Bee Gees themselves in 1998. (See the YouTube video at the end of the post.)
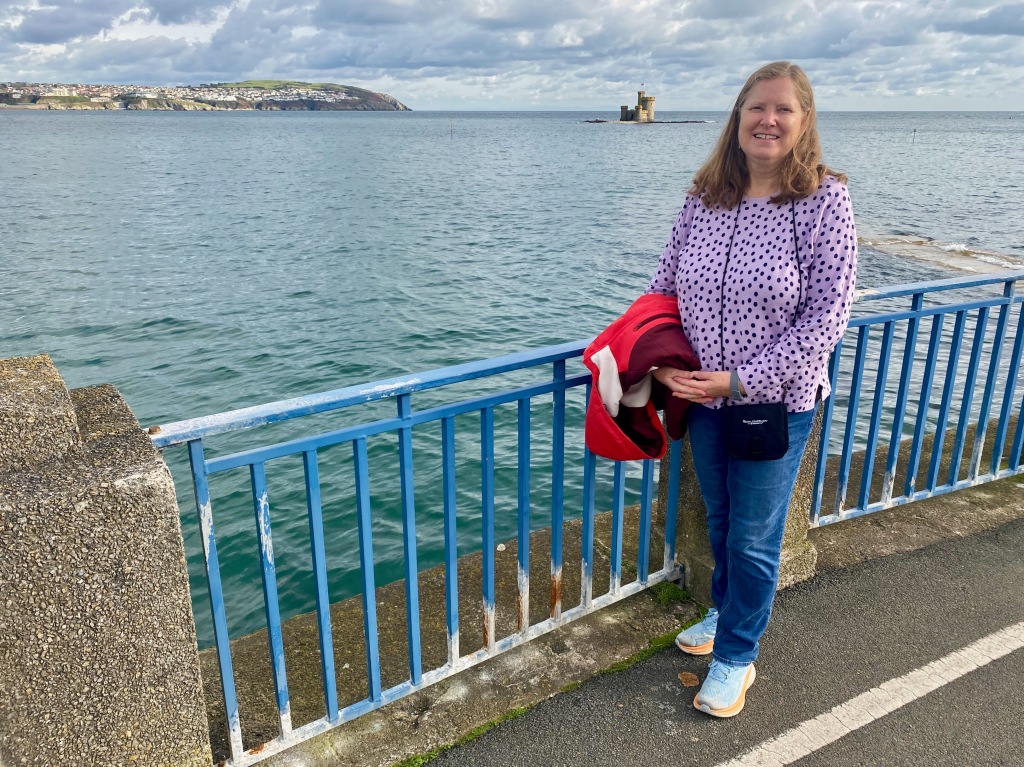
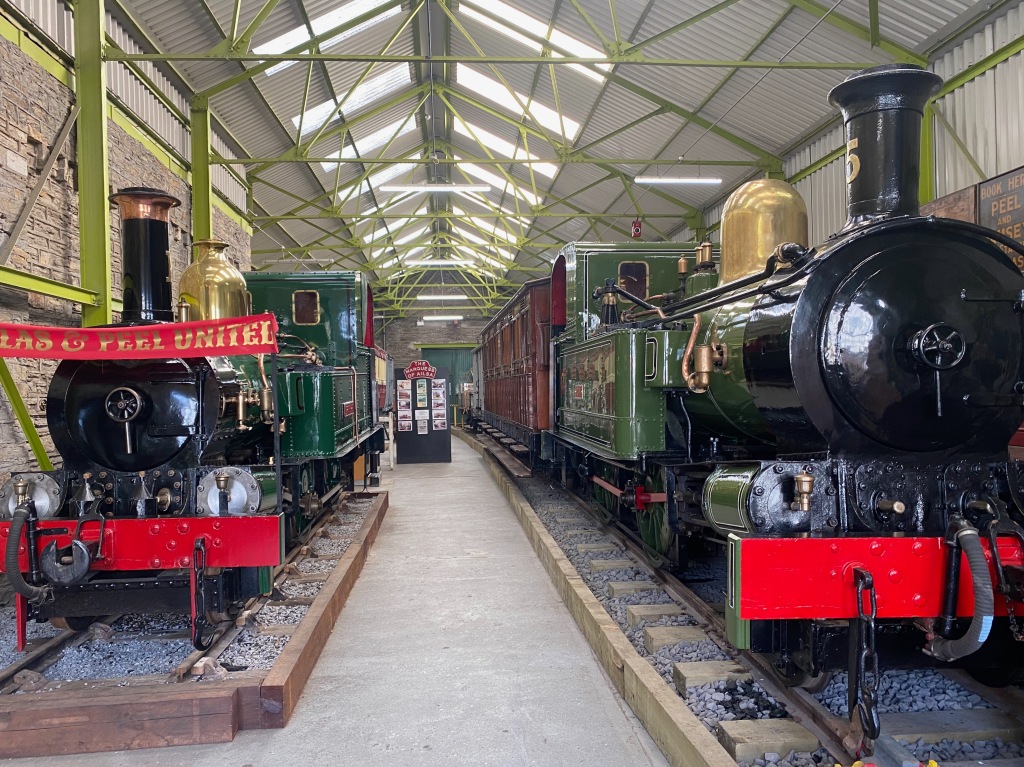
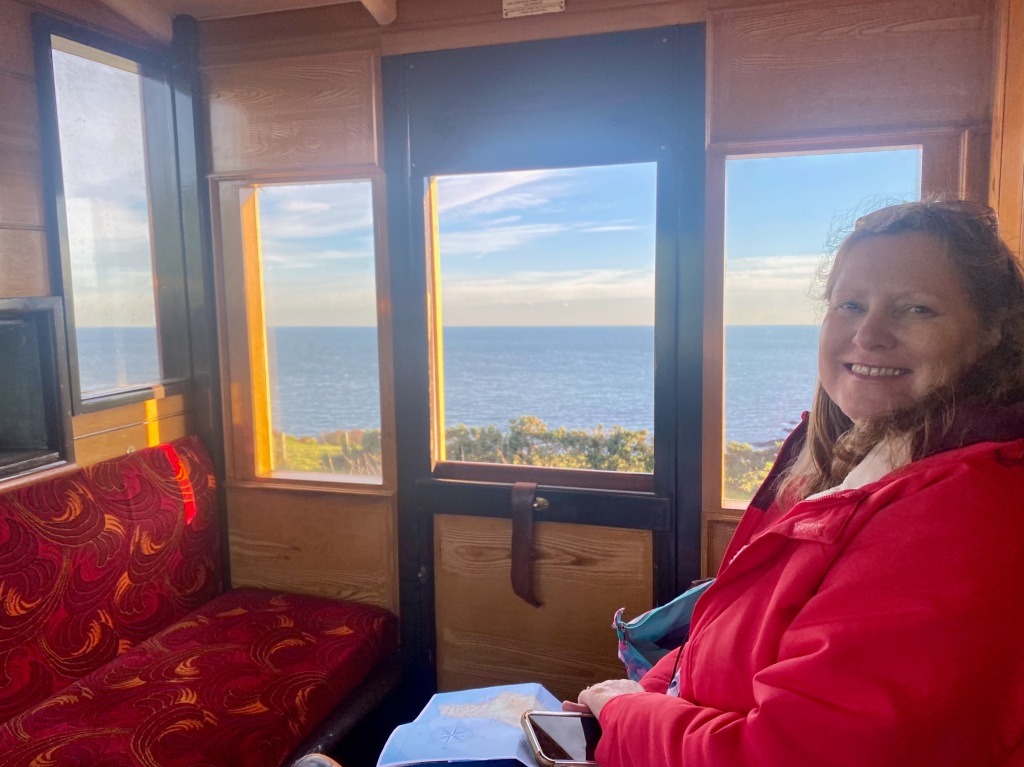
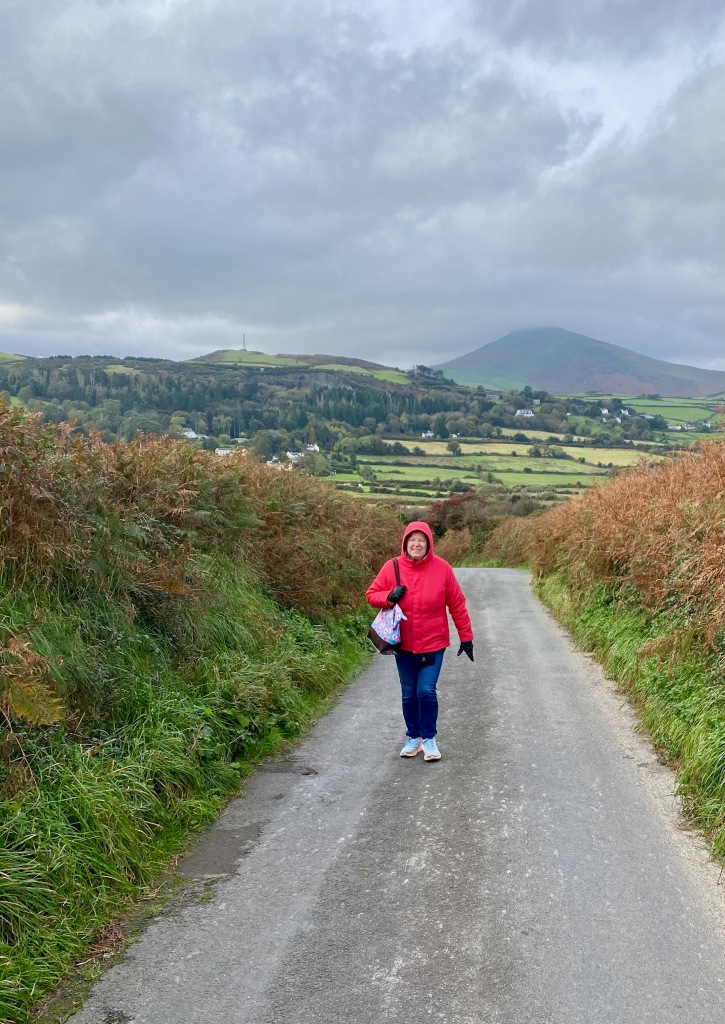
We then hopped on a bus for the town of Port Erin on the southwest end of the island. We were encouraged by a nice lady at the visitors center to hire a cab when we got there to go on to tip of the island to a café overlooking The Sound and the small Isle of Calf. Alas, there was no taxi or Uber service available, so we walked to the end of the village overlooking a bay and the Milner Tower in the distance. Then we headed to the Isle of Man Steam Railway Station in town where we toured the small railway museum before boarding the train for Castletown on the way back to Douglas.
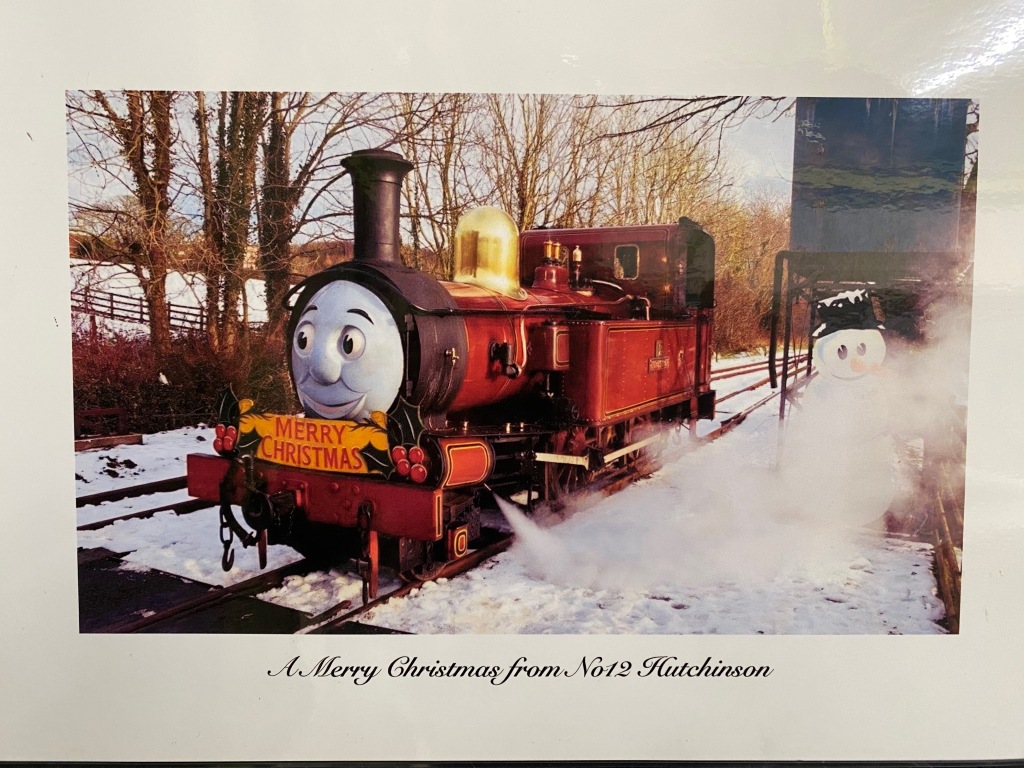
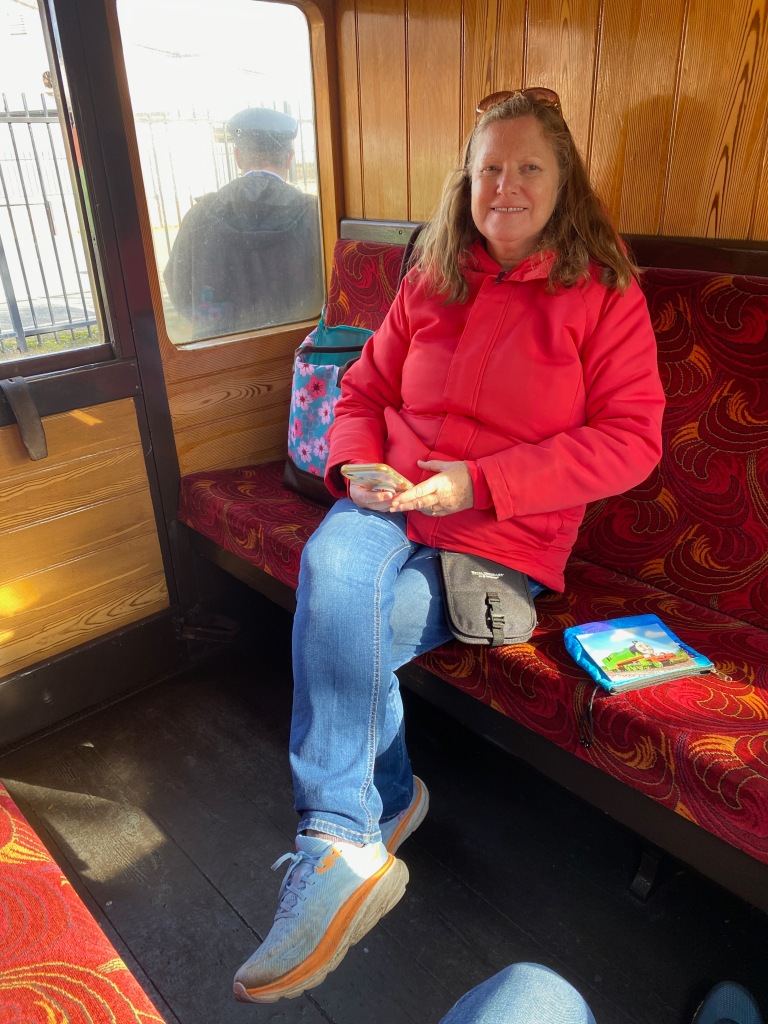
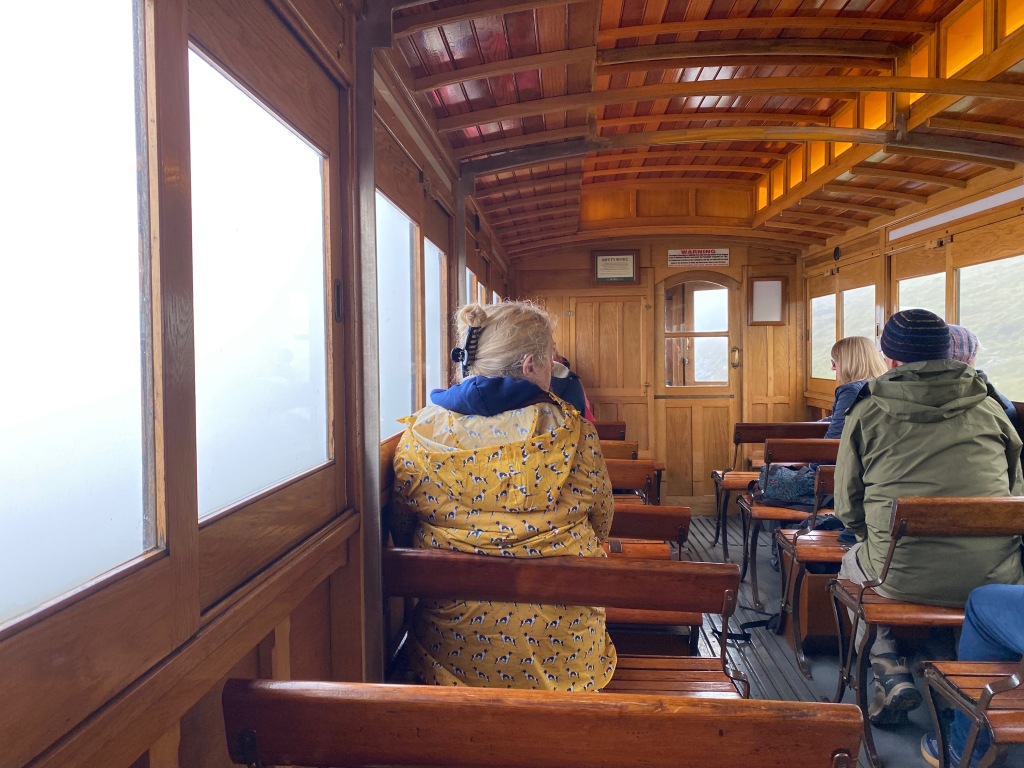
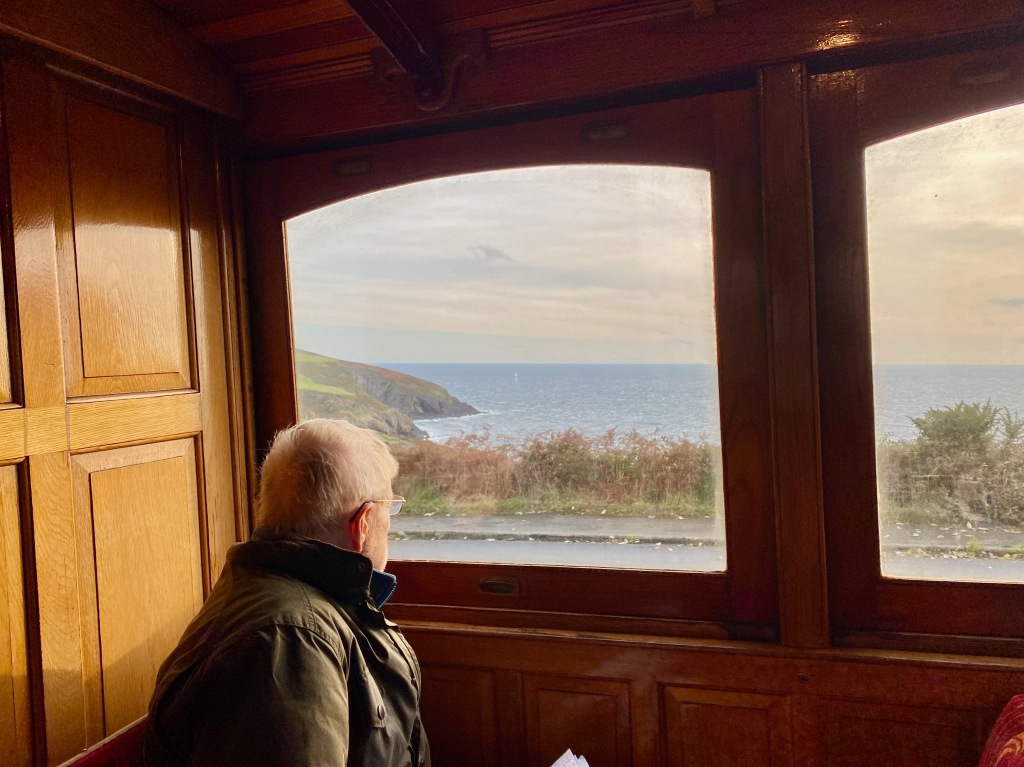
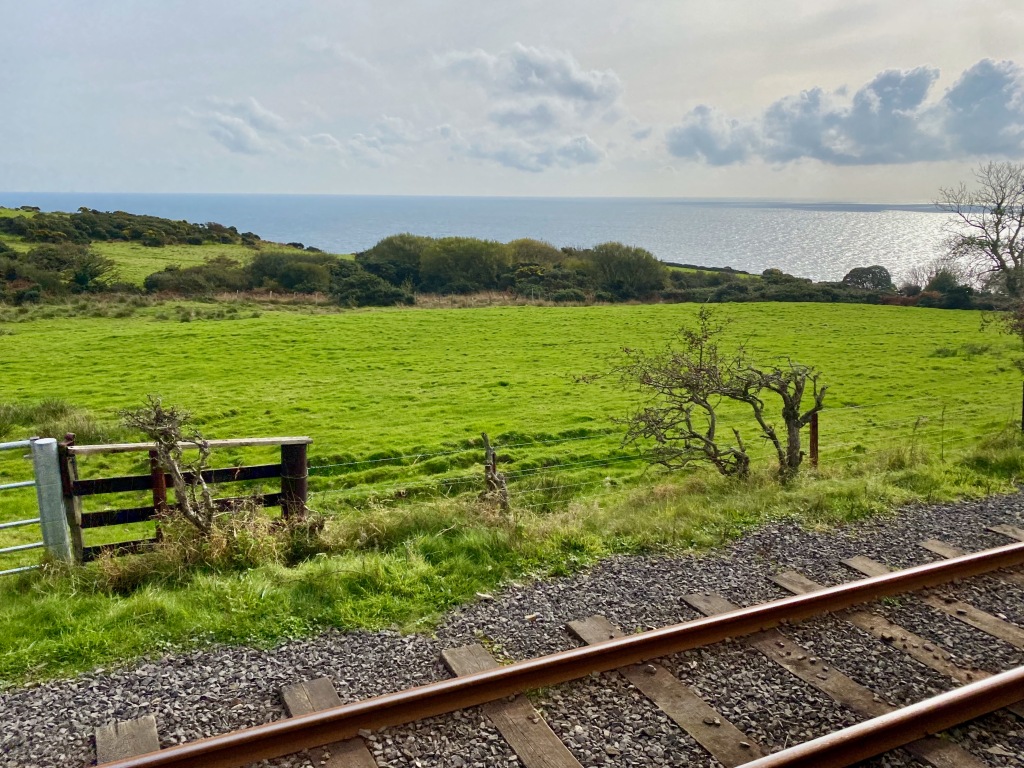
The Isle of Man Steam Railway dates back to 1873 and runs 15 miles between Douglas and Port Erin. It was great fun to ride the train as it chugged along at 25 mph beside the sheep fields and along the coast. We were able to ride for part of the way in the “Guard’s Van,” the car at the front behind the locomotive. The whistle would blast at road crossings and the smoke billow through underpasses. At the railway museum we learned that the Rev. Wilbert V. Awdry, the author of the Thomas the Tank Engine books we read to our kids, was inspired by the trains on the island. So that is two cultural icons connected to the Isle of Man!
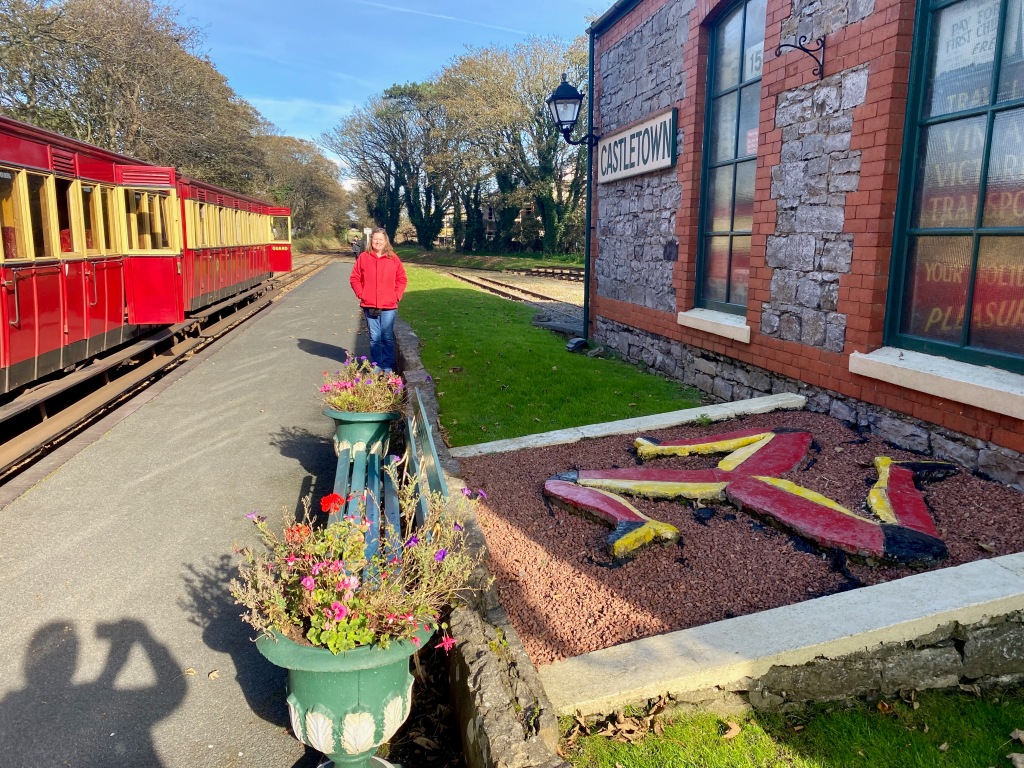
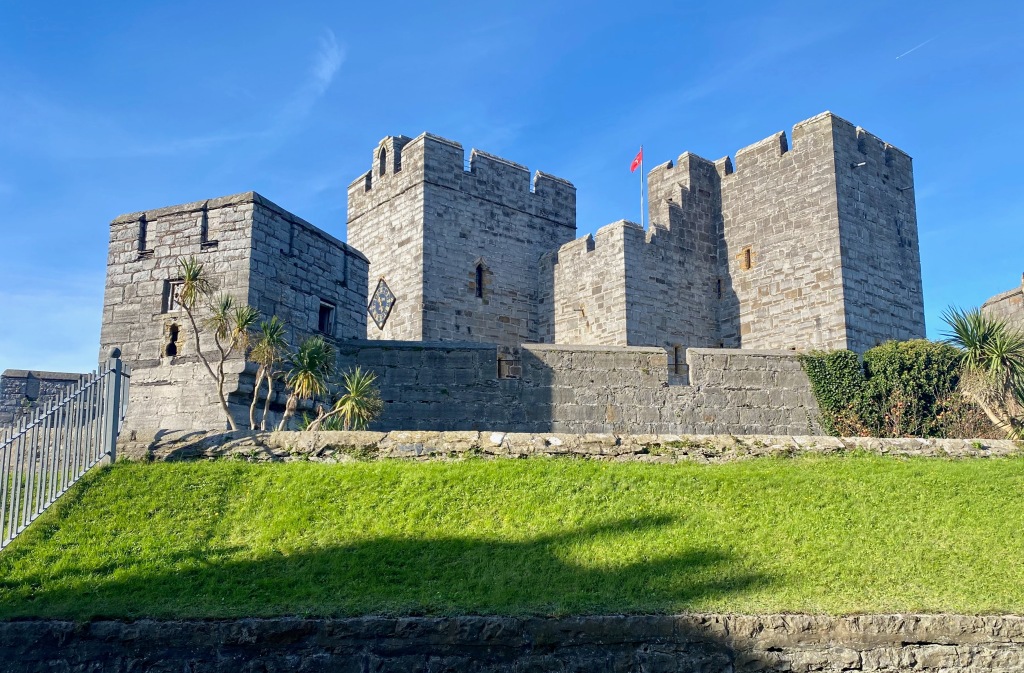
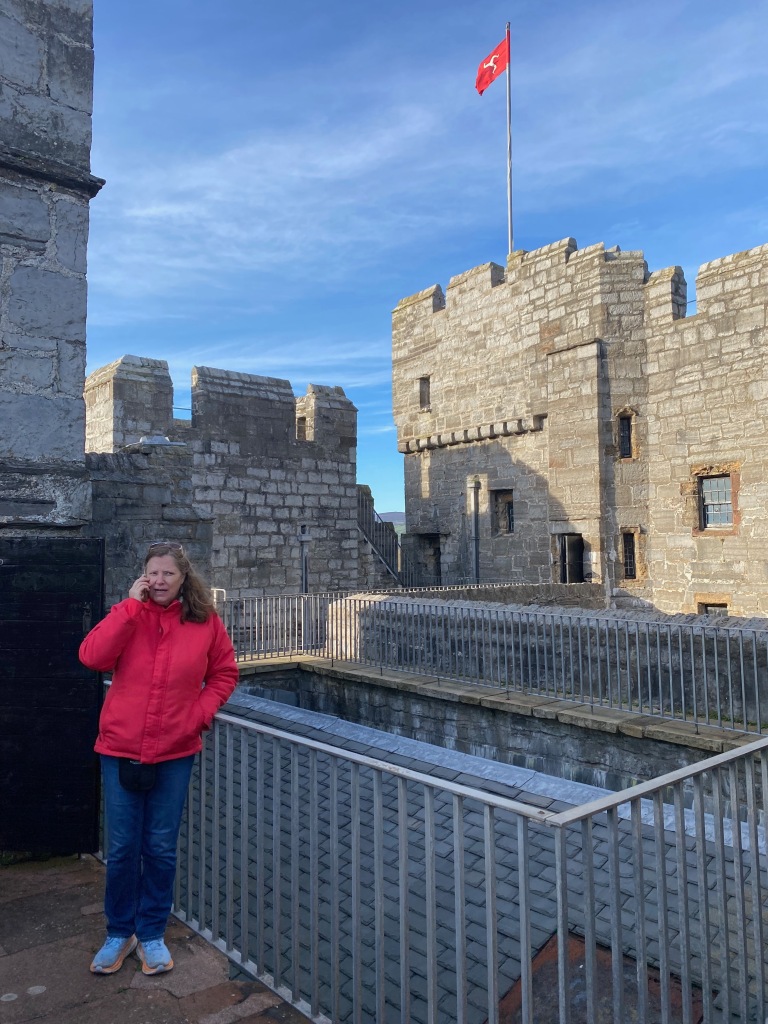
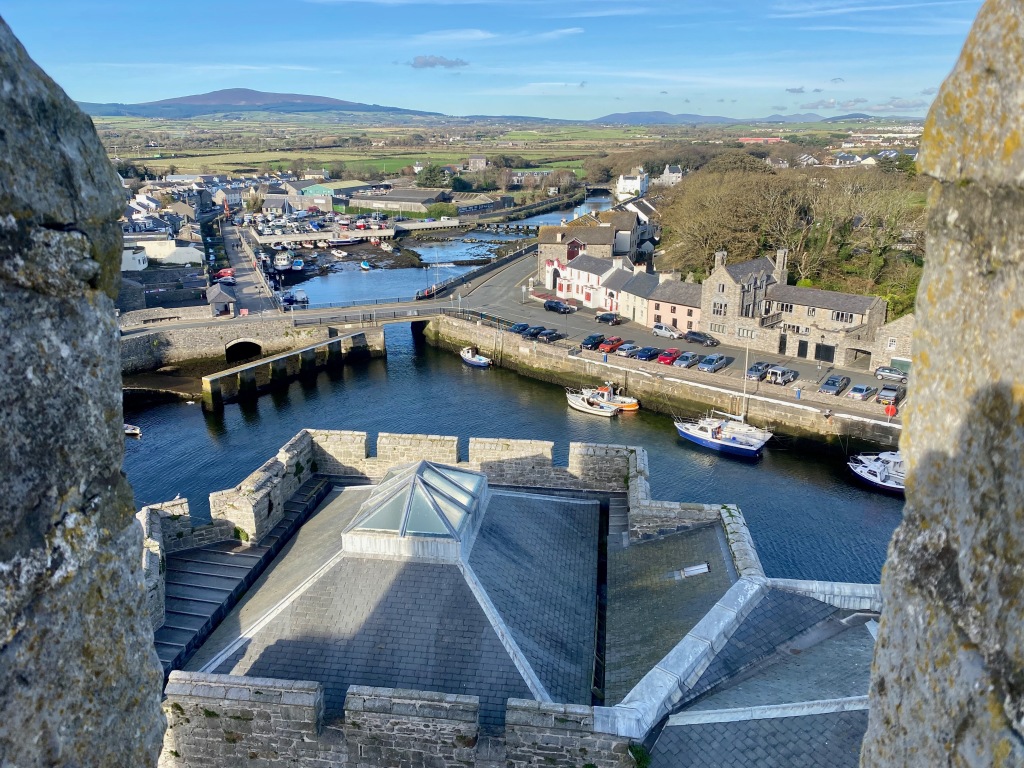
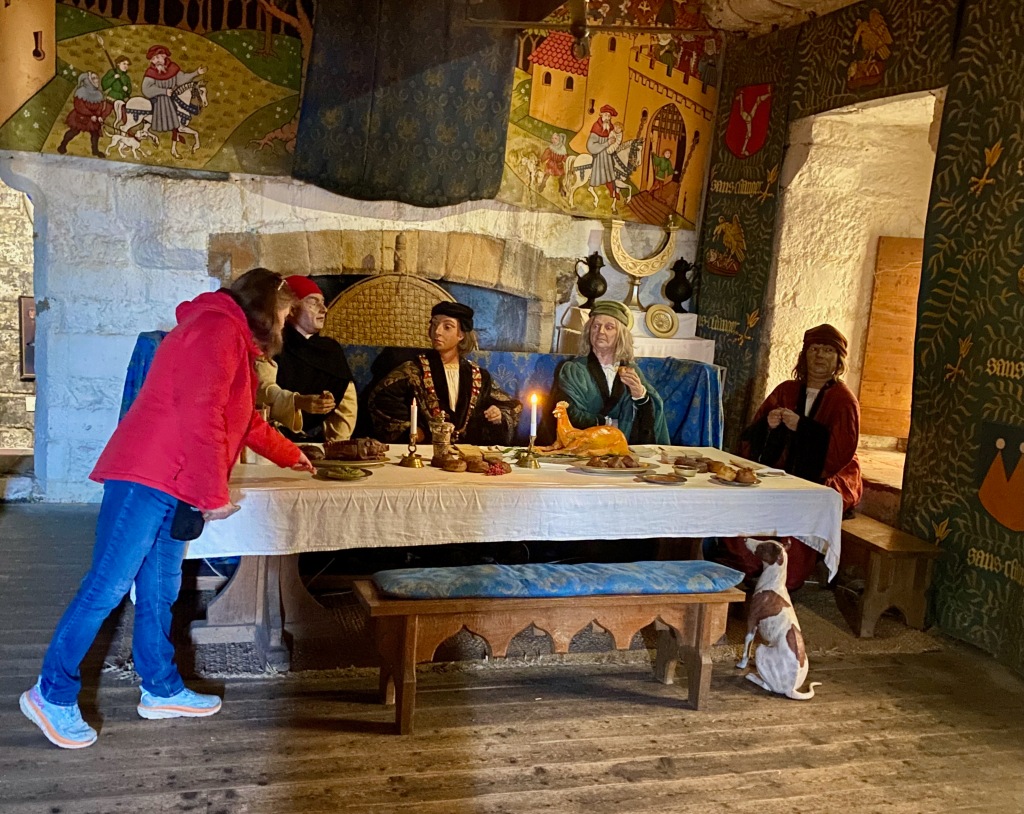
We jumped off the train in Castletown along the island’s east coast to visit the Castle Rushen. Parts of the castle date back to the 1200s A.D. but most of it was built in the 1400s. We arrived there about 45 minutes before closing, too late to make it worth the entry fee, but the nice lady in the visitor’s shop waved us through for a brief tour. The views of the town and countryside were lovely. Many of the rooms were set up as though the castle residents were entertaining their guests. (See Elizabeth joining in!) The castle was one of the strongholds of the island’s government for centuries.
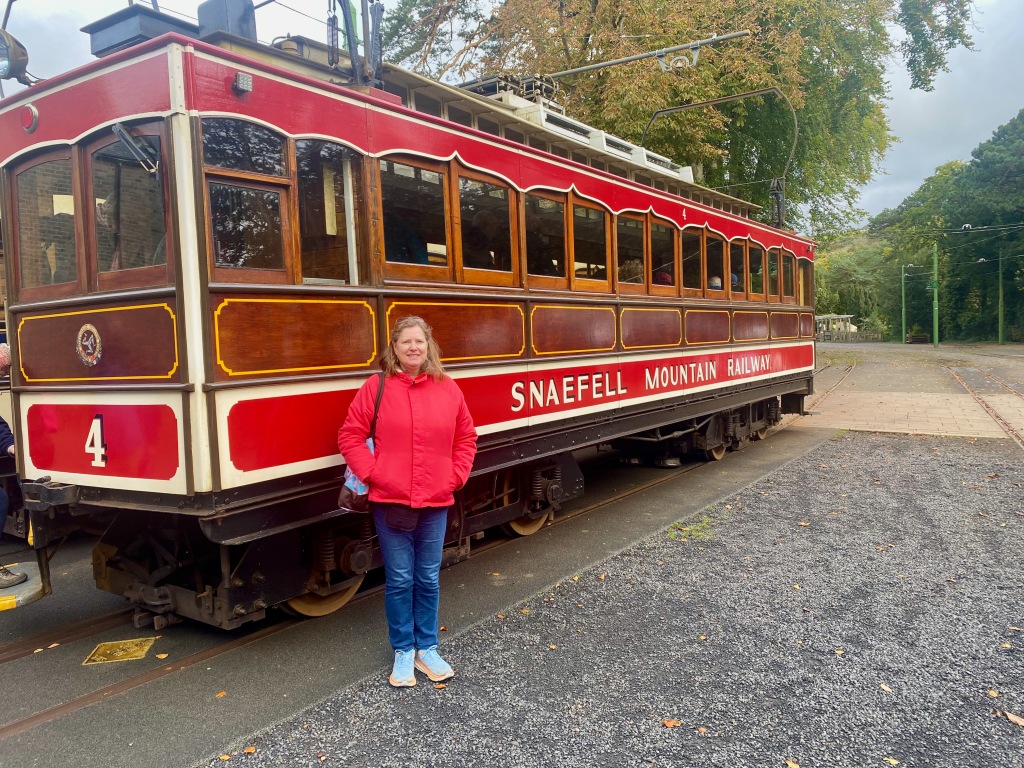
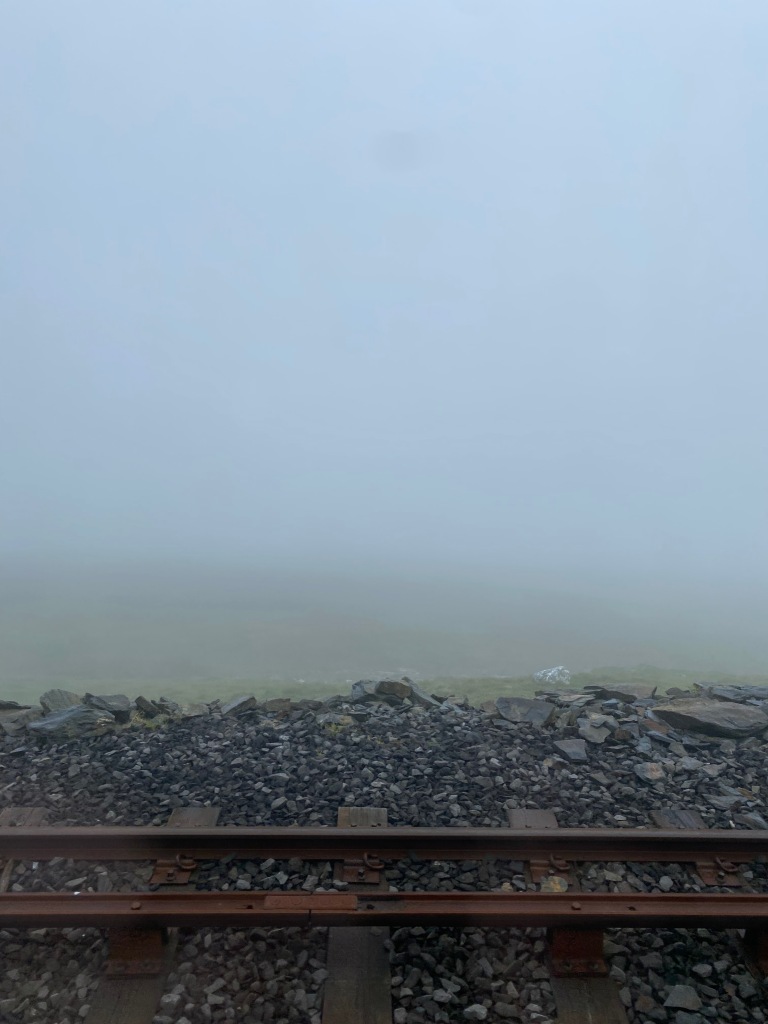
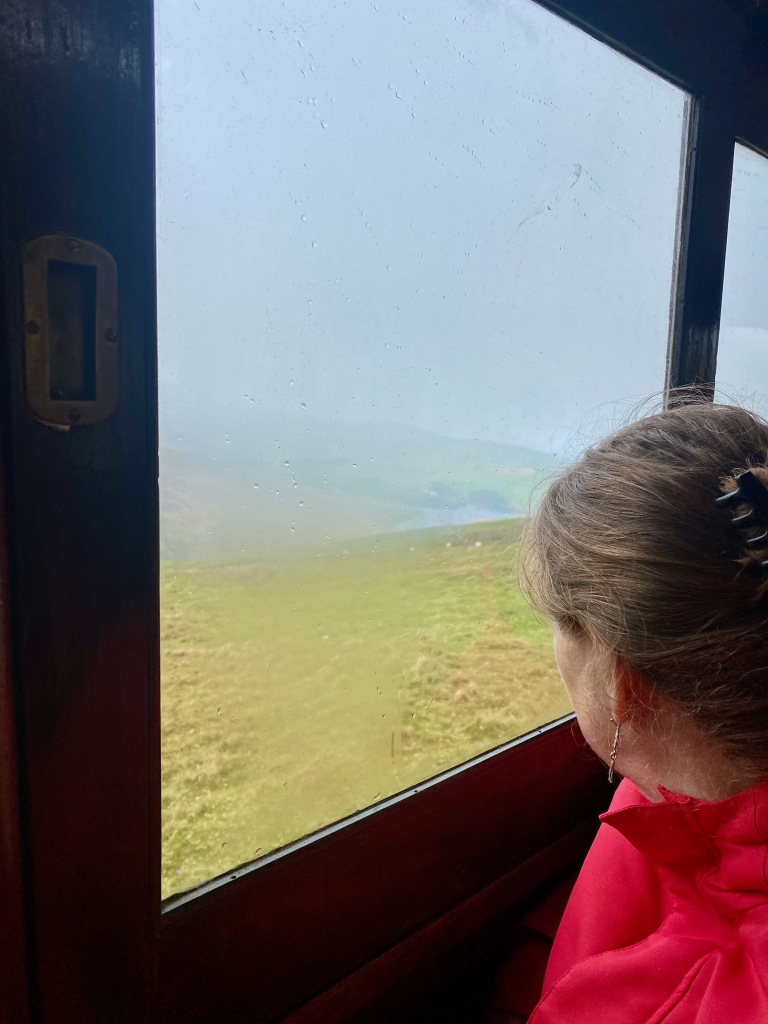
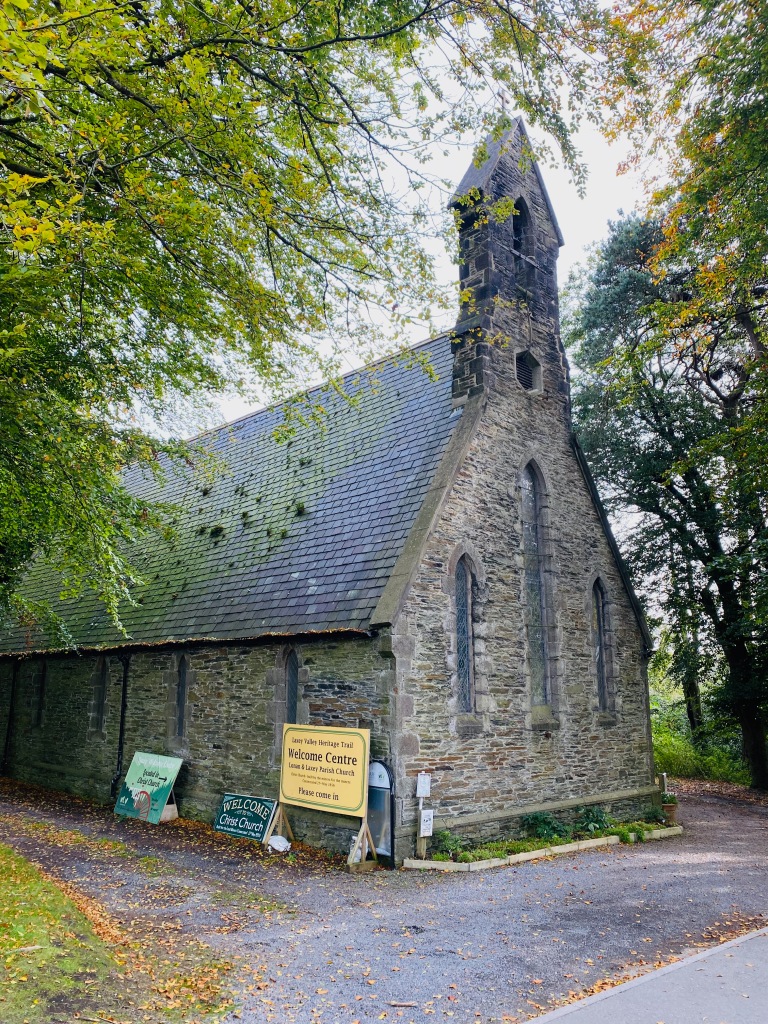
On Tuesday morning, we boarded the Manx Electric Railway in Douglas for a trip to the northeast end of the island. Along the way we stopped at Laxey to board the electric railway that goes to the summit of Snaefill. The peak is the highest on the island, 2,036 feet above sea level. On the way up we could see the Laxey Wheel, the largest water wheel in Britain. It was built in 1854 to pump water out of the nearby mines. Further up we could see the Snaefell Mine, where the train recording told us 20 miners died in 1897 from carbon monoxide poisoning. As we drew nearer to the summit, we entered the cloud cover and when we reached the top, the winds were blowing at 45 mph! As you can see from the video, it was a wind that could blow you off your feet. On a clear day you are supposed to be able to see “Seven Kingdoms” from the summit—the Isle of Man, Wales, England, Scotland, Ireland, the Sea and the Heavens. On that day we could barely see one! Back at the Laxey station was Christ Church, built by and for the miners in 1856 out of stone produced by the mines. The mines there produced lead, zinc, copper and silver for export to England and Wales.
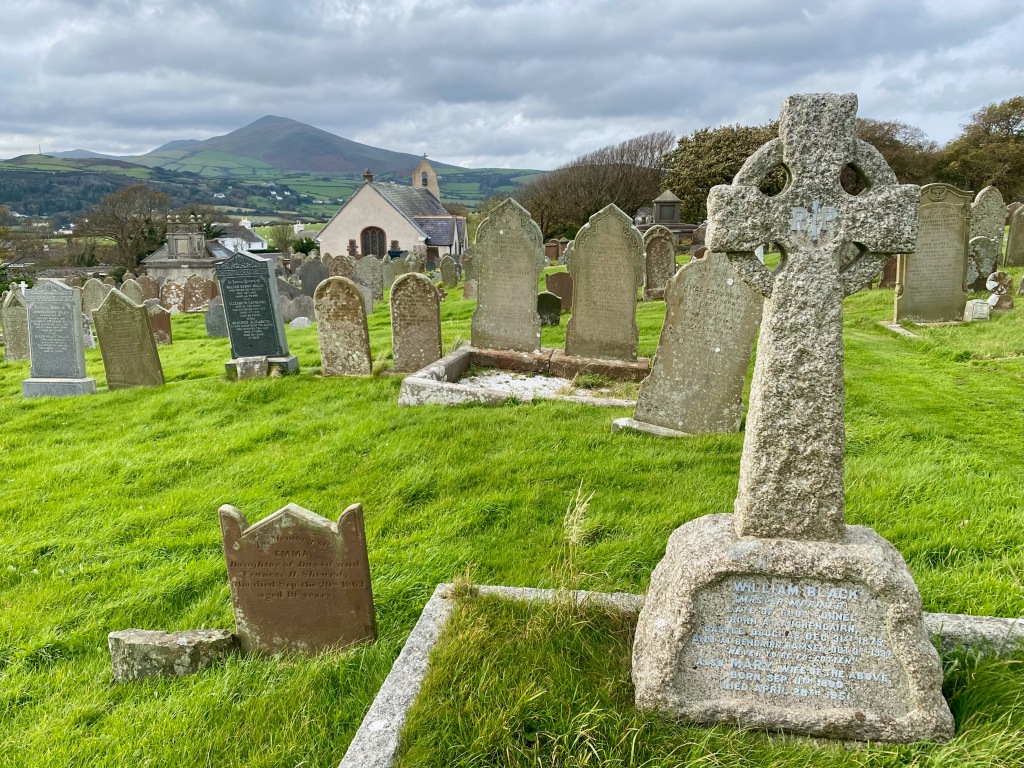
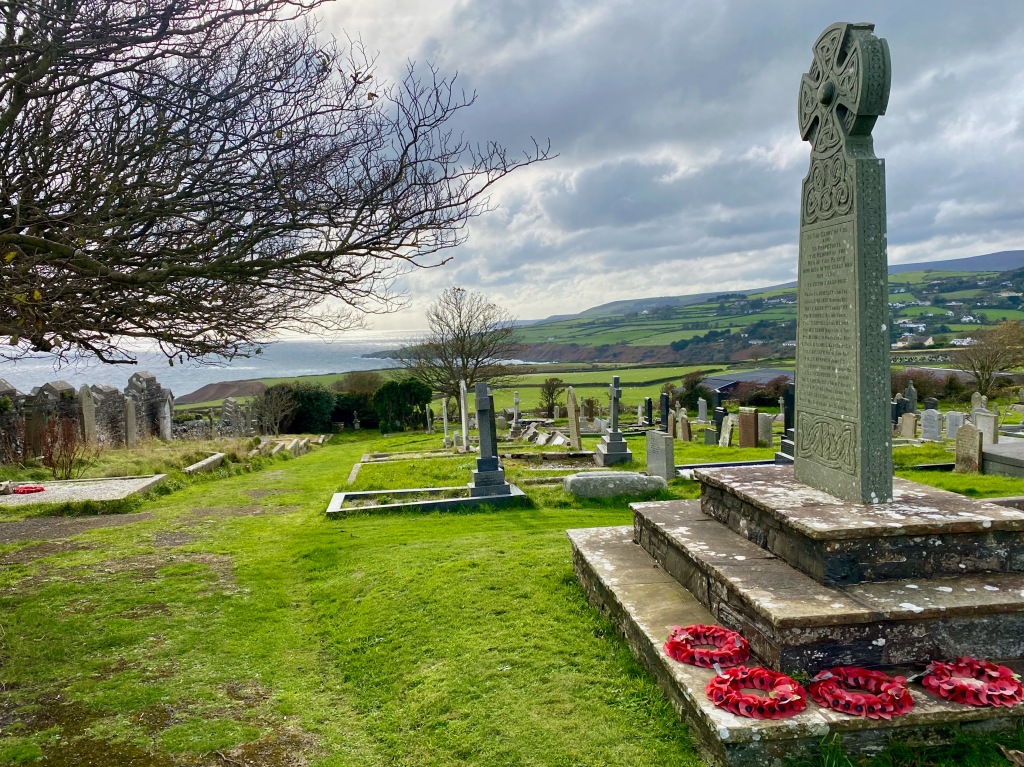
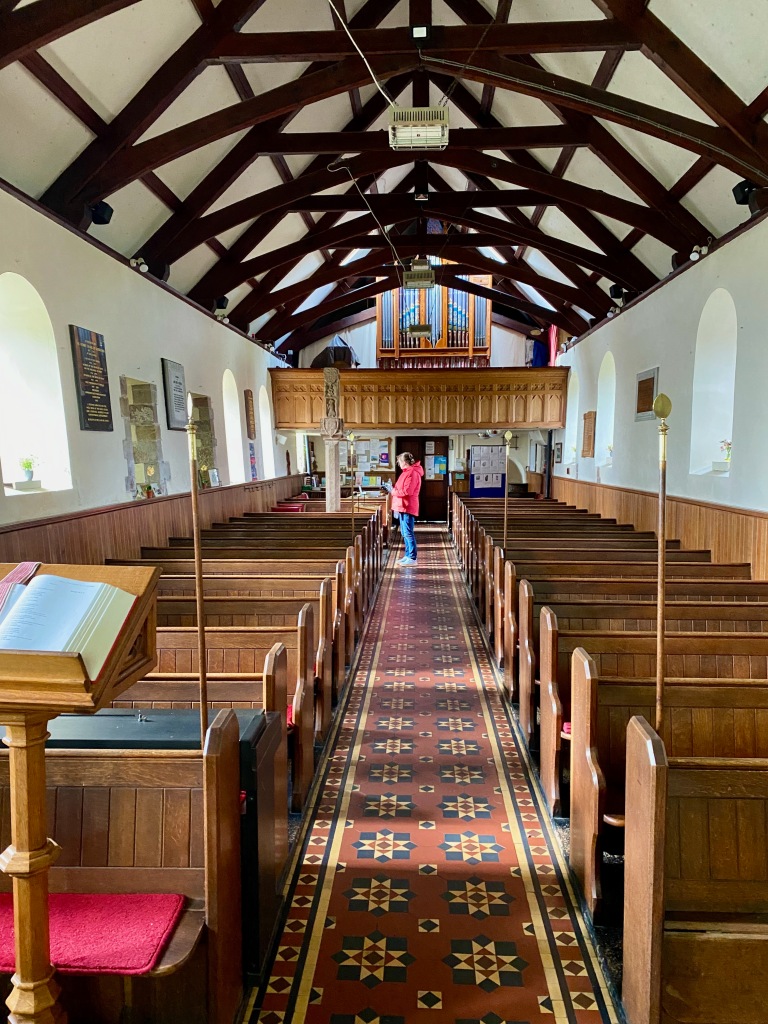
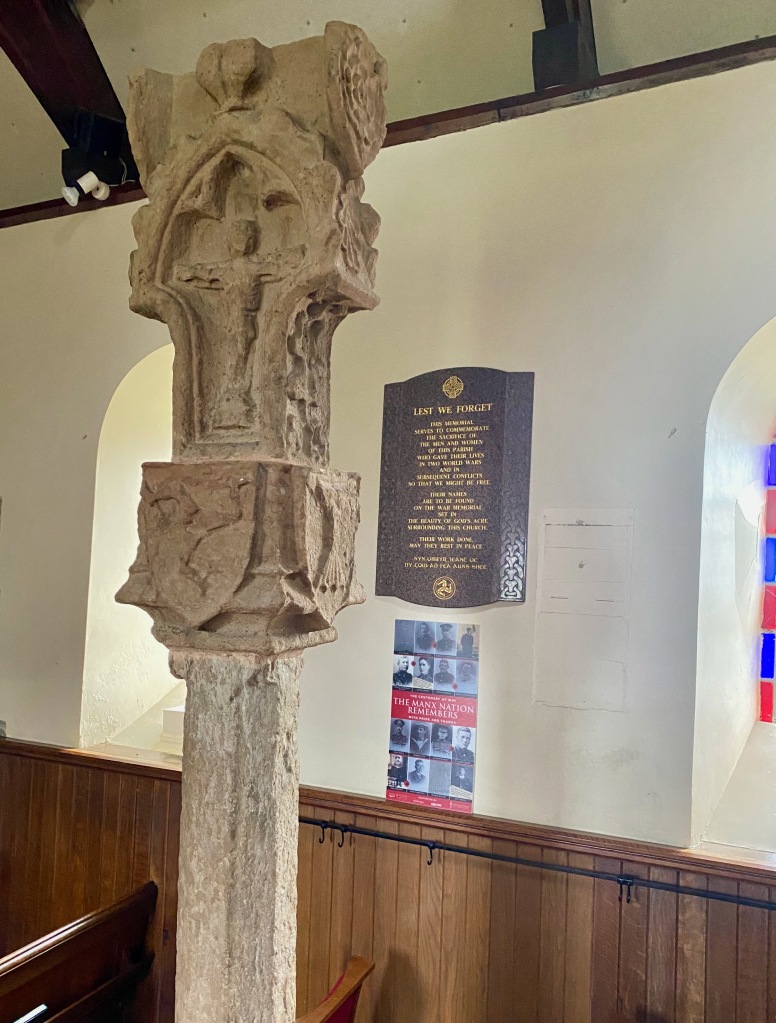
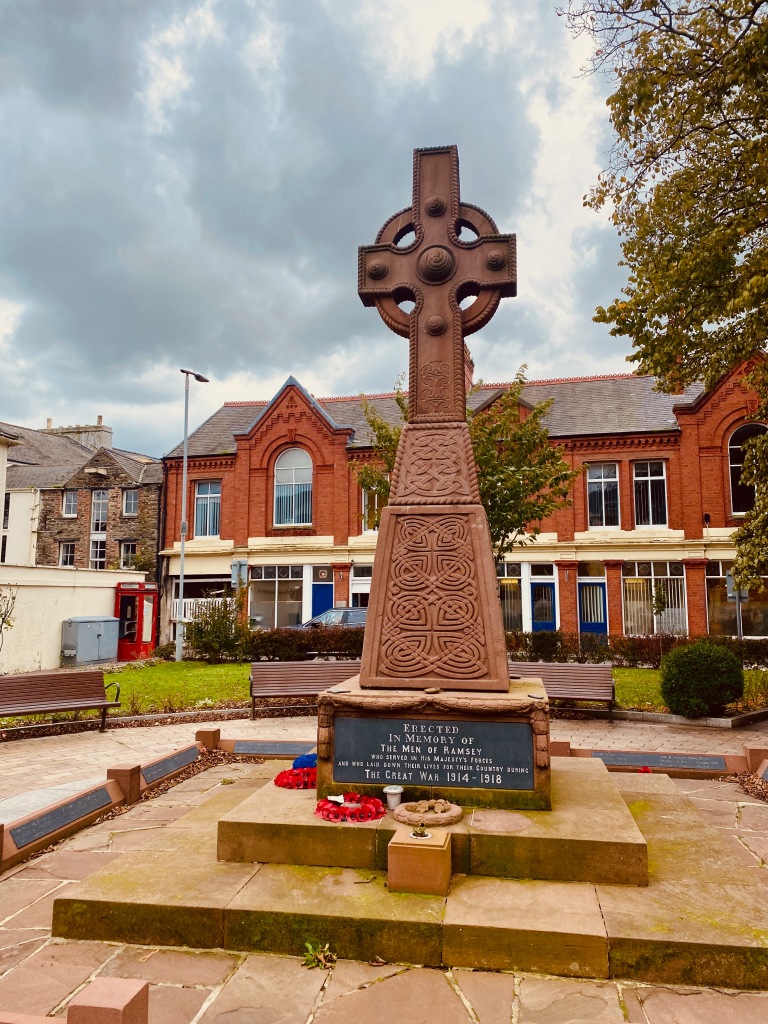
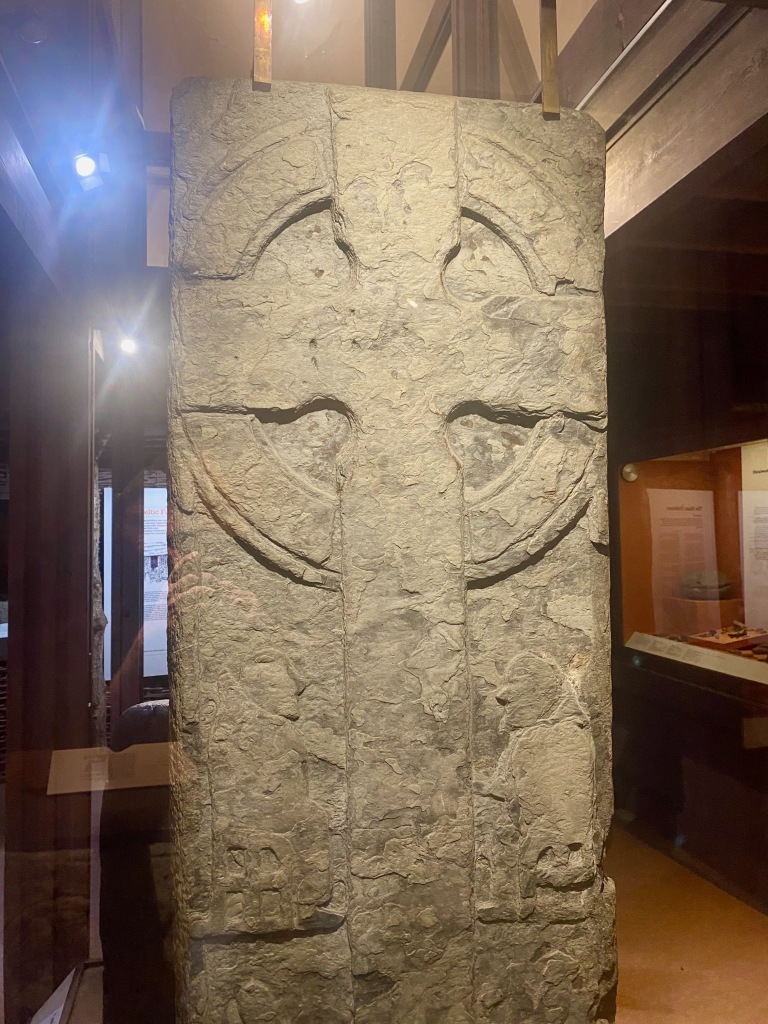
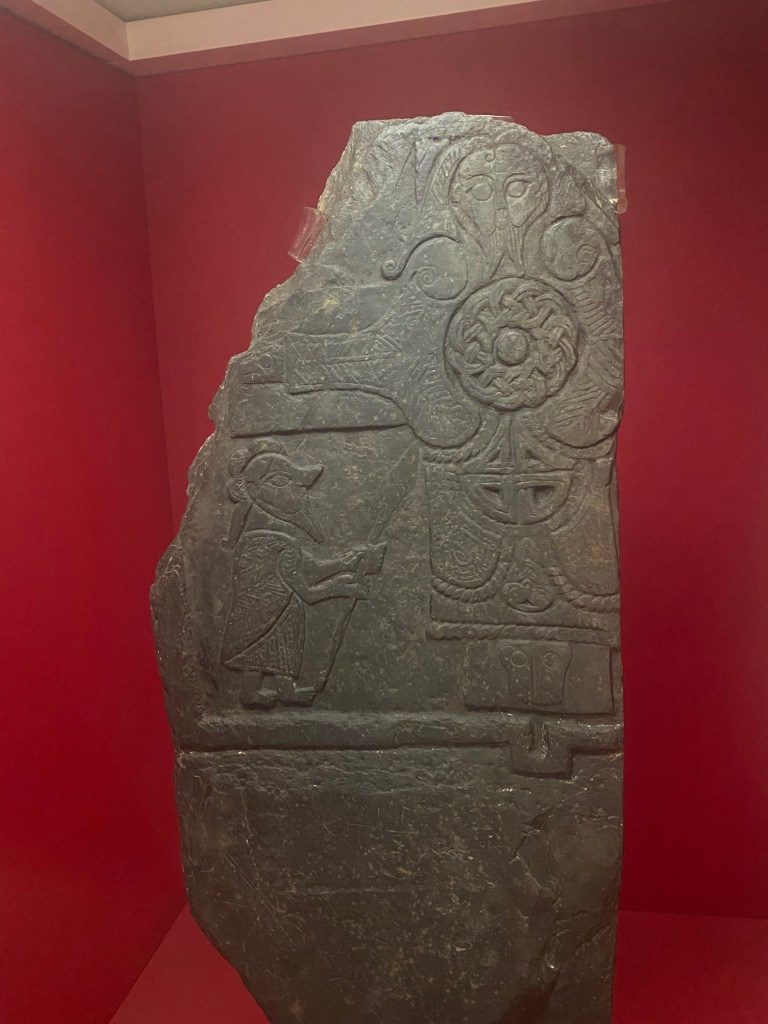
Back on the train heading north we climbed the hills for beautiful vistas of the Irish Sea. We alighted from the train at an isolated station called Ballajora. From there we walked about 25 minutes through the countryside to visit a church and cemetery at the small village of Moughhold. The Kirk Maughold Church there is surrounded by a graveyard known as “God’s Acre” and a large collection of historical Celtic crosses. One of the more notable ones can be found in the Manx Museum in Douglas (see below). We ended the rail journey at Ramsey, where we had soup and a dessert and walked along the waterfront. We then hopped a bus back to Douglas, where I cheered the England football team in the otherwise quiet Thirsty Pigeon pub as it beat Italy 3-1.
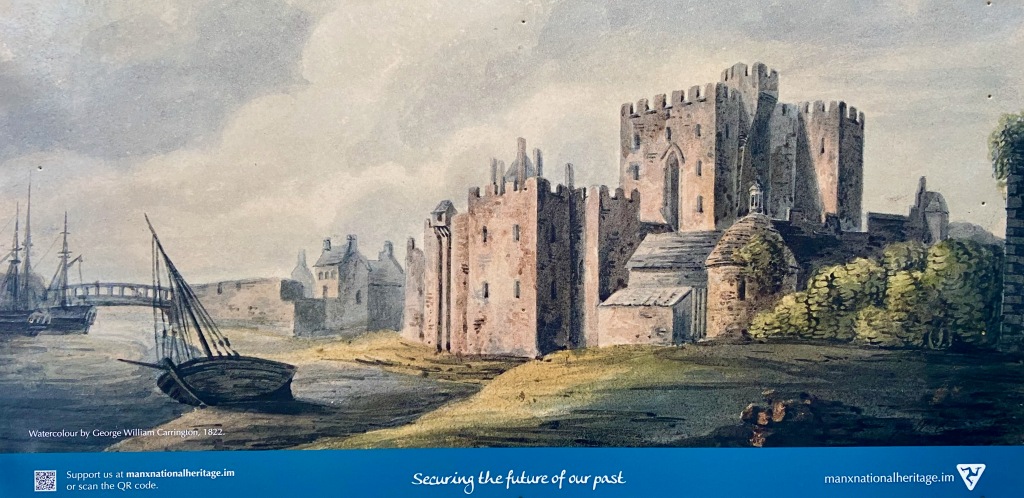
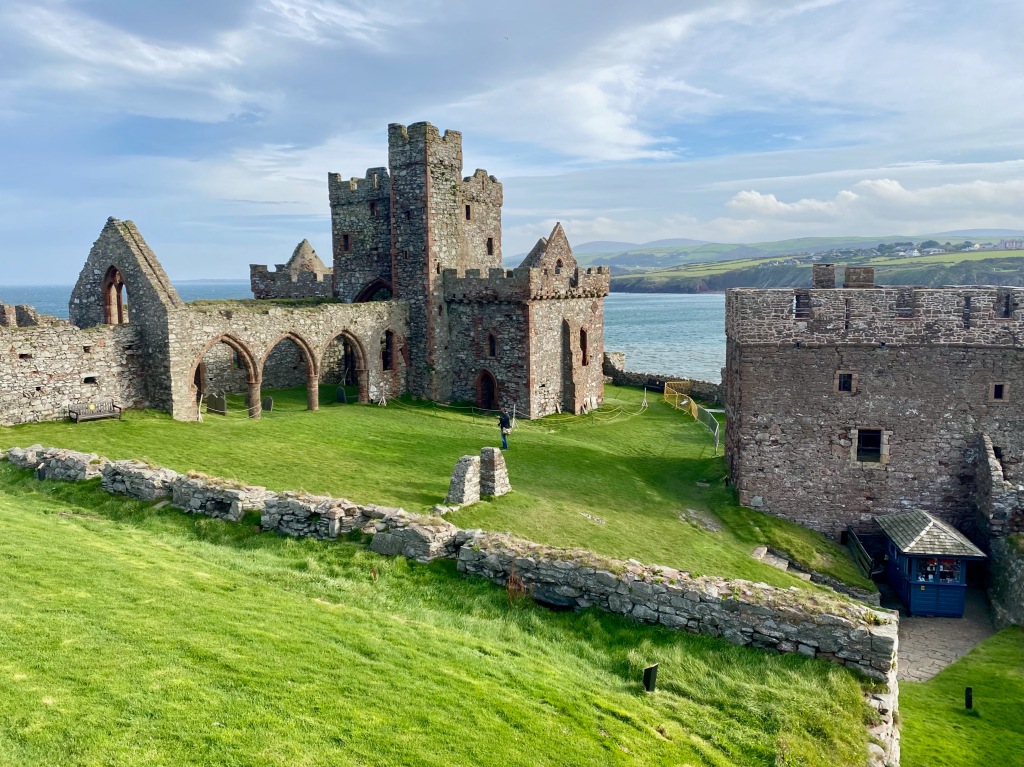
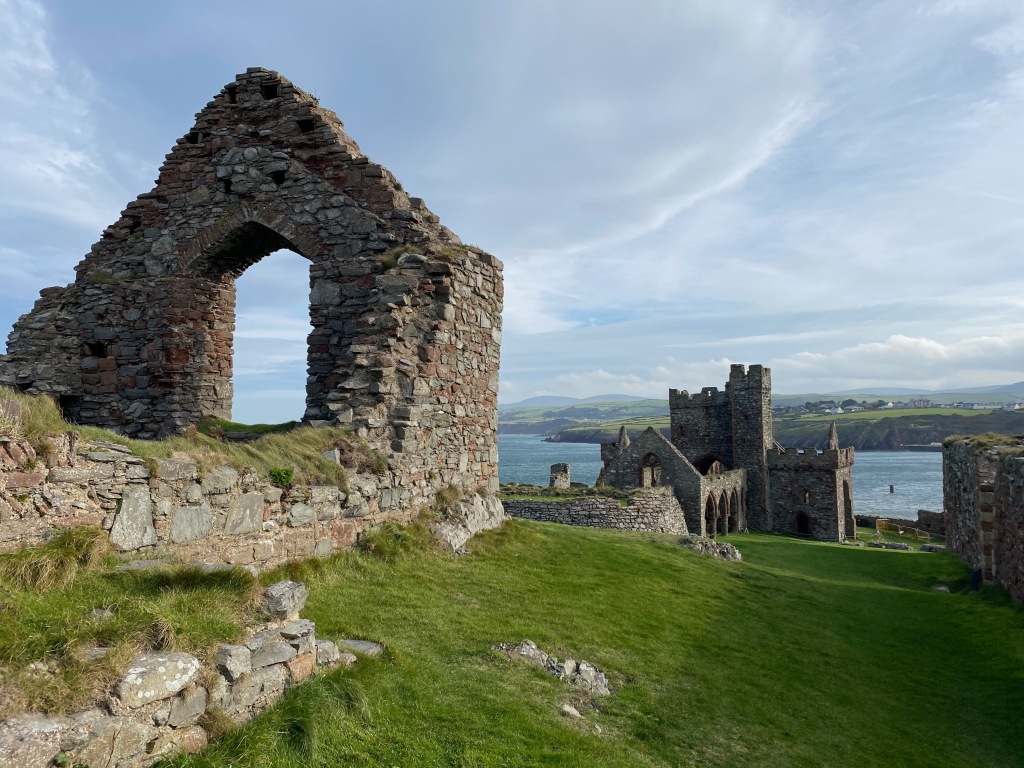
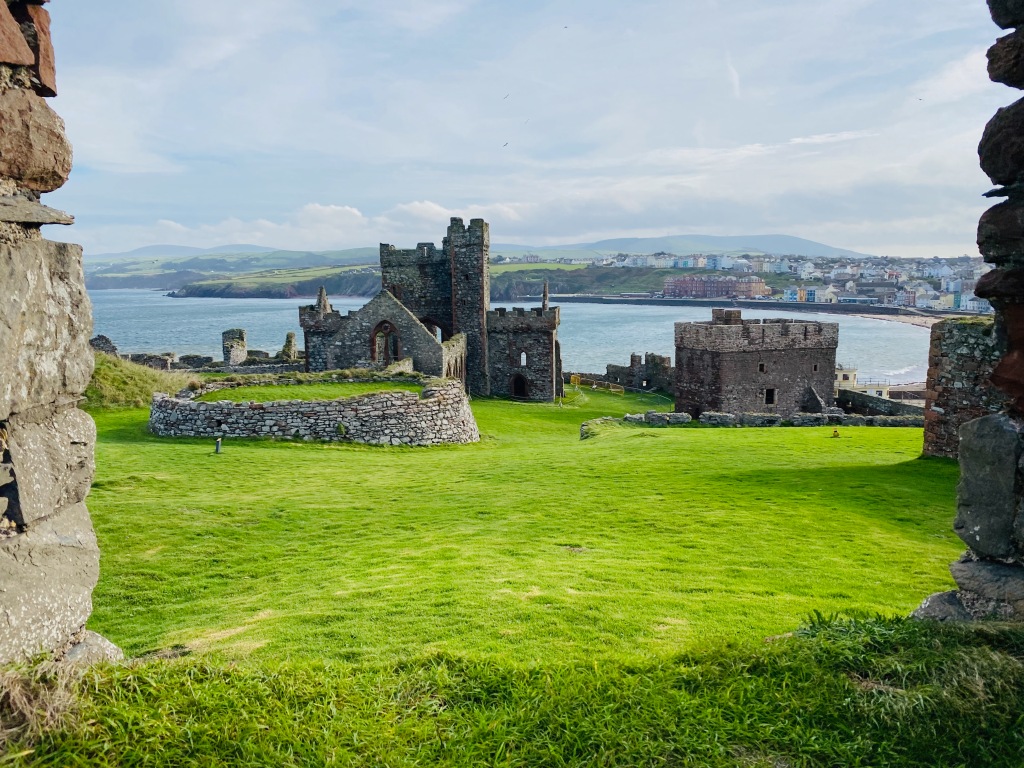
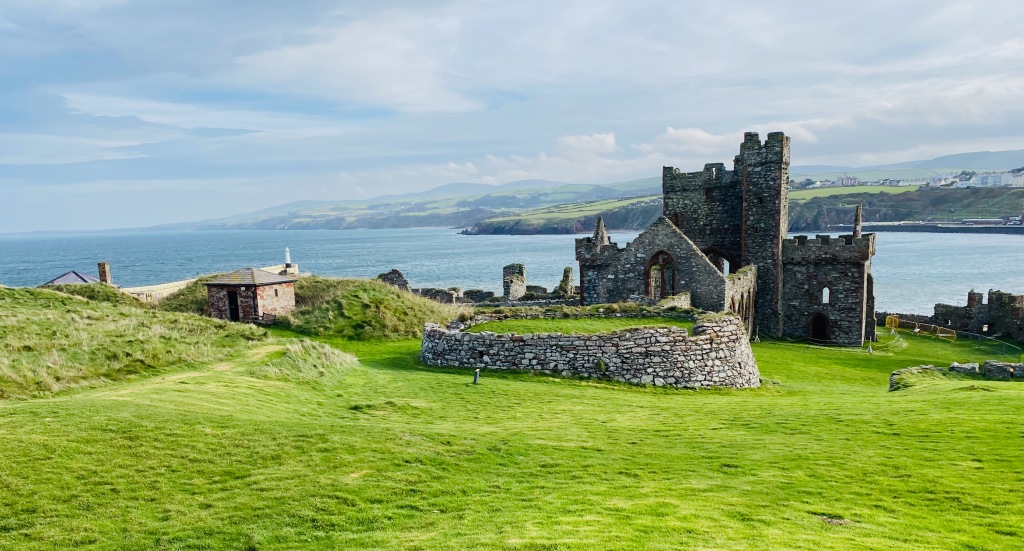
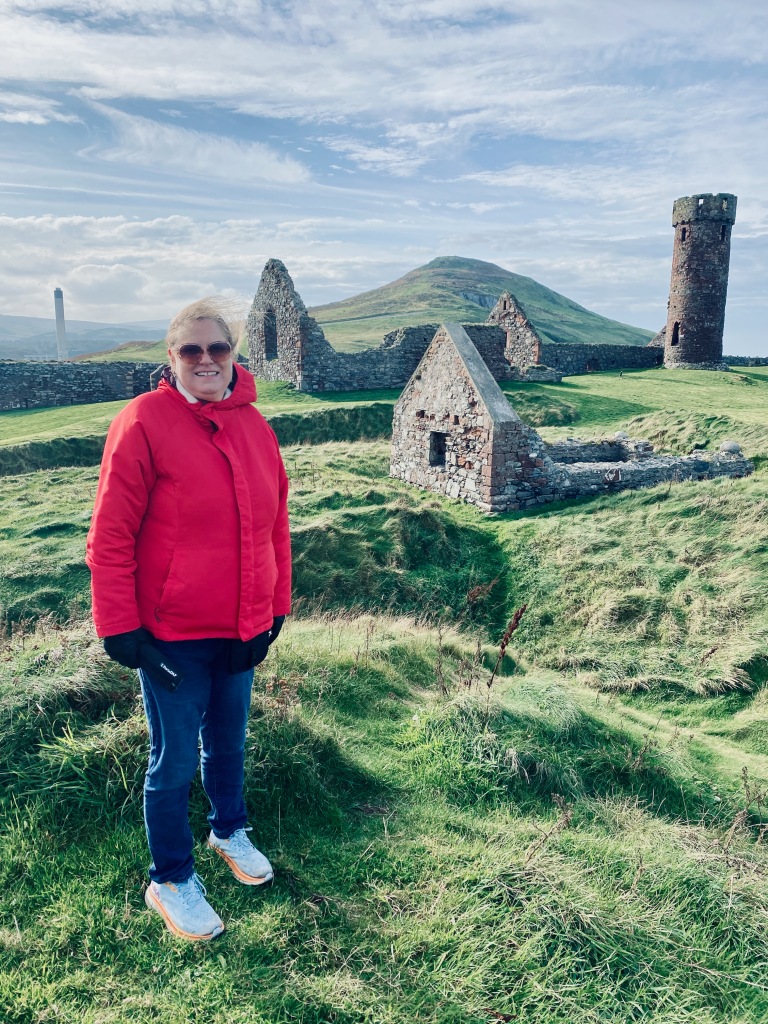
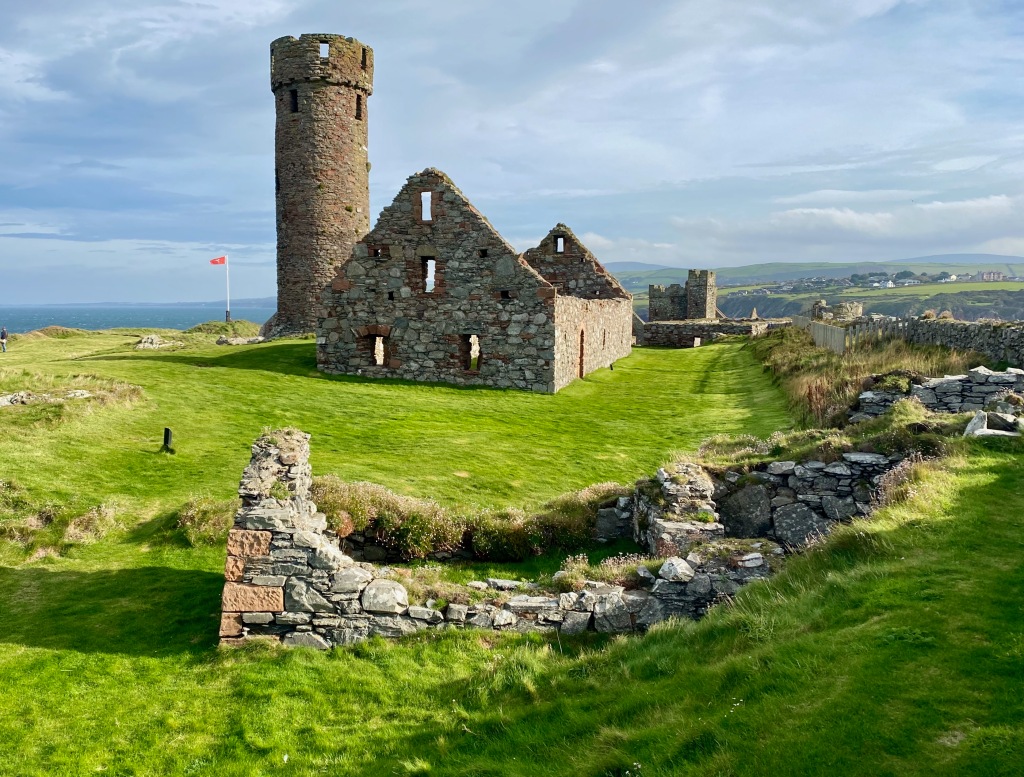
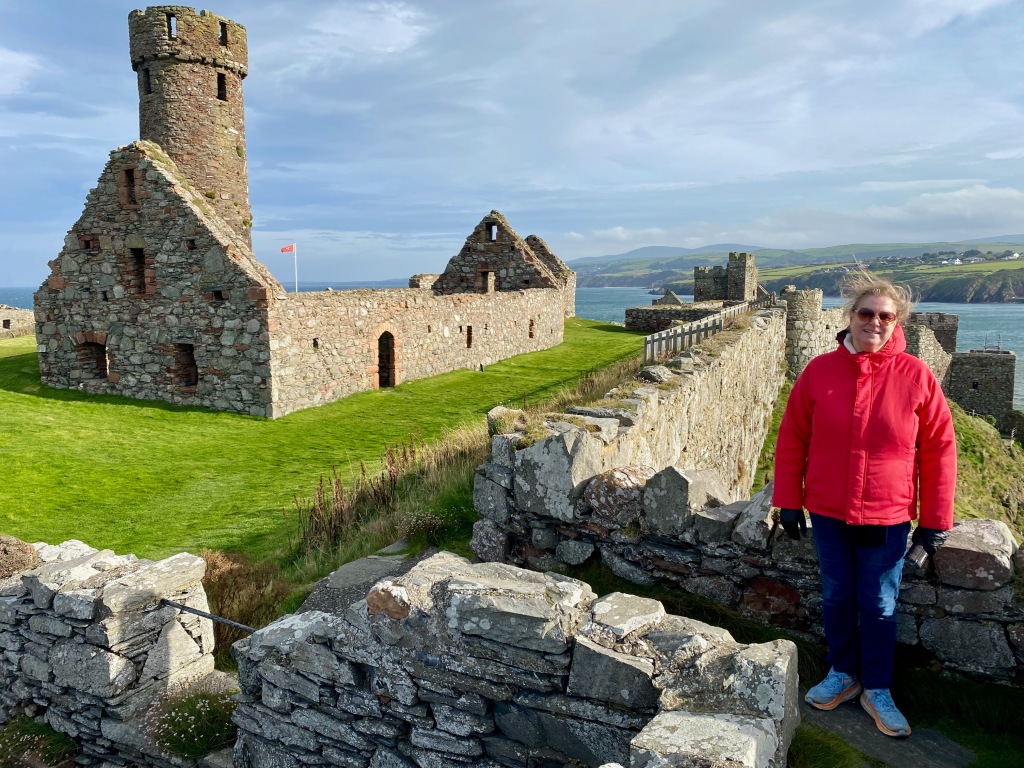
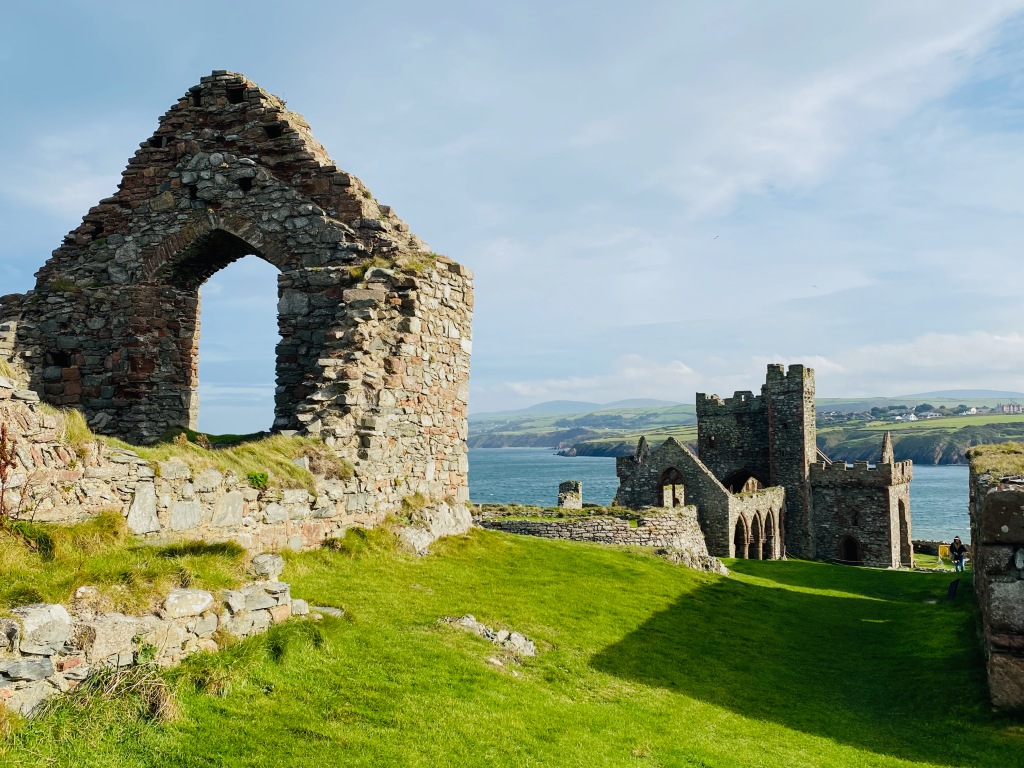
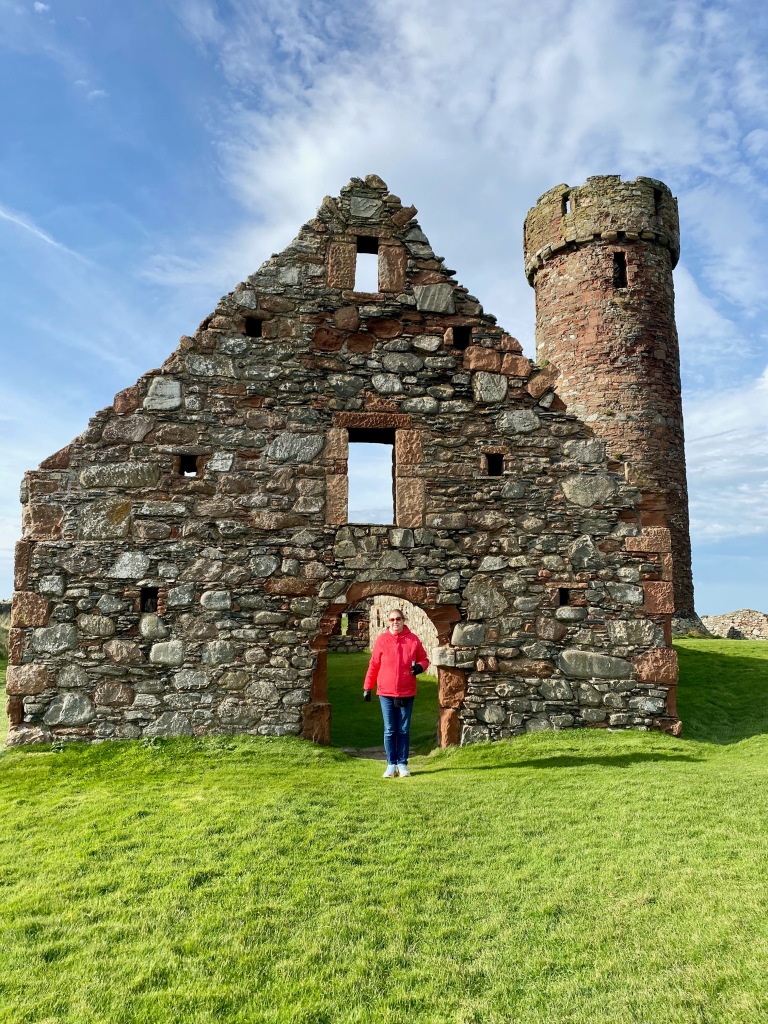
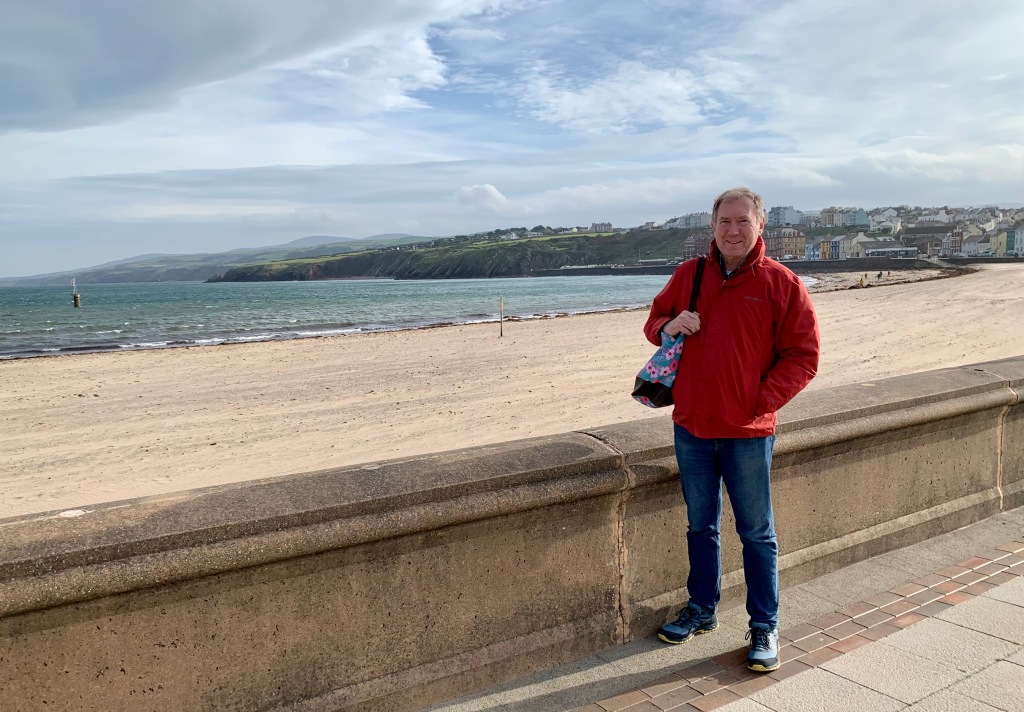
On Wednesday, we caught a bus for Peel on the west side of the island. Along its rugged coast, on the small St. Patrick’s Island, sits Peel Castle. This is one of the most sublime spots we’ve visited. It’s hard to beat the combination of impressive ruins of a fort and cathedral set alongside rocks and green hills and the sea. The castle’s round tower and first chapel date from the 10th and 11th centuries A.D. and the larger St. German Cathedral from 1200s. Over the centuries, St. Patrick’s Island has housed priests, prisoners, soldiers, and lords. We went from the castle to a waterfront kiosk where we ate a lunch of tea and chip baps (French fries in a bun—yumm!).
In the afternoon, we wandered through the House of Manannan, a museum in Peel with interesting life-sized displays of early life on the island, highlighting its Viking heritage. From the bus window on the way back to Douglas, we caught a view of Tynwald Hill in St. Johns. Tynwald (Old Norse for “assembly field”) is the original governing body of the island dating back to the period of Viking rule more than a thousand years ago. It is claimed to be the oldest continually sitting parliamentary body in the world and it still governs the internal affairs of the island, a self-governing British Crown Dependency. The Tynwald now meets in Douglas but every year on July 5 it assembles at Tynwald Hill where new laws are read and the public can present petitions. We saw film footage of Queen Elizabeth II and Prince Philip participating one year.
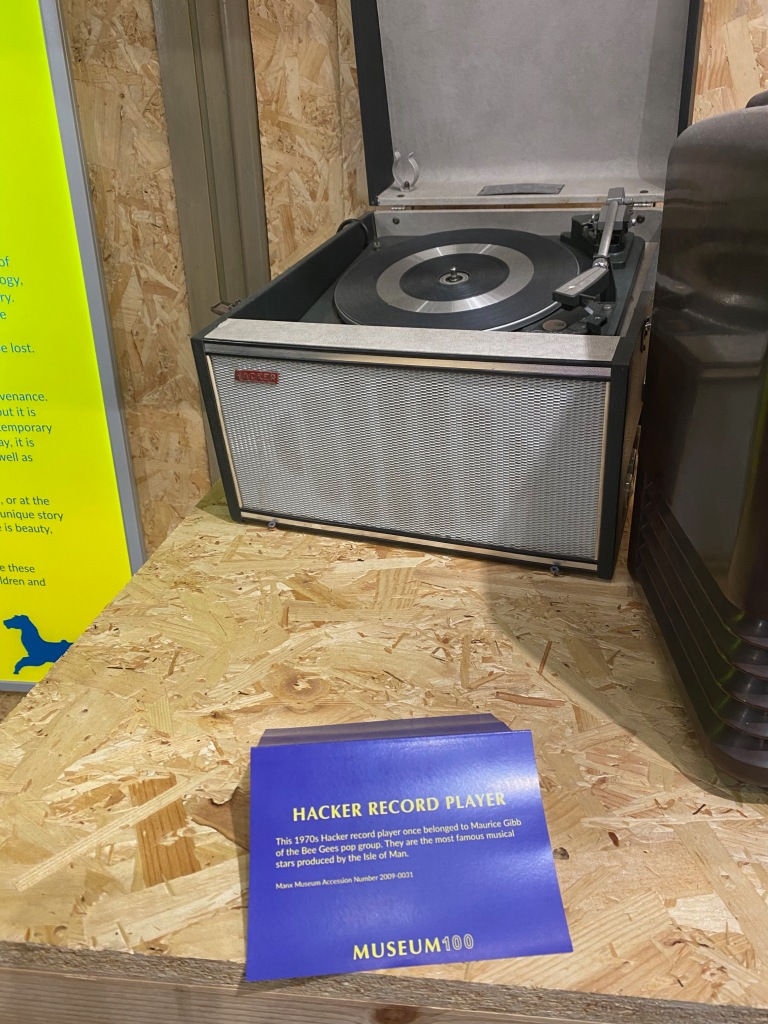
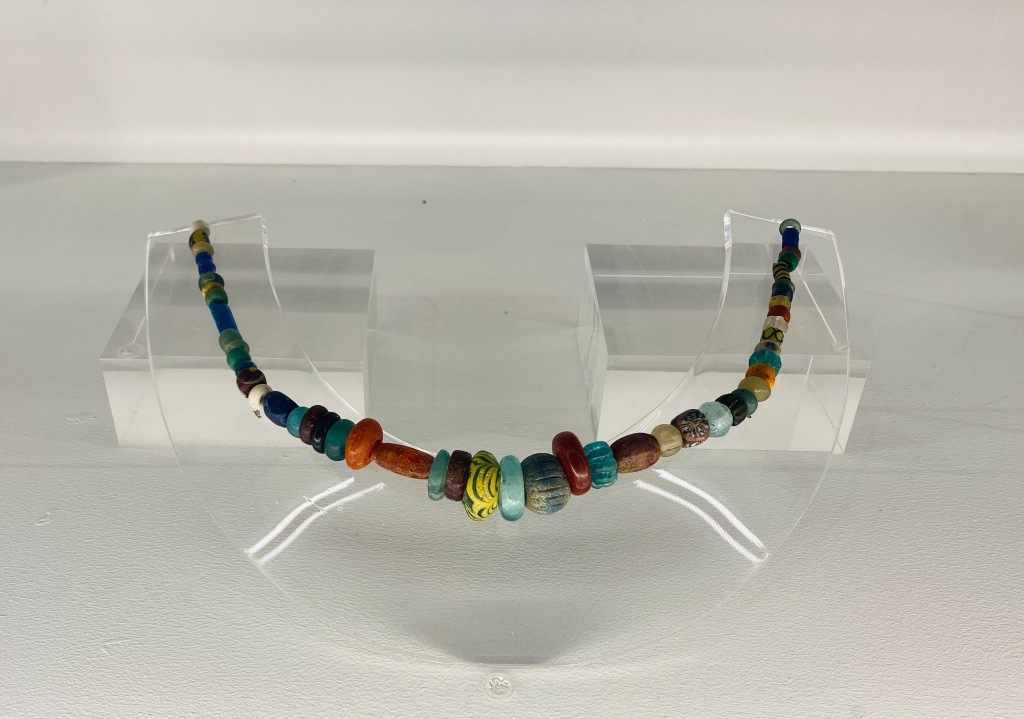
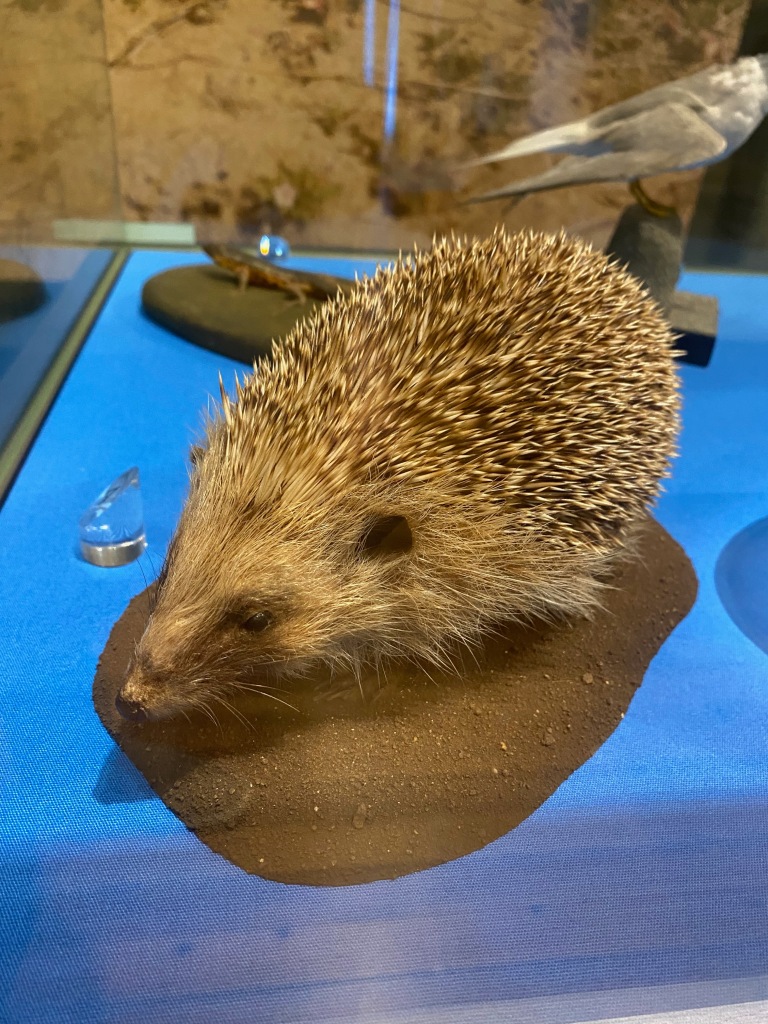
On Thursday, our last morning on the island, we walked to the Manx Museum in Douglas. It was full of interesting displays about the island’s history and natural features. Among the more interesting items: a 1970s Hacker record player once owned by Maurice Gibb; a Celtic cross from Moughold dated to the eighth or early ninth century A.D.; and a necklace of colorful beads found in the grave of a woman who was buried around 930 A.D. near the cathedral at Peel Castle. The woman is known as “The Pagan Lady” because Christians at the time were not normally buried with objects.
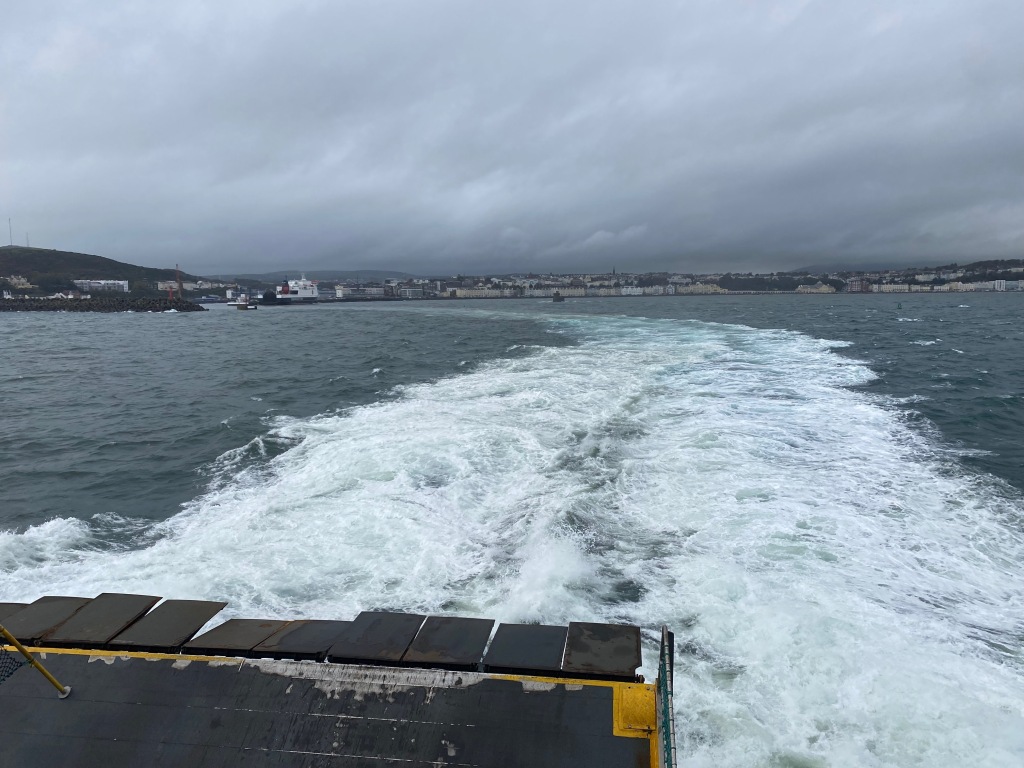
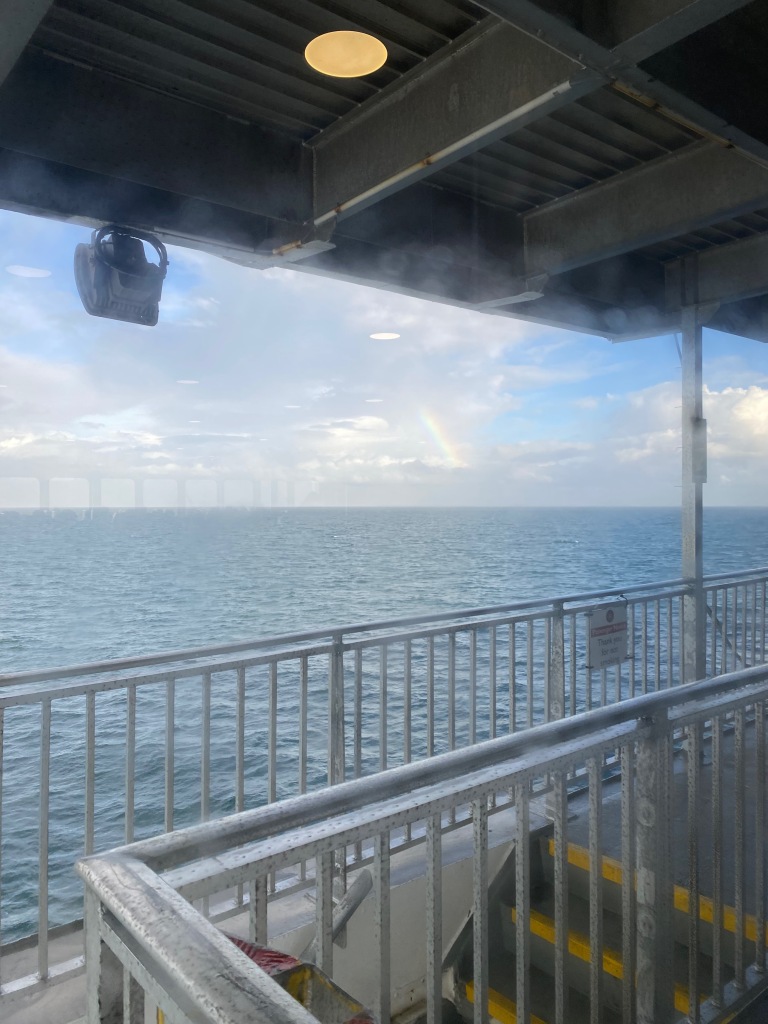
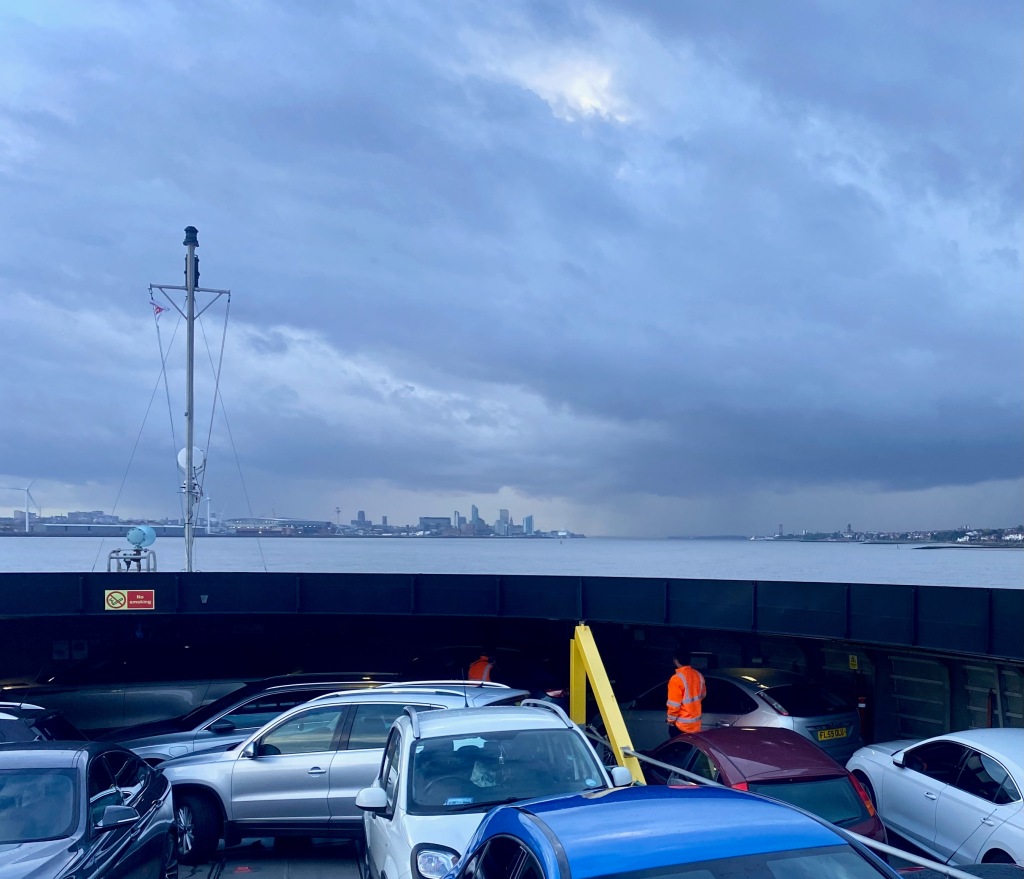
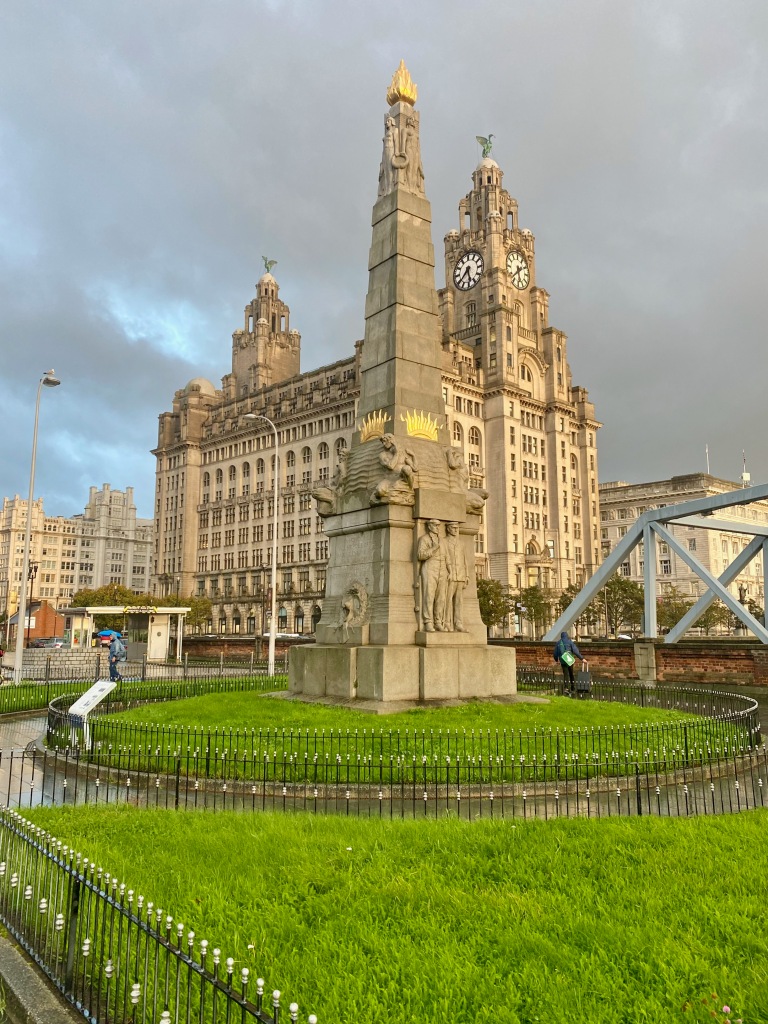
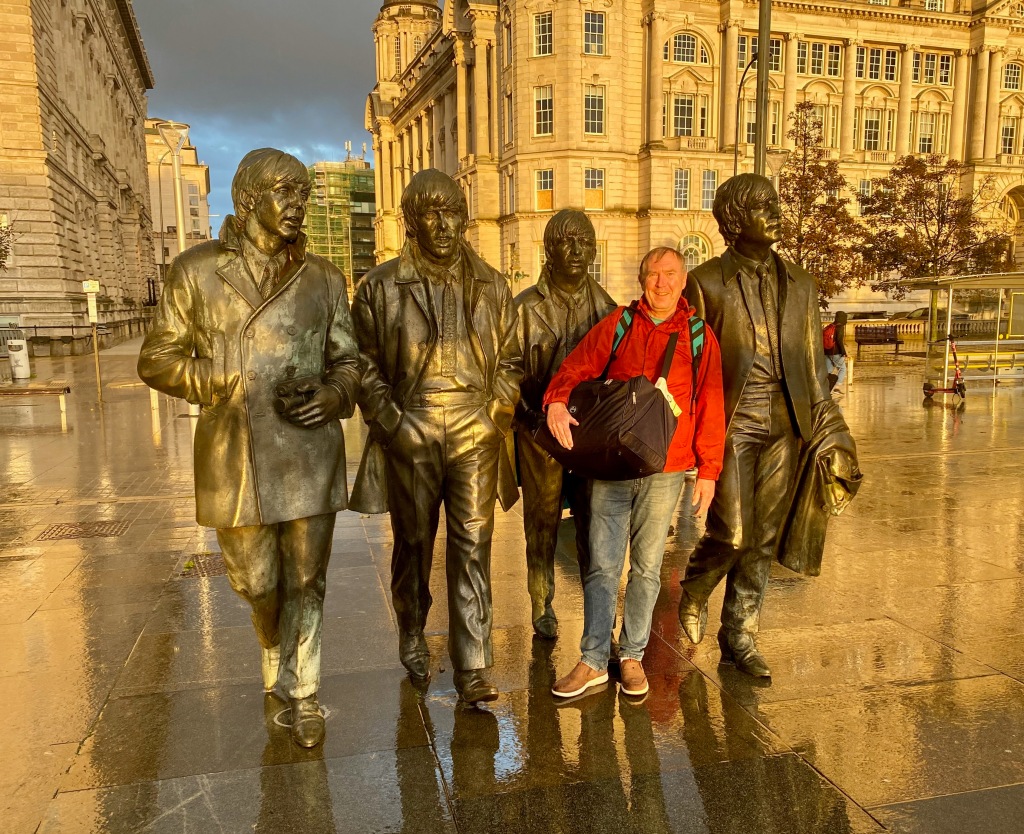
From the museum we stopped at the hotel to gather our things and head to the terminal to catch our 2 p.m. ferry back to Liverpool. The island is served by the Isle of Man Steam Packet Company Limited, which dates back to 1830. The crossing covers about a hundred miles and took us 3 hours and 15 minutes. It was smooth sailing, with some rain and a brief rainbow as a reward. The Irish Sea between the island and England is not that deep. The island was actually connected to England by a land bridge as recently as 8,000 years ago as the last ice age receded. We arrived in Liverpool on time and with the setting sun breaking through just enough to illuminate my meeting with another famous group of musicians born near the shores of the Irish Sea.
And finally a few loose ends from our visit:
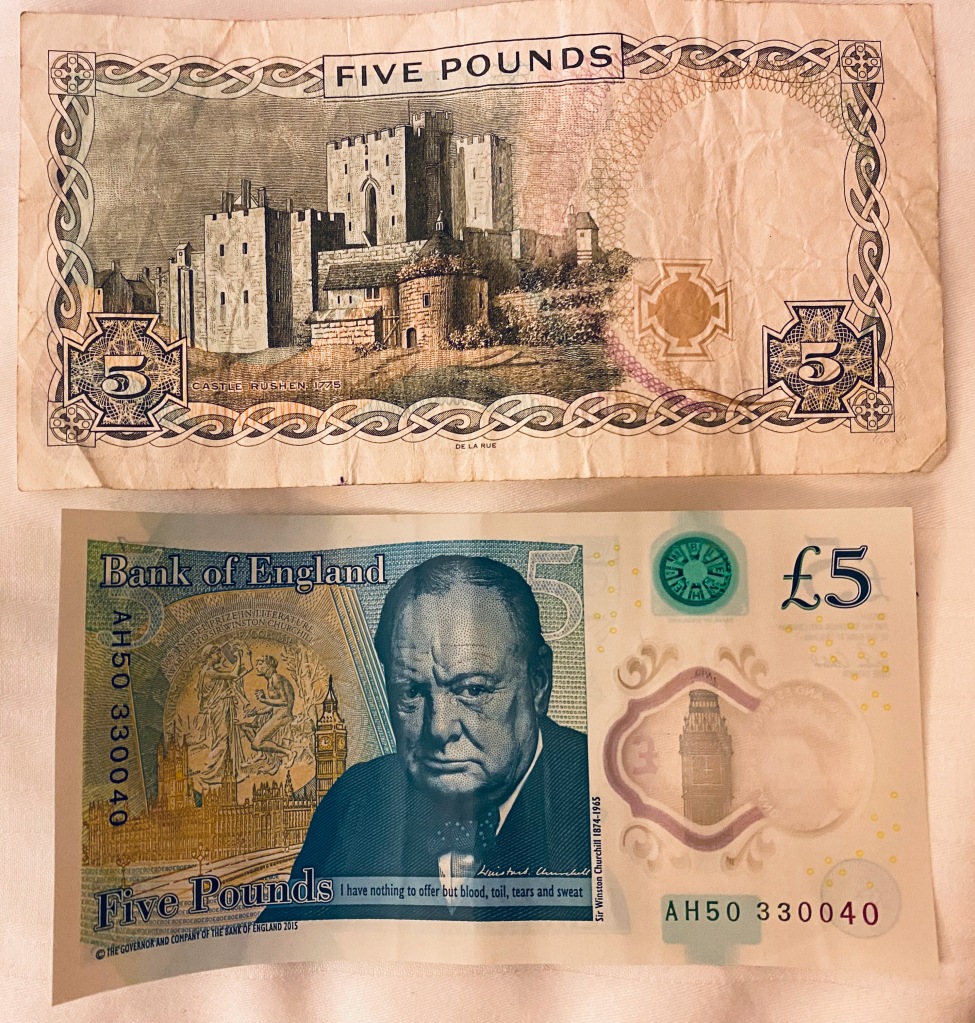
The island uses the British pound as its currency but it issues its own versions of coins and paper currency. A young man at a store told us that while British currency is accepted on the island, people back in Britain don’t always accept Manx currency. (That’s Castle Rushen on the back of the Manx five pound note.)
We didn’t see any Manx cats while we were there. We were told by a lady at the Manx Museum that they are around, but that they are a minority among cats.
“60 Minutes” ran a segment on the Isle of Man and its famous annual TT motorcycle race this past Sunday, Oct. 22, 2023. The first half provides background on the island and its history and the second half is about the race, which is one of the most dangerous in the world.
You can listen to lots of versions of the island’s unofficial anthem “Ellan Vallin” on Spotify, but the version by the Bee Gees is among the most moving. Below is the video with some engaging banter with the audience, along with the original poem.
Ellan Vallin When the summer day is over And its busy cares have flown I sit beneath the starlight With a weary heart, alone
Then rises like a vision Sparkling bright in nature’s glee, My own dear Ellan Vannin With its green hills by the sea.
Then I hear the wavelets murmur As they kiss the fany shore, Then beneath the emerald waters Sings the mermaid as of yore.
And the fair Isle shines with beauty As in youth it dawn’d on me. My own dear Ellan Vannin With its green hills by the sea.
Then memories sweet and tender Come like music’s plaintive flow, Of the hearts in Ellan Vannin That low’d me long ago.
And I give, with tears and blessings My fondest thoughts to thee, My own dear Ellàn Vannin With its green hills by the sea.
In more than 25 years of living and working on the East Coast, one of the most annoying phrases I hear is “flyover country.” Certain East and West coasters use it to refer to the country they see out the window (if they bother to look) as they fly over at 30,000 feet on their way between important meetings on either side of the country. The term annoys me because, for one, I grew up in flyover country, including small towns in Wisconsin and Minnesota. I’m also more culturally and politically conservative than the coastal elites, so I have an affinity for “Main Street America.” And every time I travel to and through the heartland of America, I meet people and see places that make me even more grateful to be a citizen of this great country.
My most recent experience in flyover country was a long cross-country drive Elizabeth and I took this summer from Northern Virginia through Indiana, Missouri, and Kansas to Colorado and back again. The last time I’d driven that far across the middle of the country was more than 40 years ago, when I drove from Baltimore to Colorado Springs in February 1983 to start my new job as editorial page editor of the daily Gazette Telegraph. Now that we’re both retired, Elizabeth and I had the time to drive there again, this time to visit our son Michael and his family.
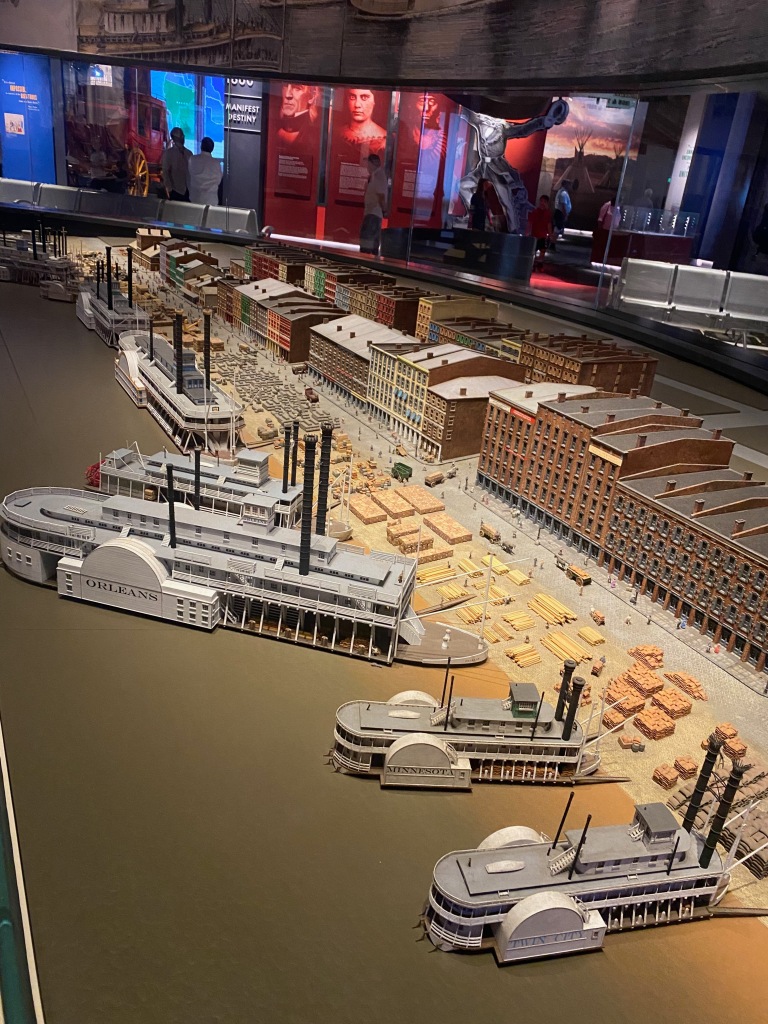
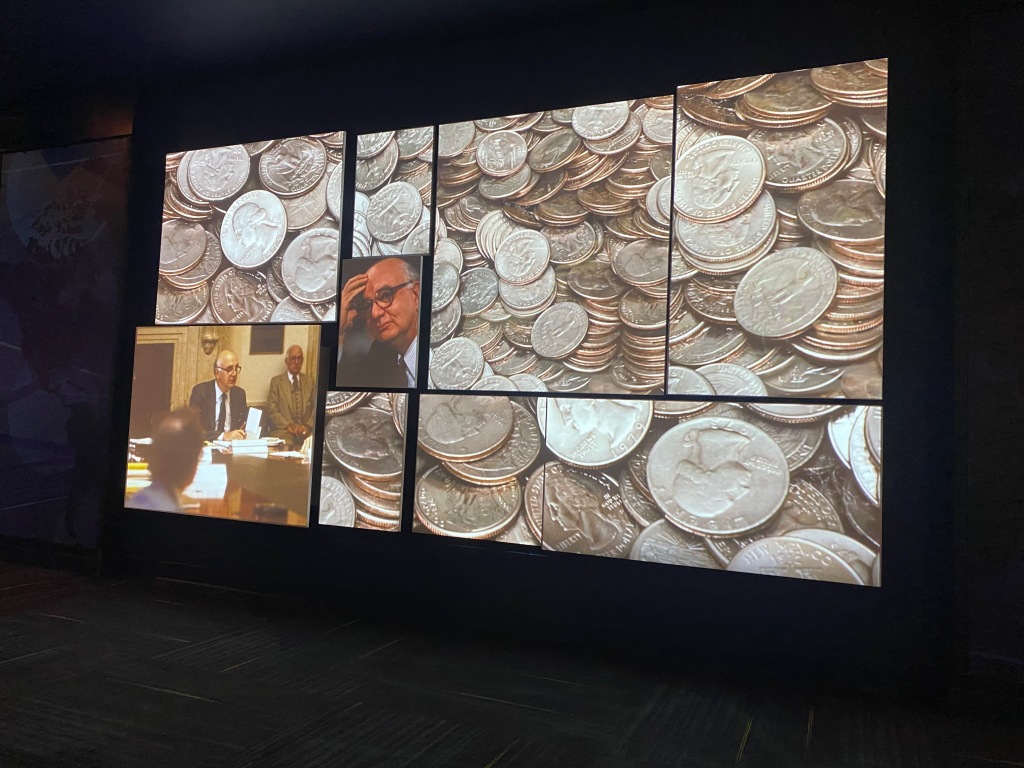
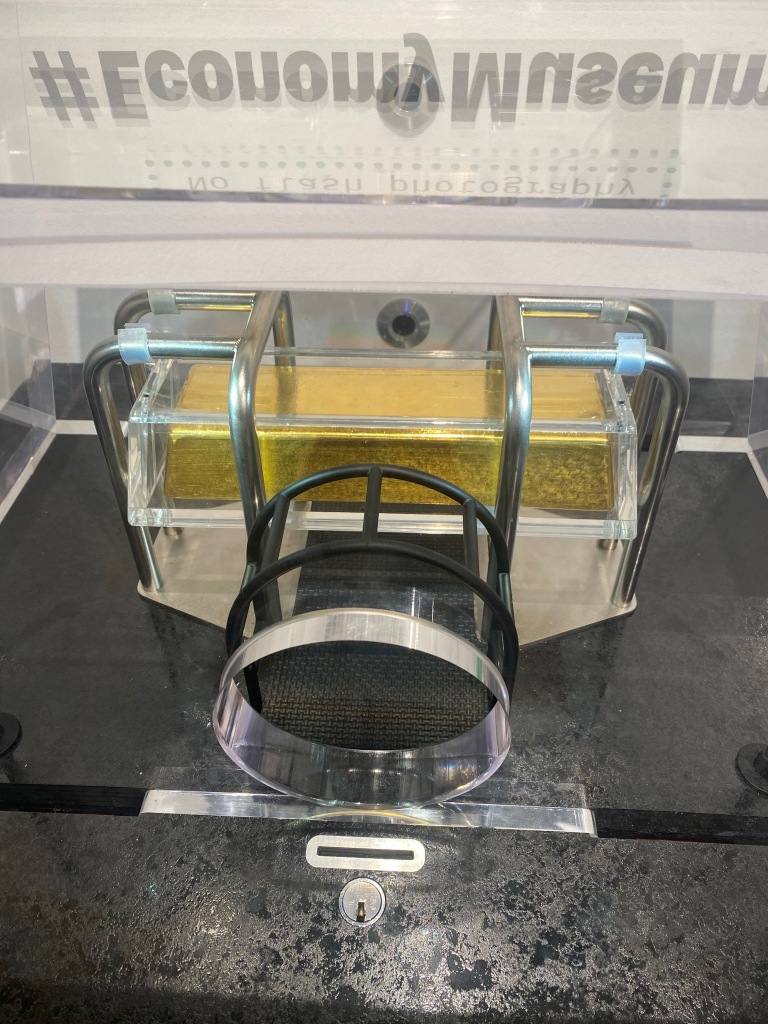
Among the highlights of the drive were a few days in St. Louis to see our dear friend Berta. We took Berta and her 94-year-old mother on the special tram to the top of the Gateway Arch for great views of the city and the Mississippi River more than 600 feet below. The visitor center near the arch contains an excellent museum on the city and its role in settling of the West. And down the street I stole away for an hour to take in the Economy Museum at the headquarters of the St. Louis Federal Reserve.
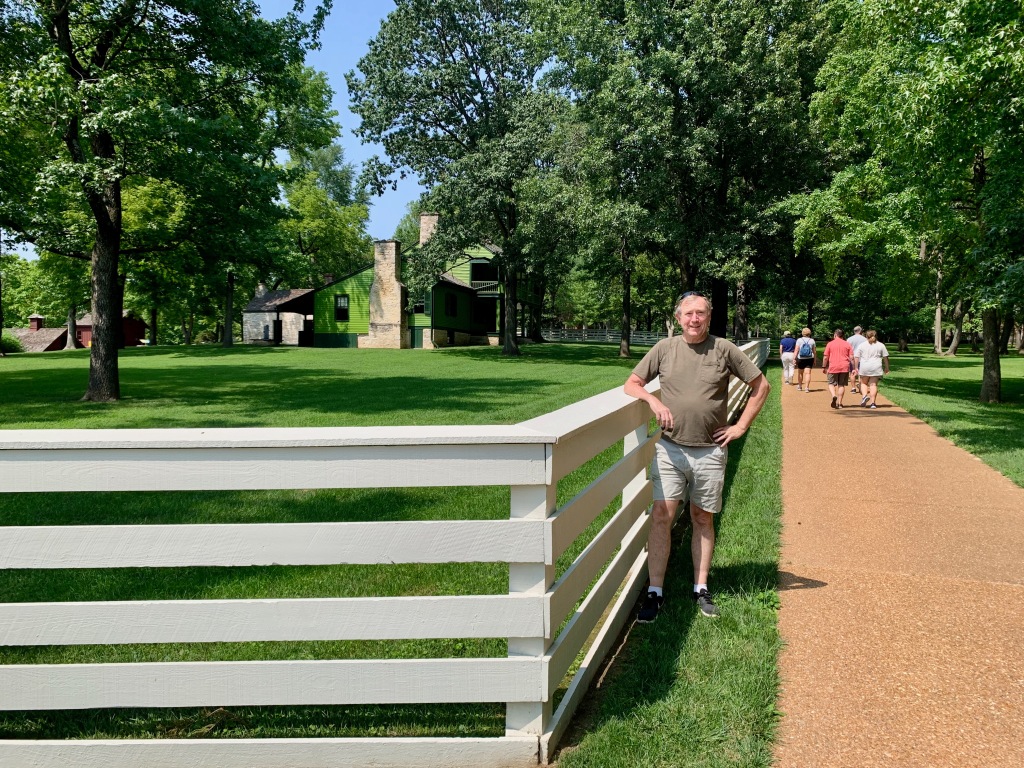
A few miles southwest of the central city is White Haven, a plantation and National Historic Site where Ulysses S Grant and his wife Julia lived with the Dent family in-laws from 1854-59. Grant would argue with his slave-owning father-in-law around the dinner table about abolition and the brewing conflict between north and south. The site contains another fine museum with facts and artifacts about Grant’s life and service to the country as Civil War general and president. The displays deepened the respect I’ve had for Grant ever since reading Ron Chernow’s splendid biography a few years ago. Influenced by Lincoln, Grant not only wanted to see black Americans fully integrated into the life of our nation but his inclusive views also extended to immigrants. I especially liked this quote on display from July 28, 1872, when he was president:
My oft expressed desire is that all citizens, white or black, native or foreign born, may be left free, in all parts of our common country, to vote, speak & act, in obedience to law, without intimidation or ostracism on account of his views, color or nativity.
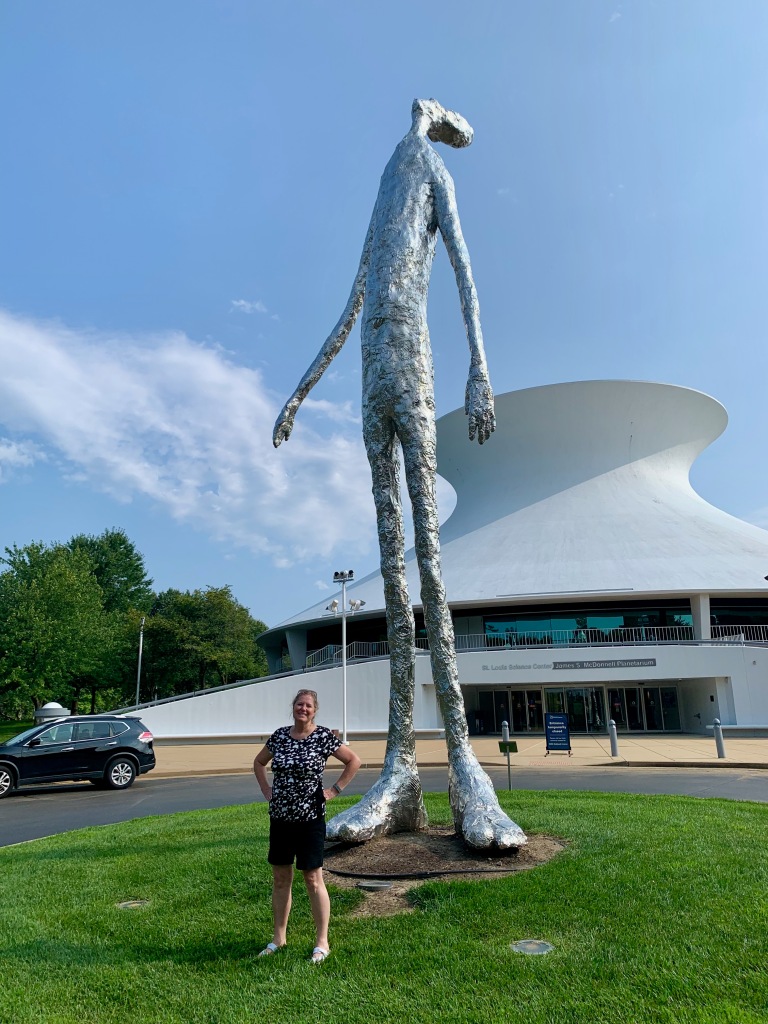
James S. McDonnell Planetarium, St. Louis
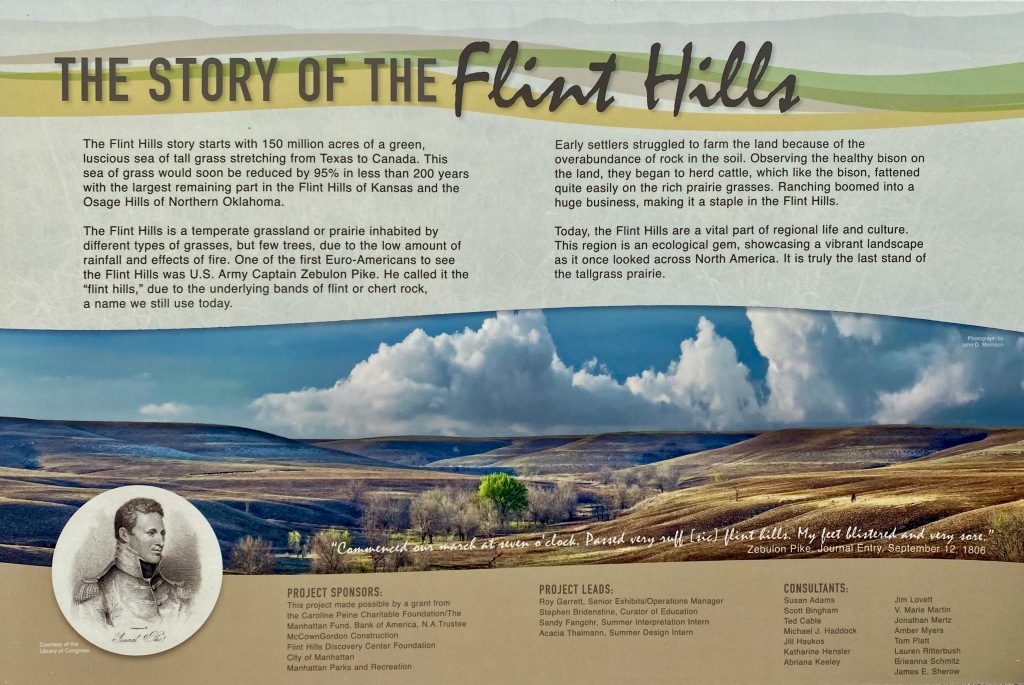
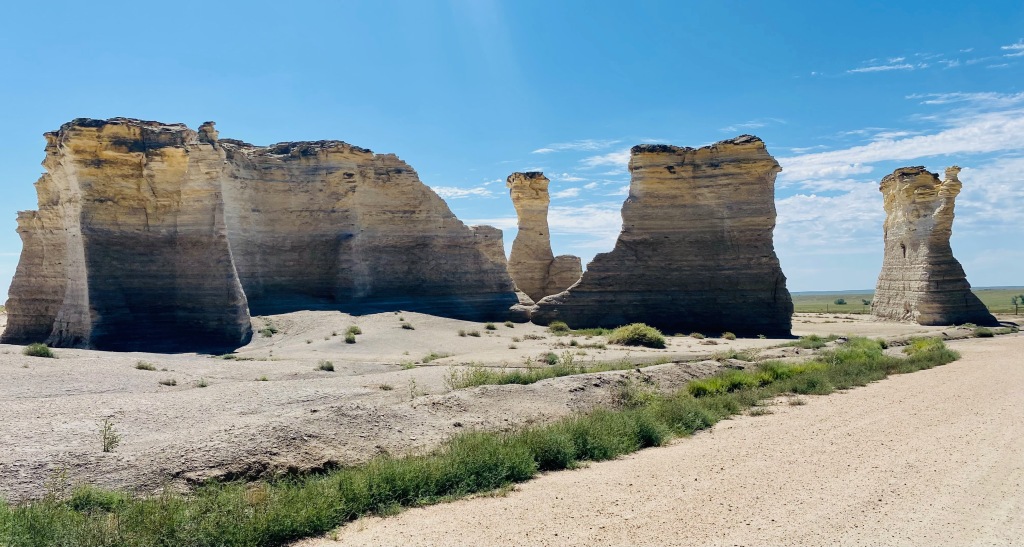
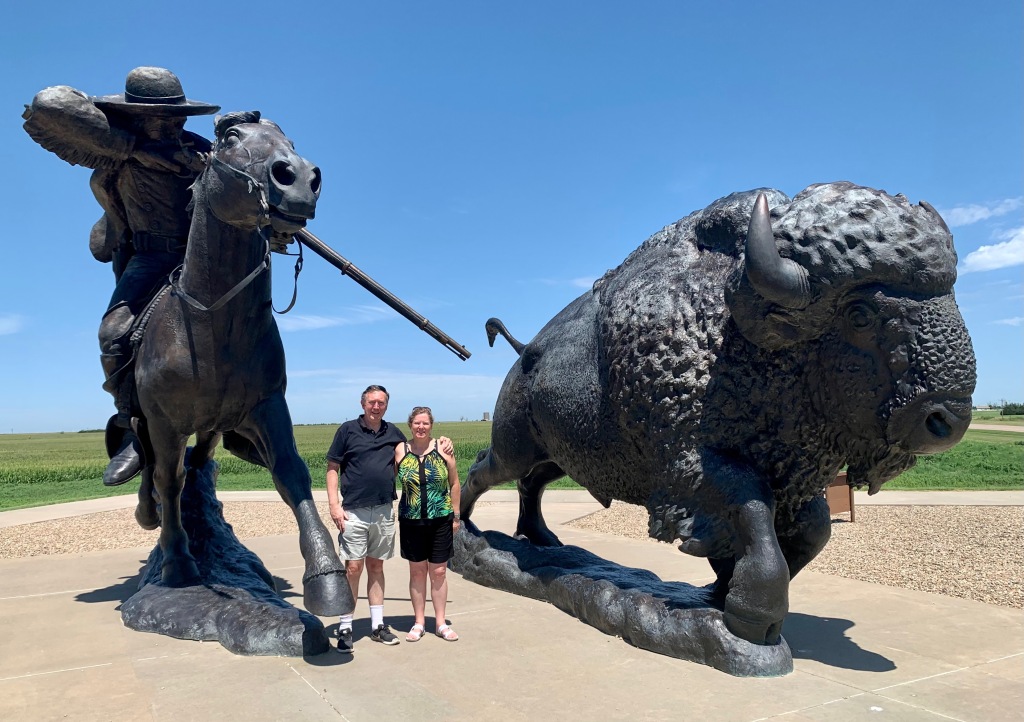
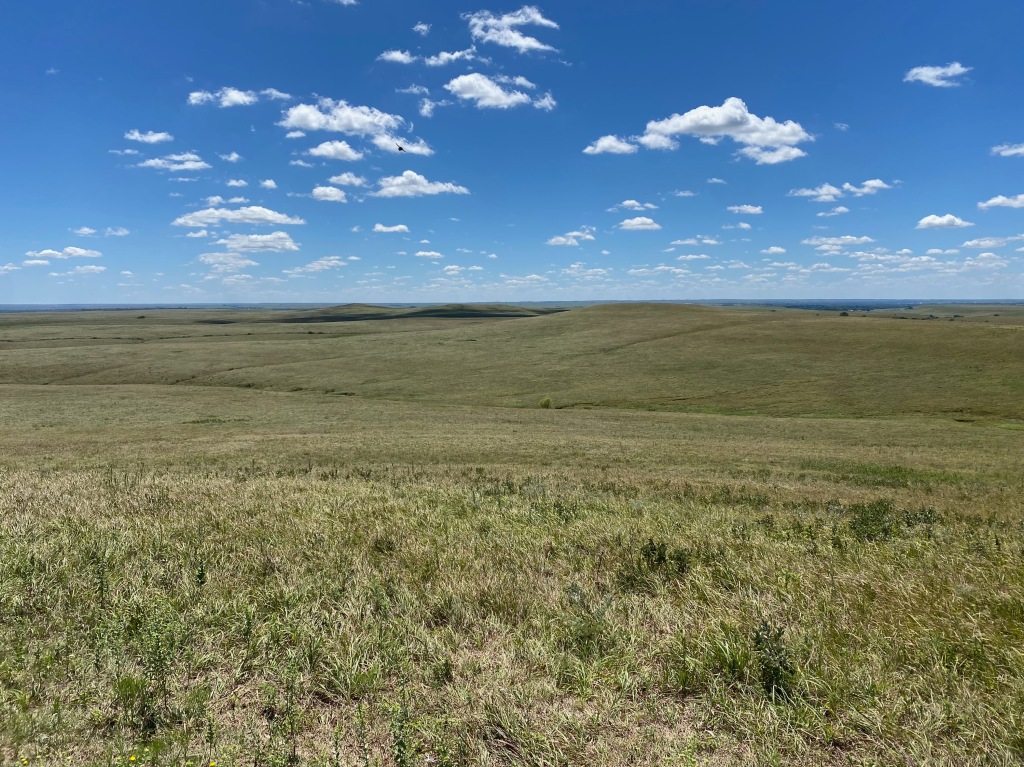
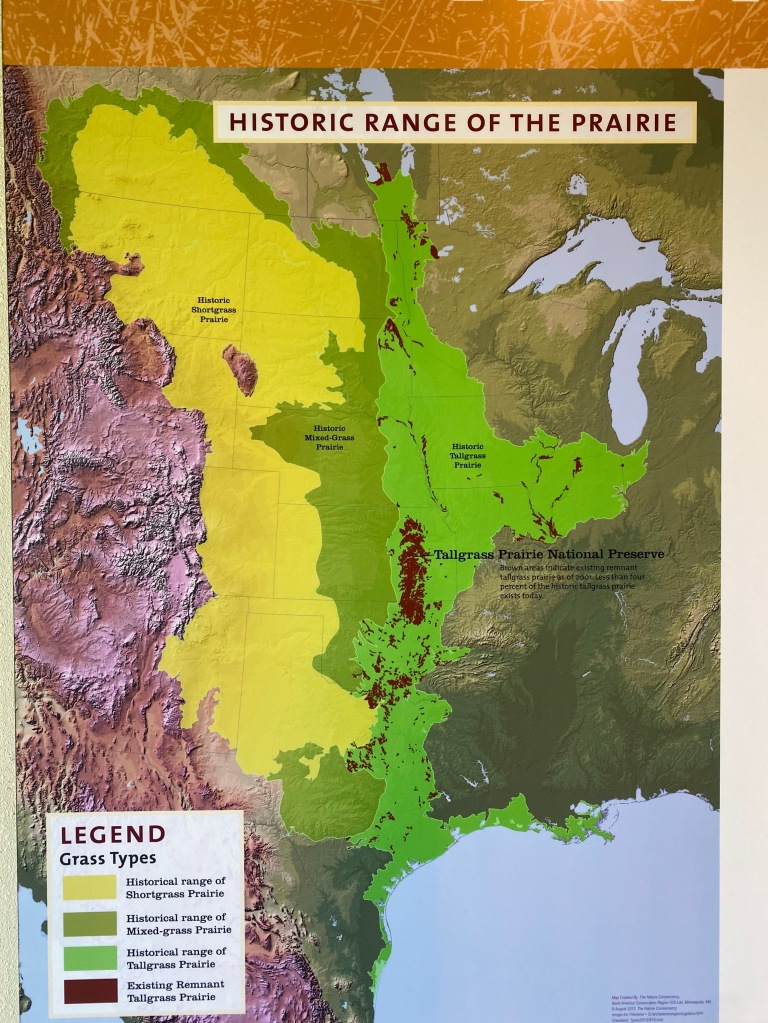
A friend of ours out east who hails from Kansas recommended we stop along the way at the Flint Hills Discovery Center in Manhattan, Kansas. The exhibits there opened my eyes to a region of the country that I was totally ignorant of. The Flint Hills run north and south through the eastern part of the state. The shallow, rocky soil made the hills unsuitable for crop farming, so they have remained the largest and one the last areas of tall-grass prairie. We stopped at the center on a July day when the truck thermometer read 106 F, so we enjoyed the air conditioning along with the exhibits. As we made our way west from there, we stopped at the Buffalo Bill Cultural Center near Oakley to pay respects to the famous cowboy and then drove about 30 minutes south to admire the Monument Rocks.
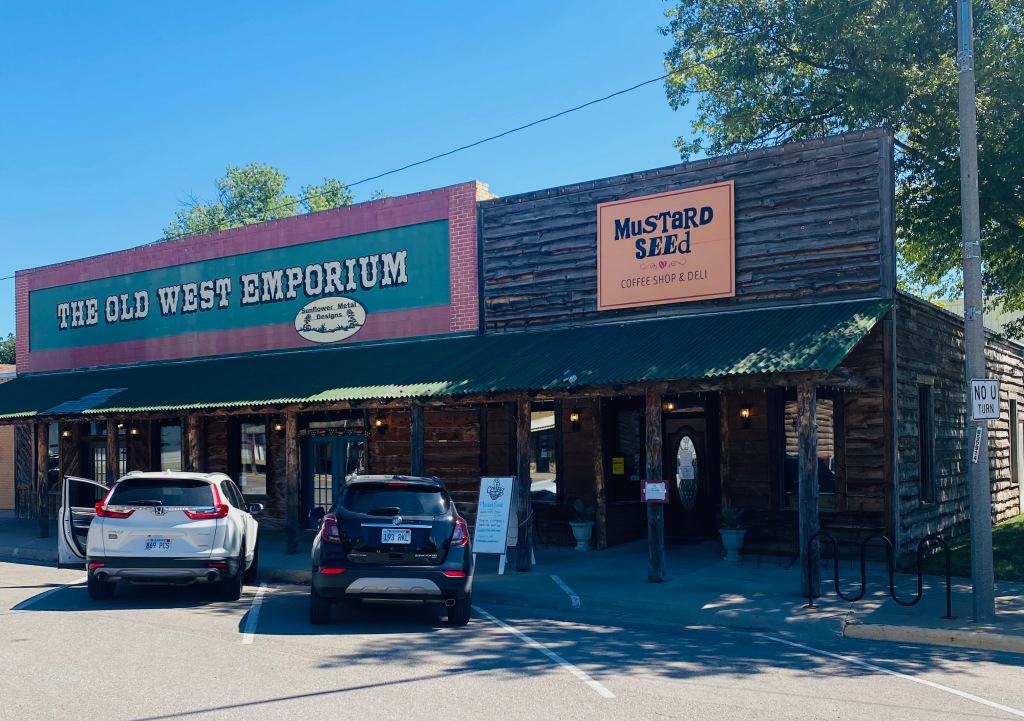
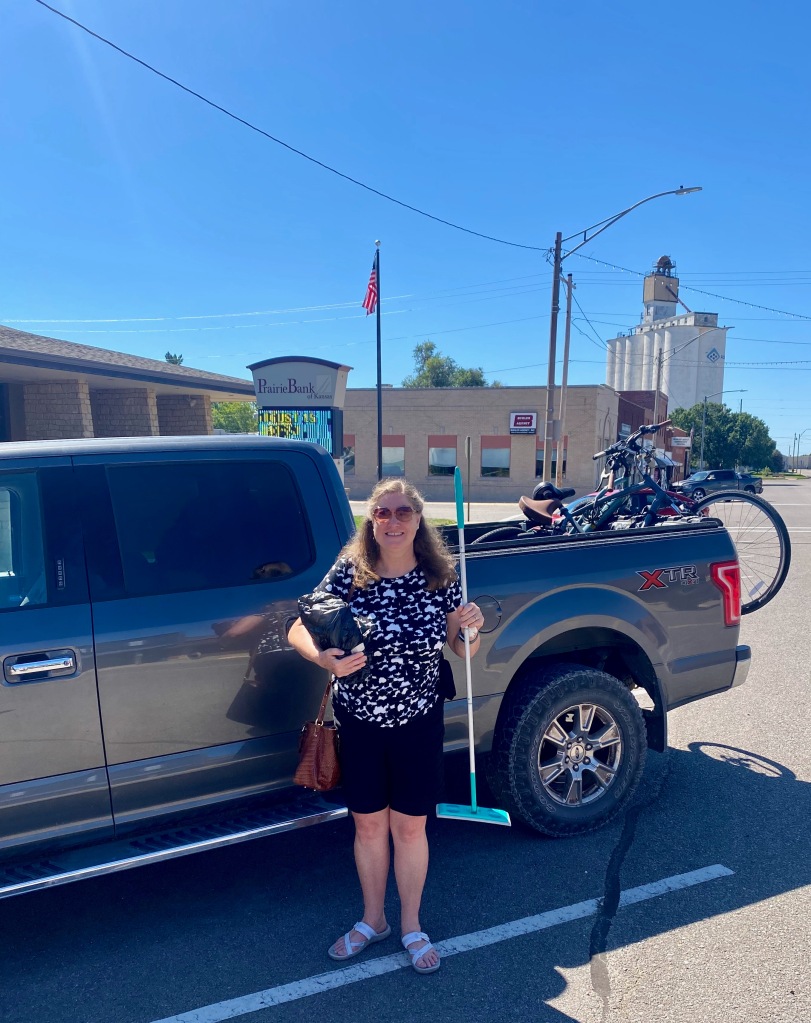
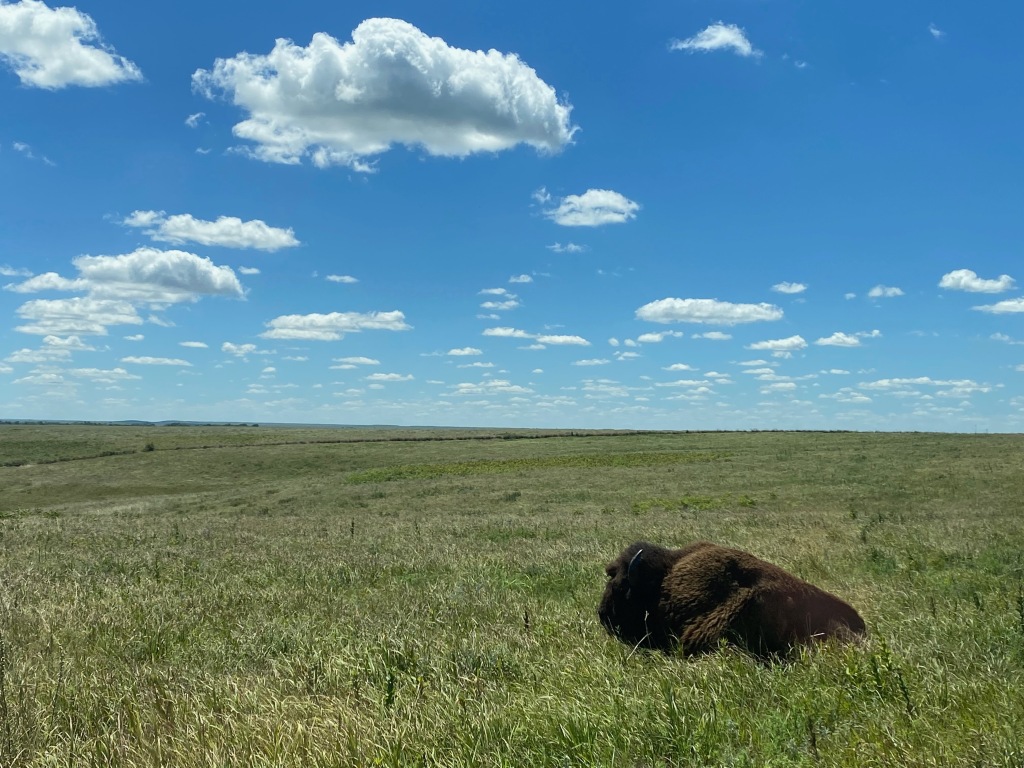
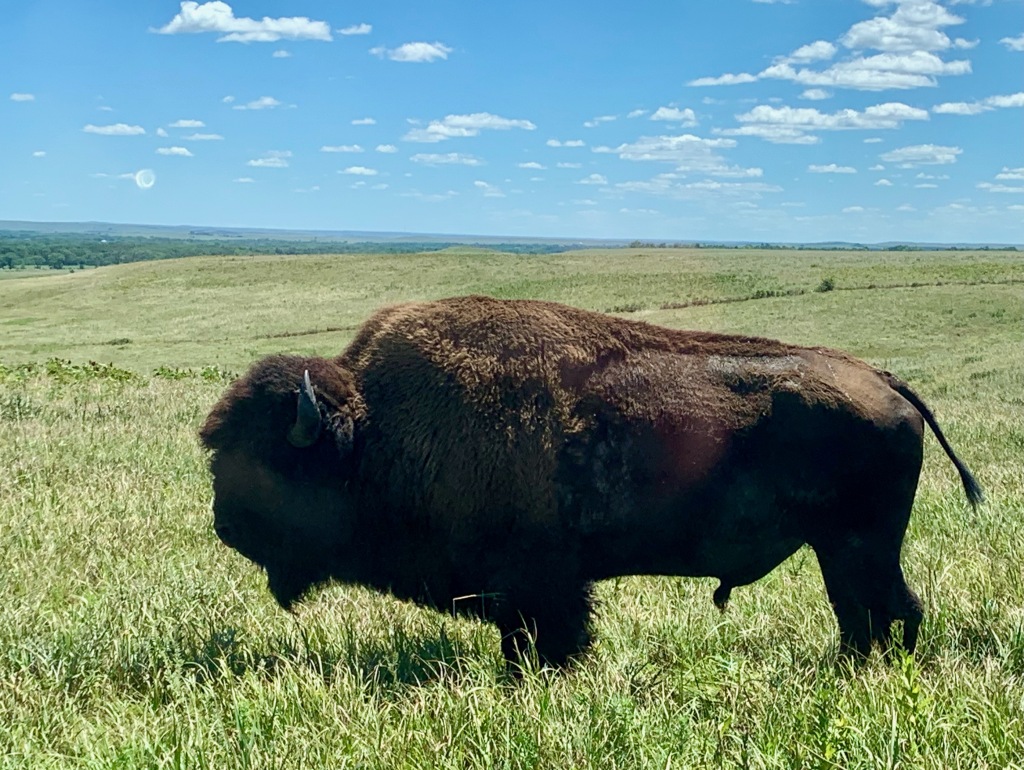
On our way back through Kansas a few weeks later, we stopped at the Tallgrass Prairie National Preserve, also in the Flint Hills about 70 miles south of Manhattan. The preserve covers 11,000 acres of tall grass and supports about 100 reintroduced bison. We took a ranger-guided ride through the preserve, where we saw a herd of bison from a distance and one male as close up as the ranger allowed us. We also stopped overnight to stay with the parents of our Kansas friend at their farmhouse near Buhler. Soybeans, corn, and sorghum were the main crops growing in the fields in that part of Kansas. Buhler, population 1,325, reminded me a bit of my hometown of Sauk Centre, Minnesota, with its grain elevator and friendly downtown. We ate breakfast at the Mustard Seed Café, where locals were gathering to start the day. It brought back pleasant memories of visiting my aging parents in Sauk Centre, where I would occasionally join my dad and his circle of friends for coffee at the Main Street Café.
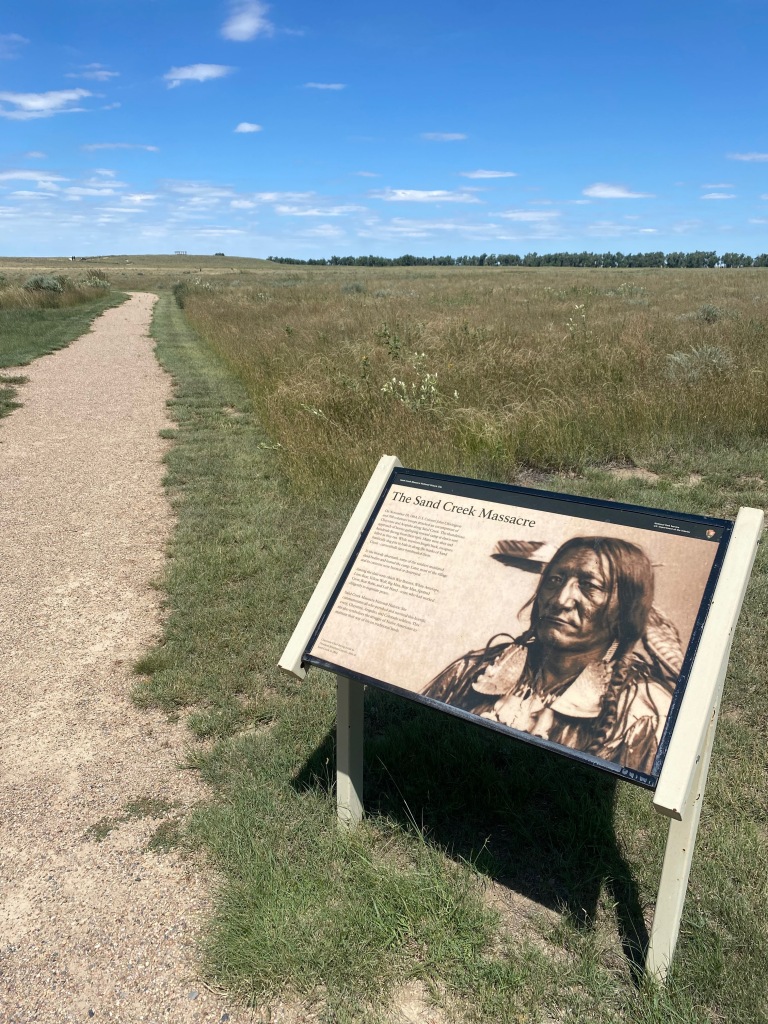
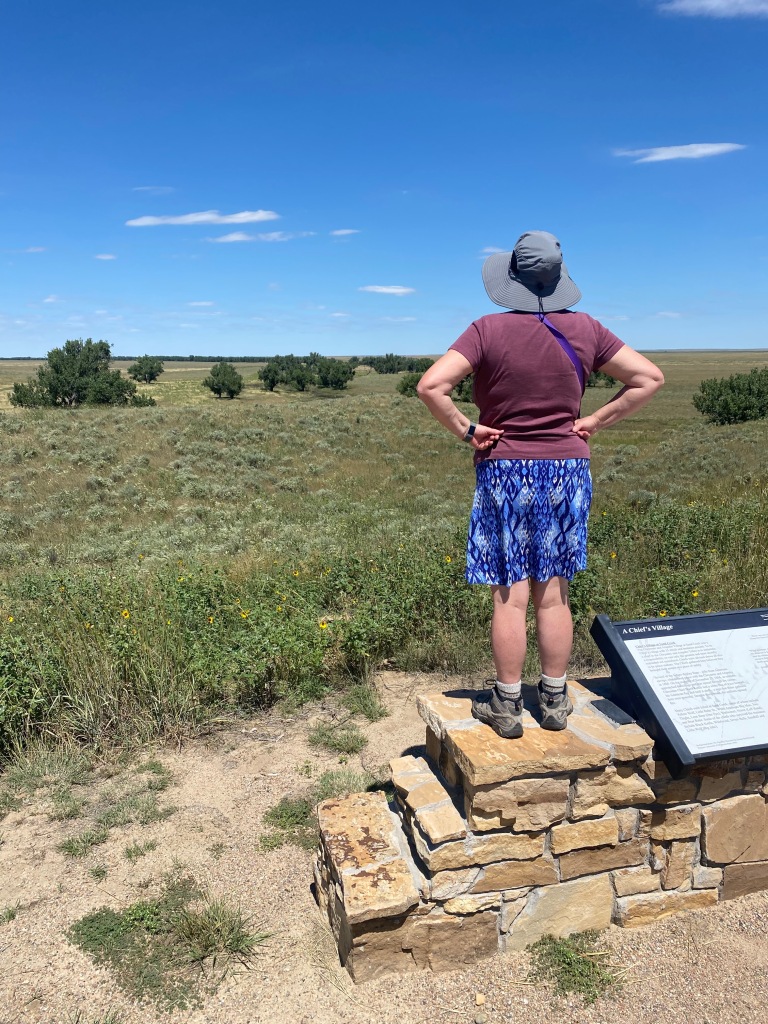
In the high plains of Colorado, as we were heading back east, we meandered along unpaved roads to the Sand Creek Massacre National Historic Site about 30 miles southeast of Kit Carson. On November 29, 1864, 700 volunteer troops attacked a peaceful encampment of Cheyenne and Arapaho Indians along Sand Creek. Hundreds were killed and some of the bodies mutilated. It was a sobering reminder of our nation’s checkered history in dealing with the native population. It was also an opportunity to walk across the high prairie with its big sky and no sounds other than the surrounding chorus of cicadas.
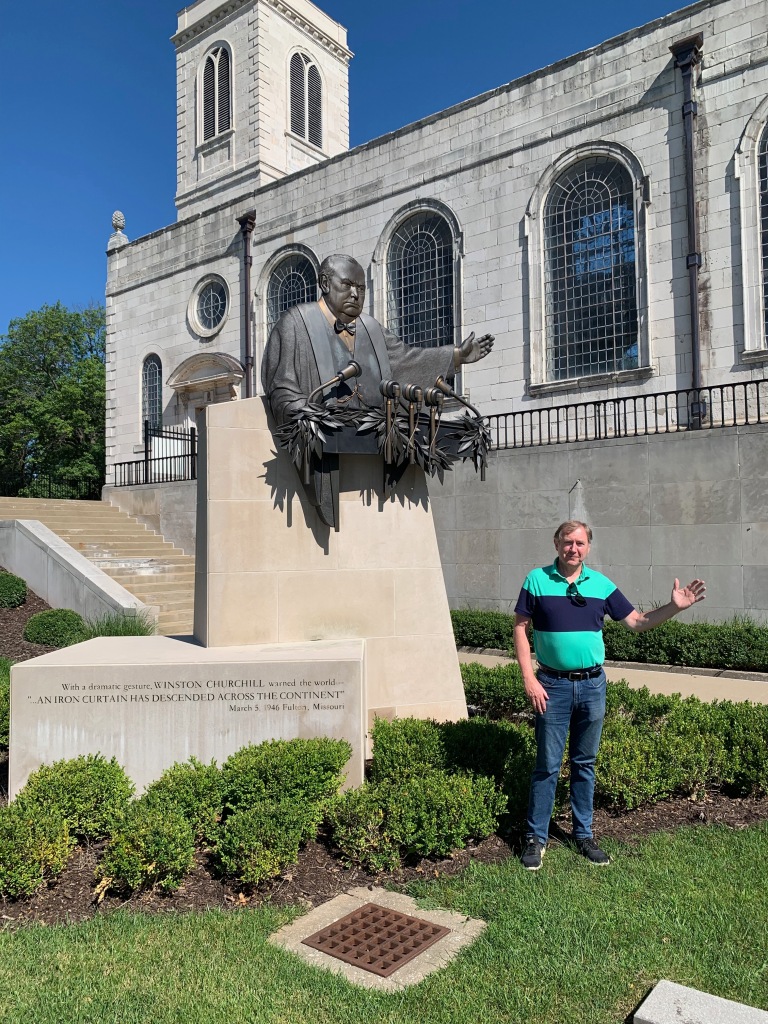
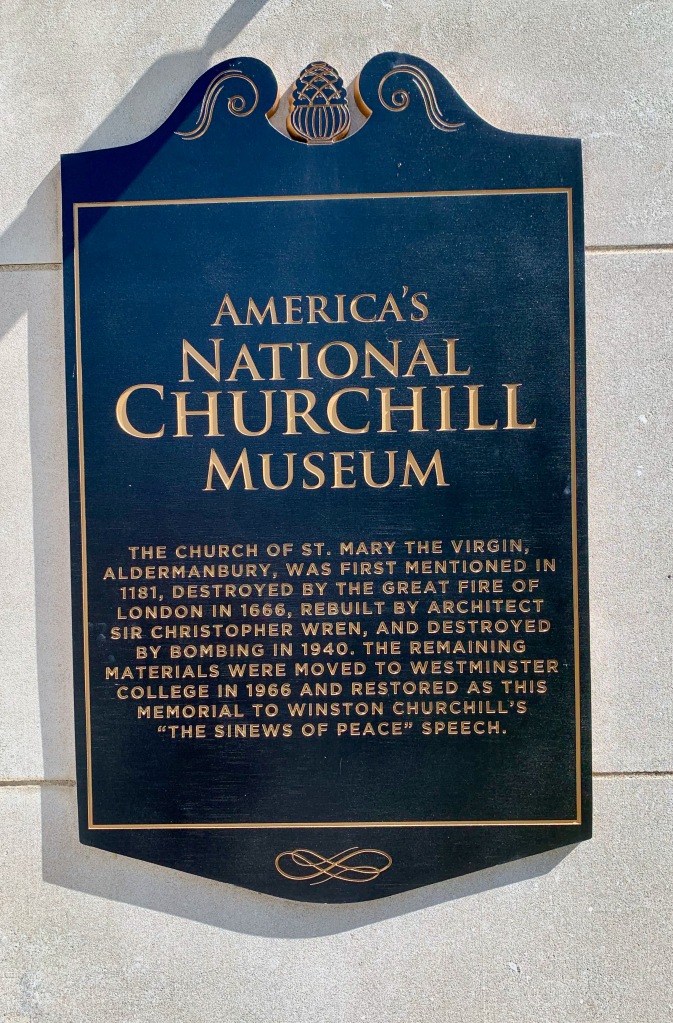
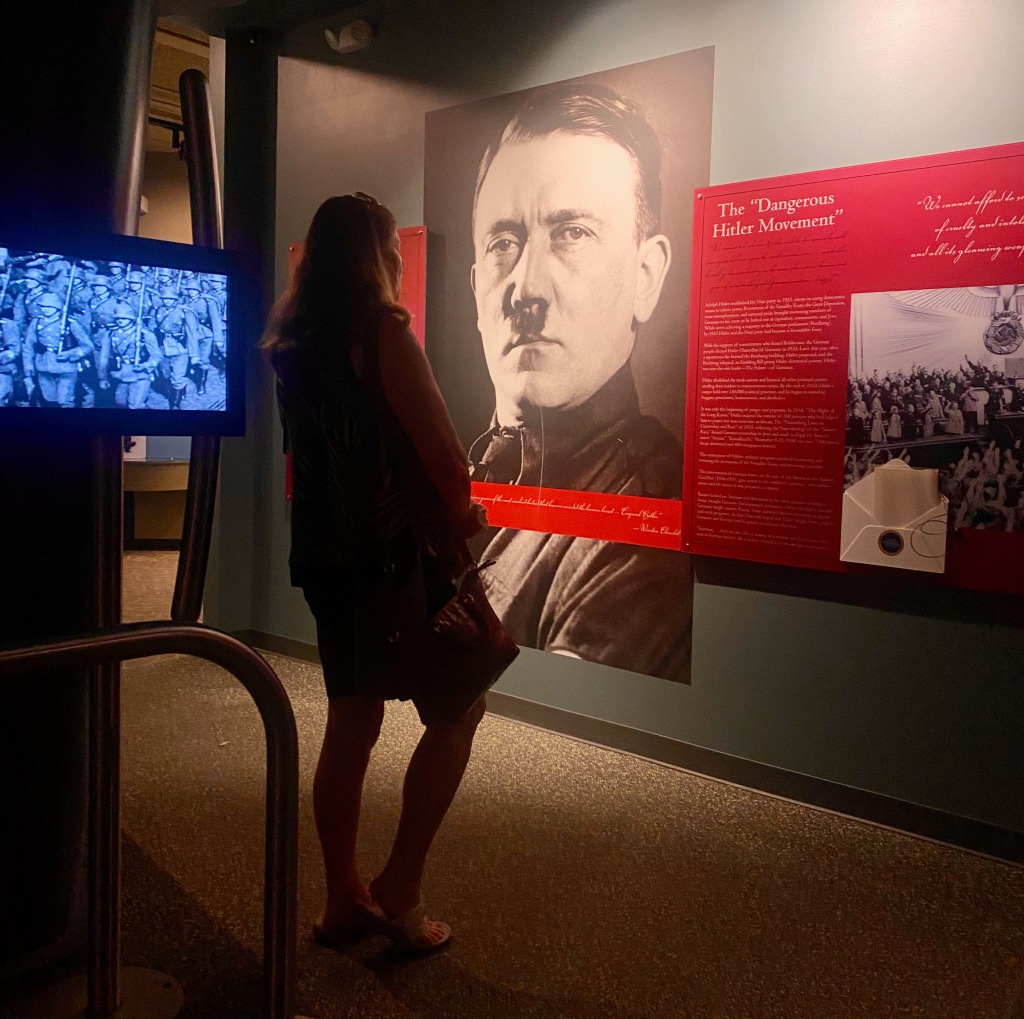
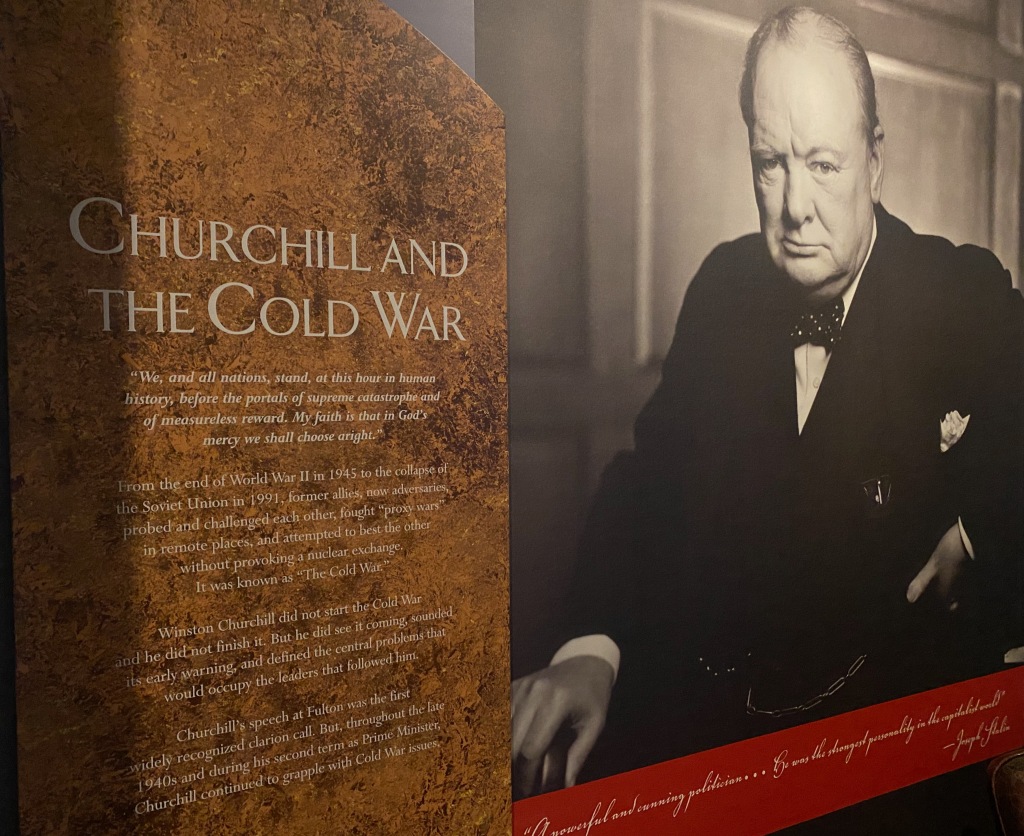
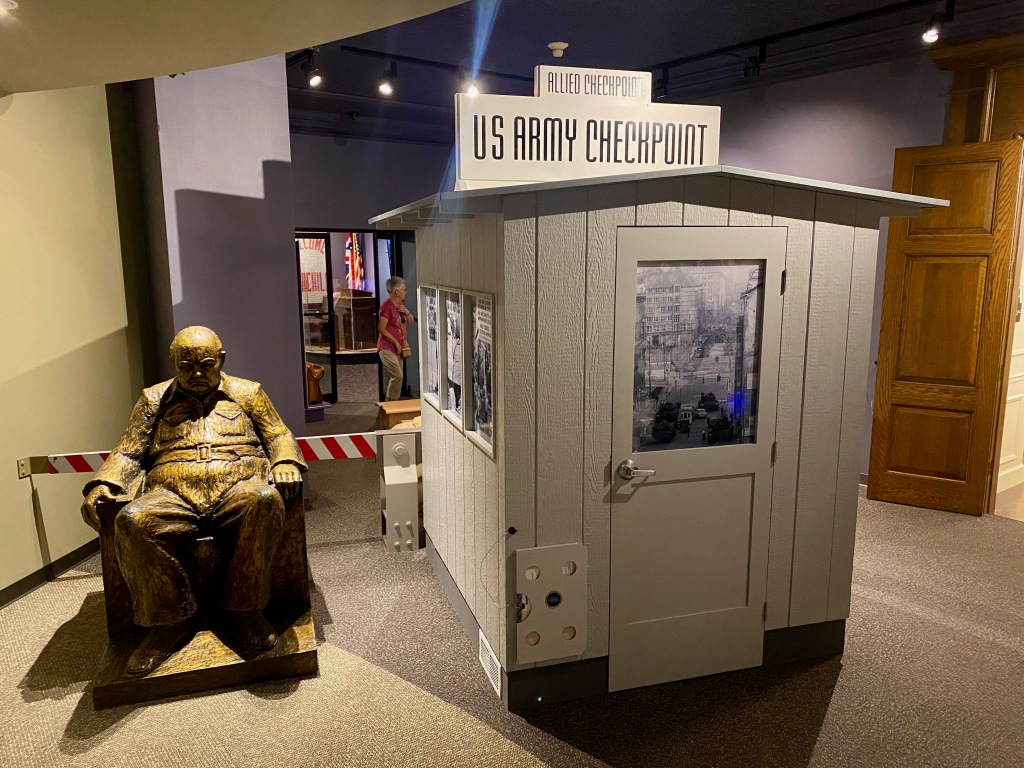
The final highlight of our drive was the Winston Churchill Museum in Fulton, Missouri. I’d seen the sign for it on our way out and made a mental note to stop there on the way back. Elizabeth and I agreed it was one of the best museums we’d ever visited. We spent nearly three hours viewing the exhibits of Churchill’s life and his famous visit to Fulton in March 1946. He was invited by Westminster College to give an address, and he chose that moment to warn the Western alliance about the “iron curtain” descending across the heart of Europe. It was considered a milestone in the Cold War with the Soviet Union that would last until the end of the 1980s. Eight sections of the Berlin Wall have been relocated outside the museum.
I hope these brief notes will kindle a bit of wanderlust to go not just to the big cities of coastal America but to visit the vast expanse in between. In just one trip we saw bison, sprawling prairie, small town charms, ripening fields, and three special places woven into our nation’s history.
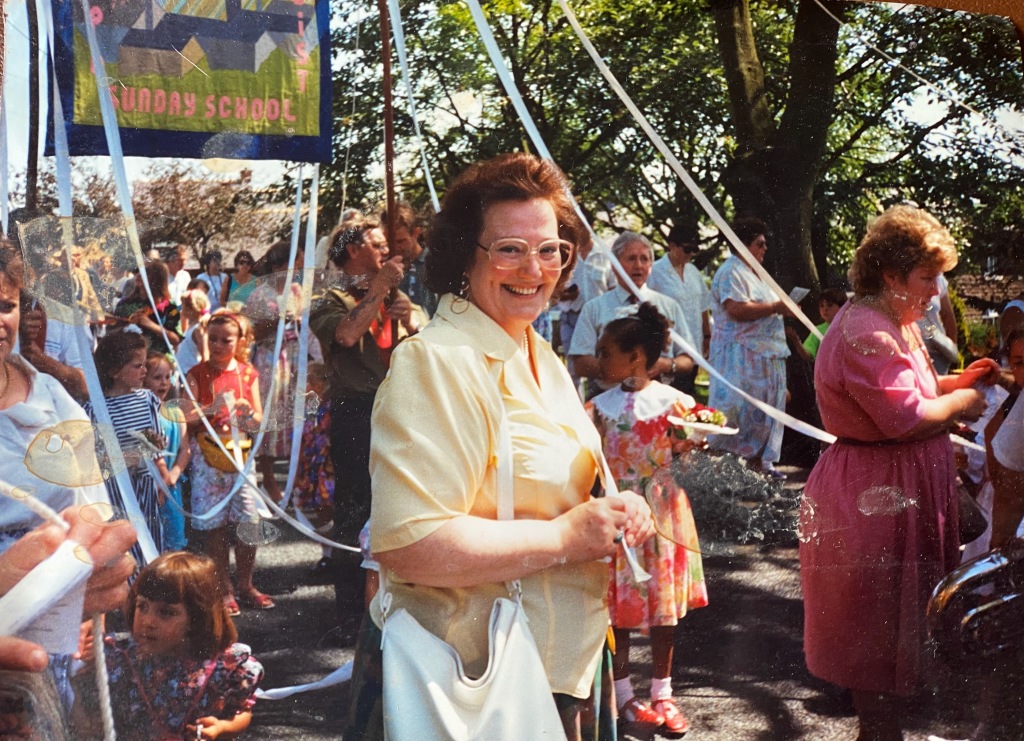
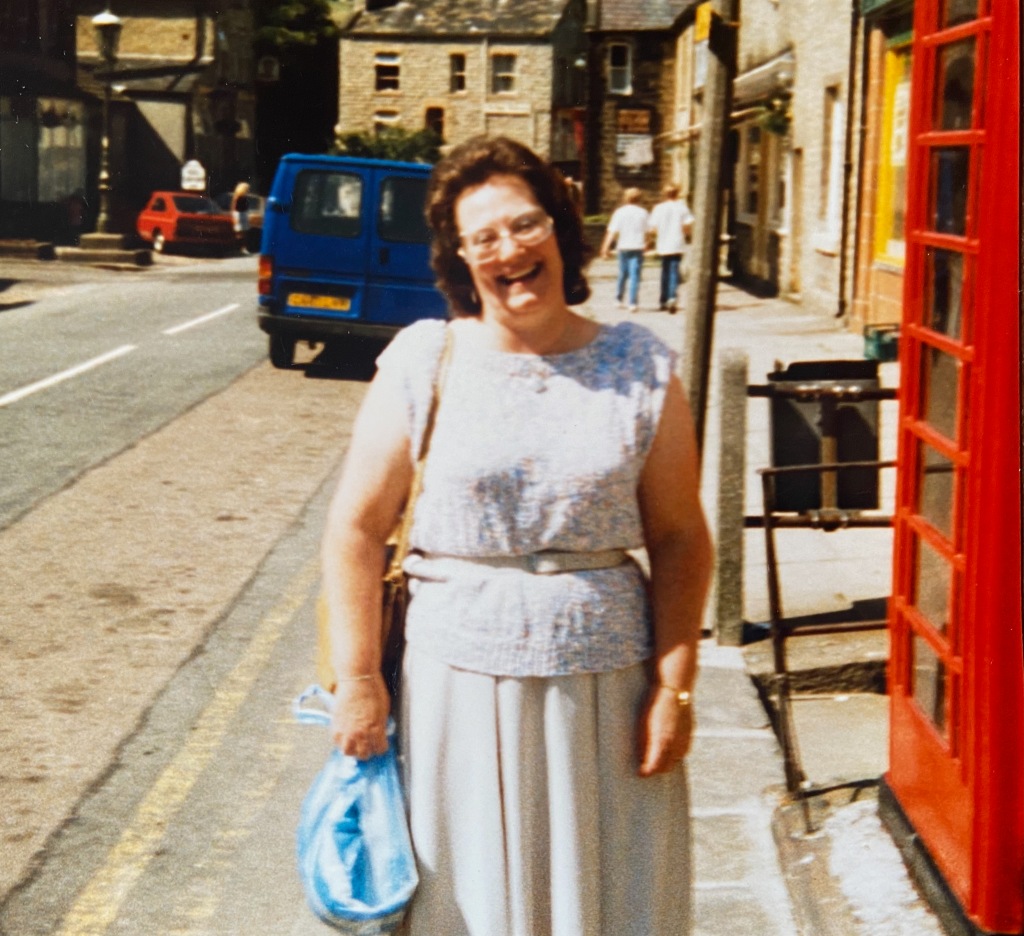
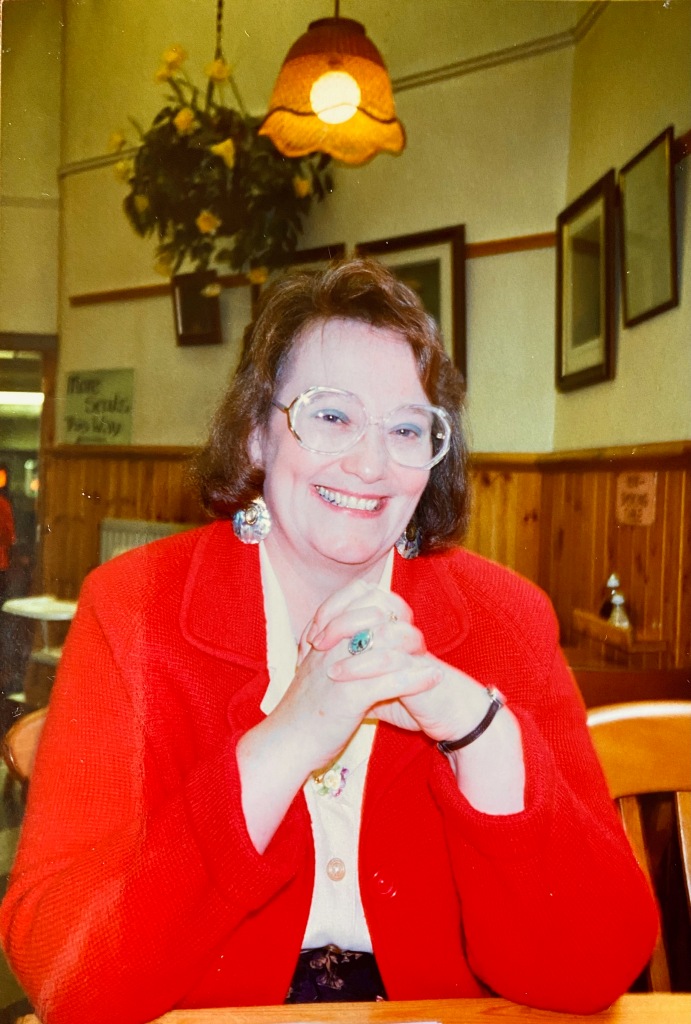
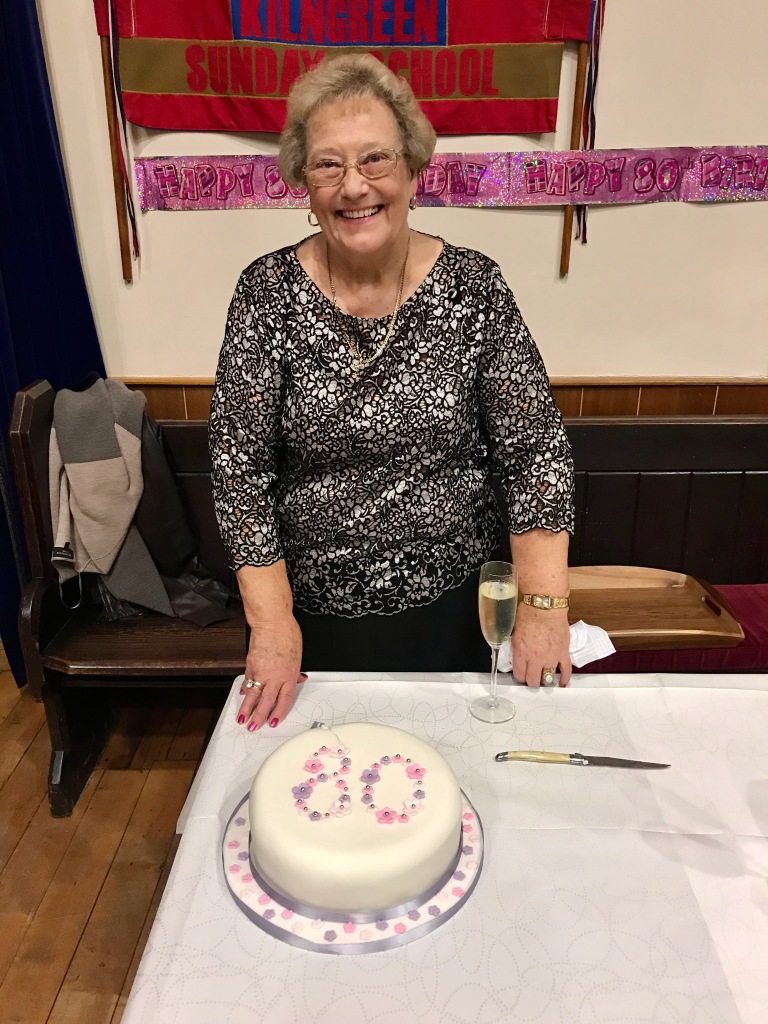
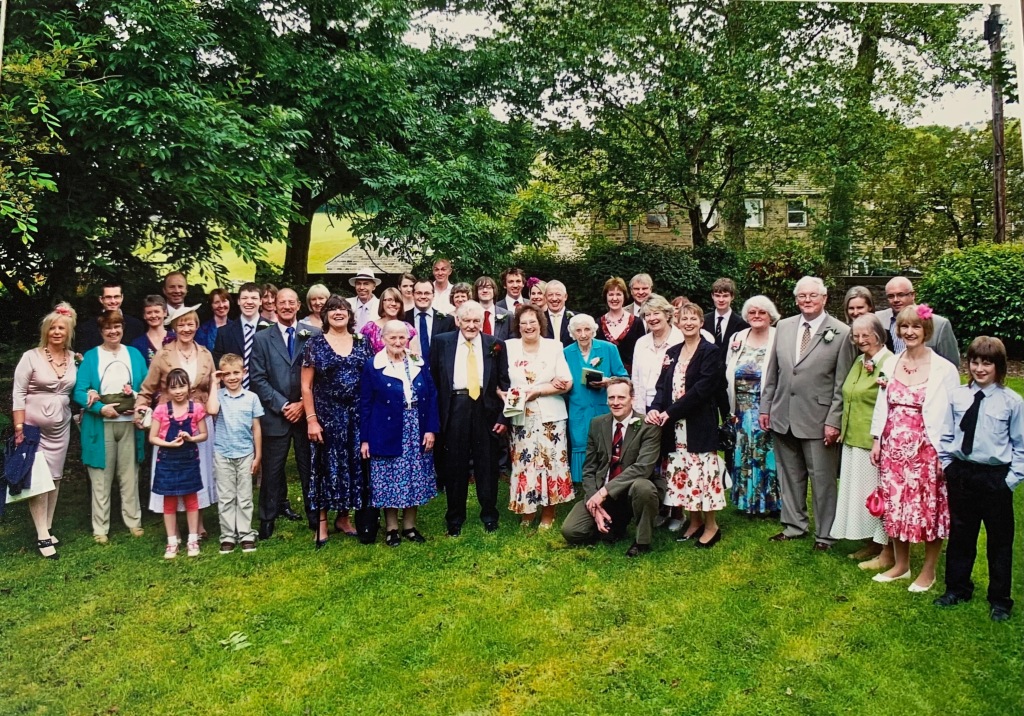
Irene Worthington of Diggle passed away peacefully at Royal Oldham Hospital on September 8, 2023, age 84.
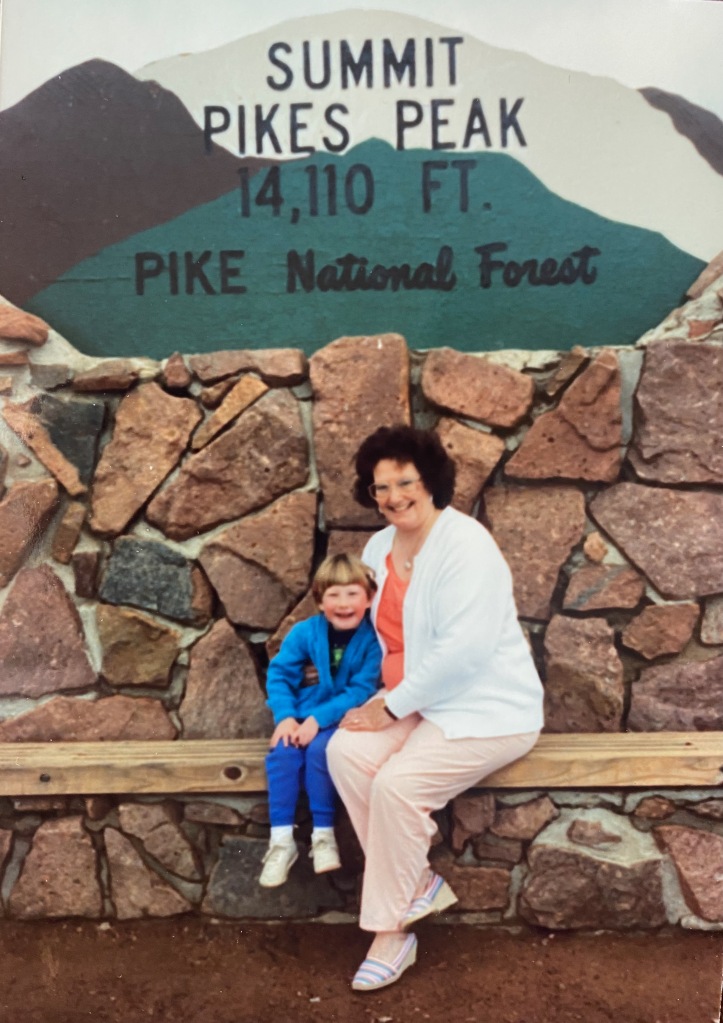
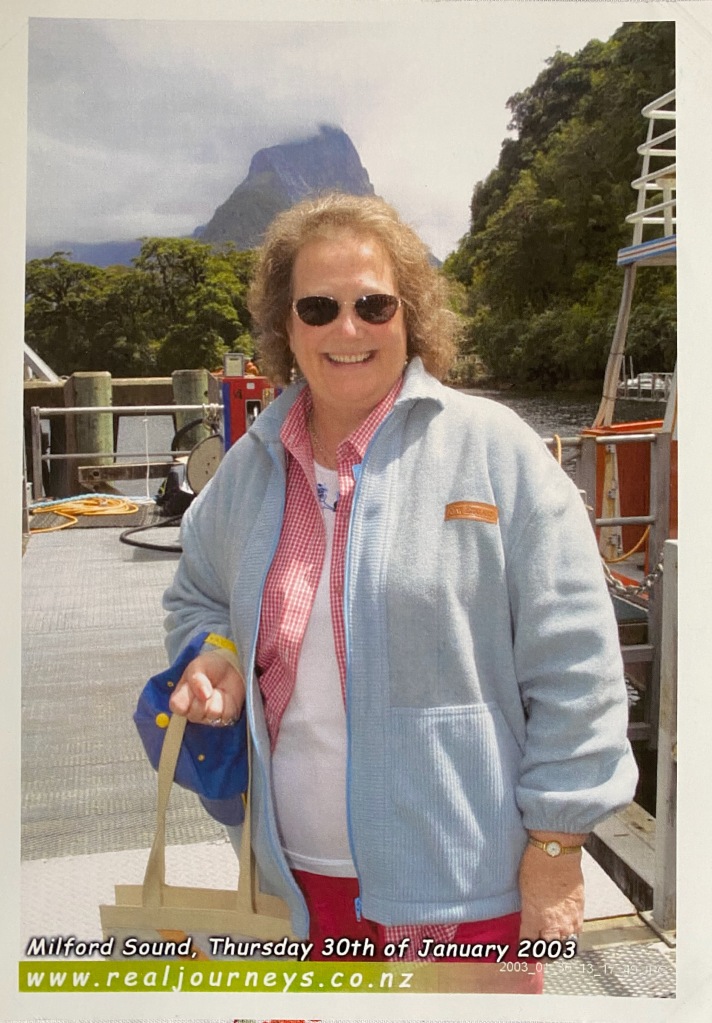
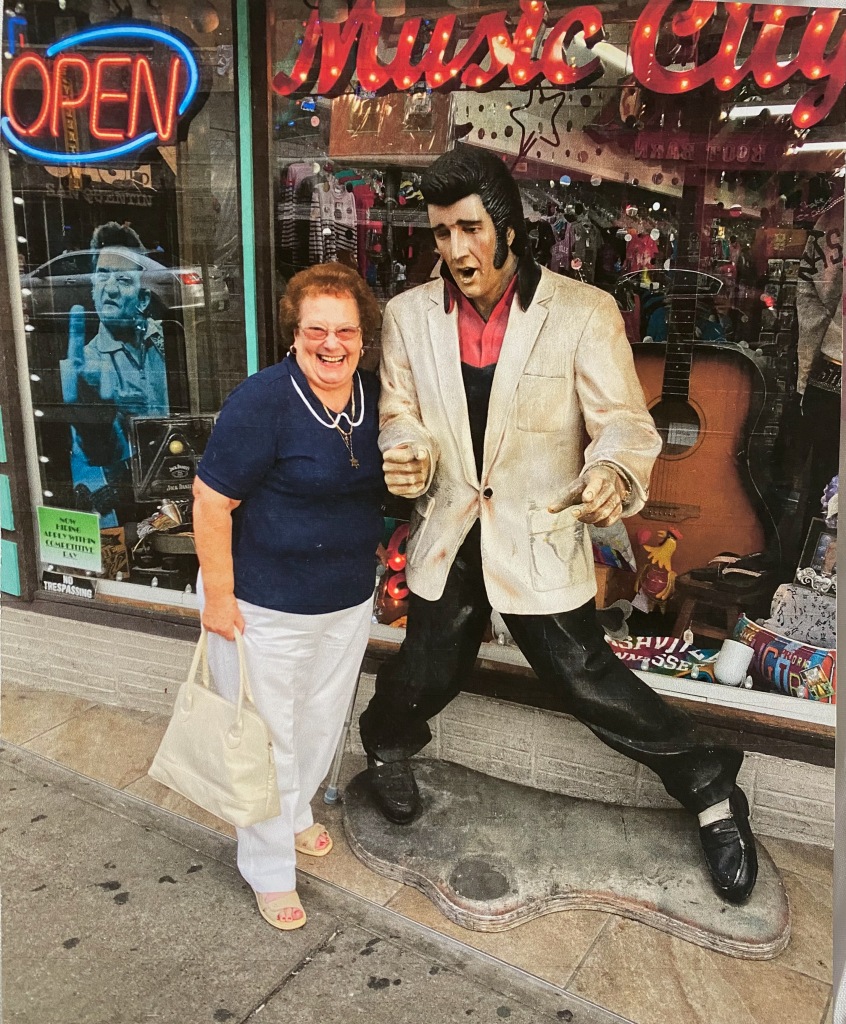
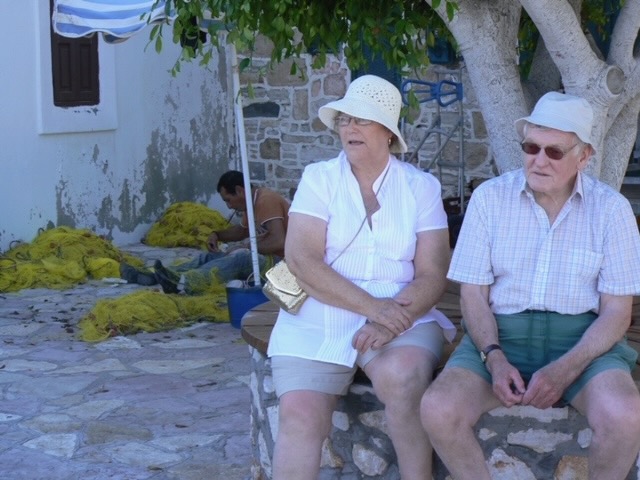
Irene was a devoted Christian and a steward at Delph Methodist Church for more than 40 years. She was a regular at the Saturday coffee mornings and helped to lead the worship services. She worked hard all her life, raising three children, running her own shop, working in a factory, cleaning homes, and serving the church. She loved to travel, frequently visiting her daughter and grandchildren in the United States, the Greek island of Halki with her late husband Graeme Worthington, and her longtime friend Jean in New Zealand in 2002. She made many friends in Saddleworth with her easy smile, caring spirit and warm hospitality.
Irene was born 24 October 1938 to Asa and Mary Elizabeth Cook (nee Wilcock) at 21 Linden Ave., Greenacres. Irene’s mother died from a fall when Irene was three and her father was interned in a Japanese prisoner of war camp during World War II—leaving her and her brothers Asa and Brian in care of her paternal grandparents. Her father returned from the war in 1946. He remarried and he and his wife Winnie had three children, Irene’s half-sisters Pat and Rita and half-brother Peter.
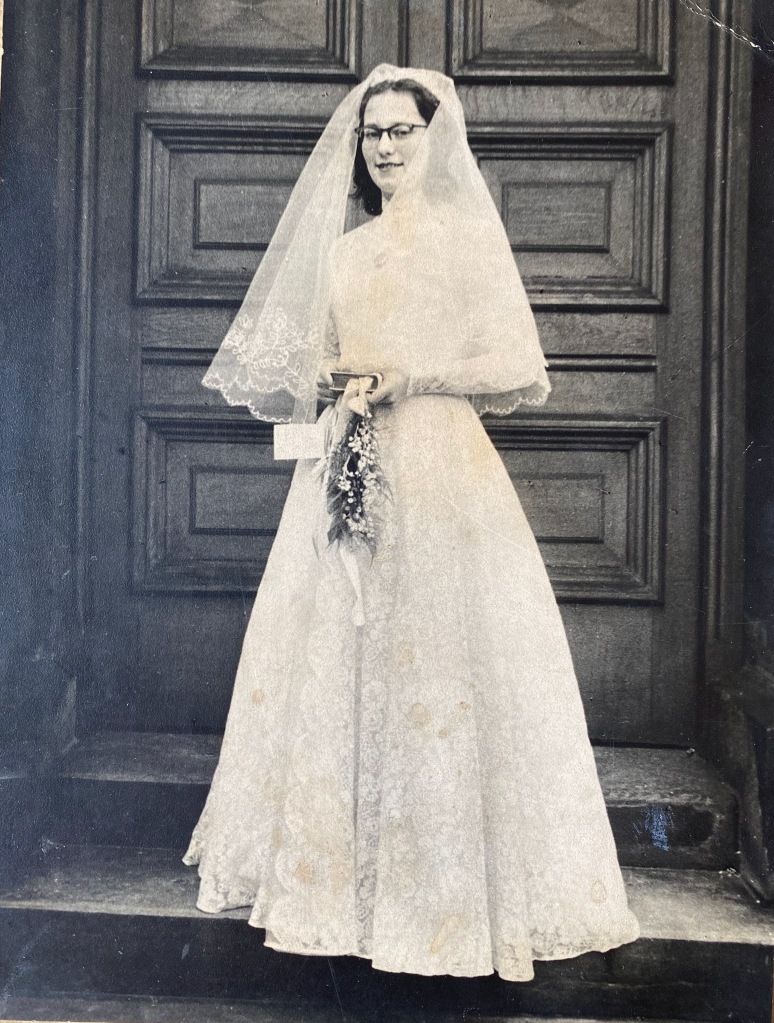
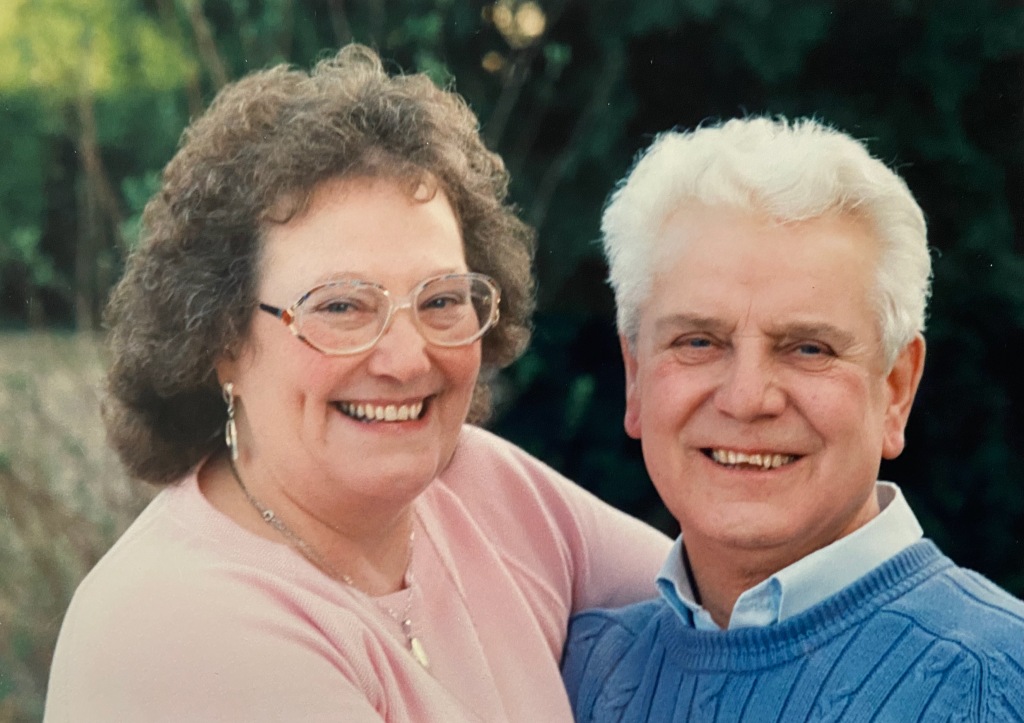
When Irene was 18 she married Ian Waddington and lived at Waterworks Road, Waterhead. They had three children, Mark, Elizabeth, and Louise. The family moved to Hollinhall St., Clarksfield, and then to Huddersfield Rd., where they bought and ran a shop for about six years. After she and Ian divorced, she married her second husband, Les Goodwin, in 1975. They moved to Delph in 1979 and spent more than 20 very happy years there. Les passed away in 2000. In 2010 Irene married Graeme Worthington and moved to Diggle, but sadly in 2016 Graham passed away.
Irene became a Christian at 17 and was very involved with teaching Sunday school at Waterhead Congregational Church and was involved in church activities throughout her life. In Delph she embraced the Methodist faith and was a steward for more than 40 years up to age 82, taking part in meetings in the church and with other churches.
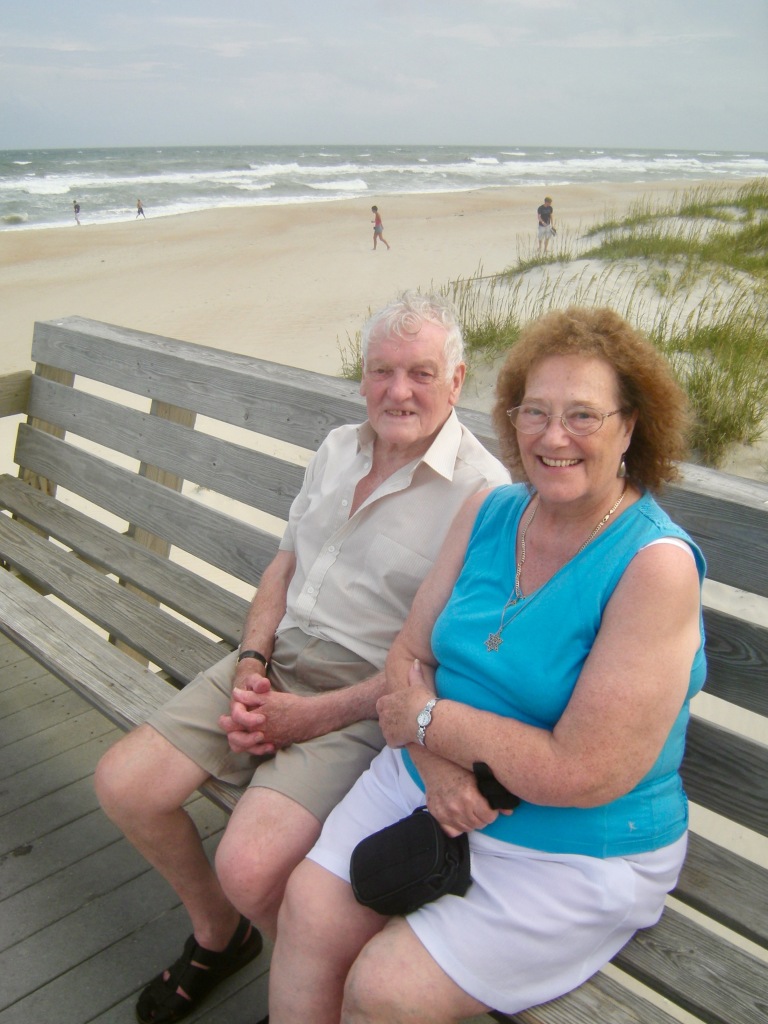
Irene also had some wonderful holidays in the Norfolk Broads, Malta, the United States, Scotland, Wales, New Zealand and lots of other places. Her daughter Elizabeth lives in the United States and they would take her on sight-seeing trips when she visited. In 2002 she traveled to New Zealand to see her school friend and stayed for three months. It was a wonderful trip and she was able to travel the whole of New Zealand. The island of Halki in Greece was a fun favorite and she was privileged to go there often with Graeme and his family.
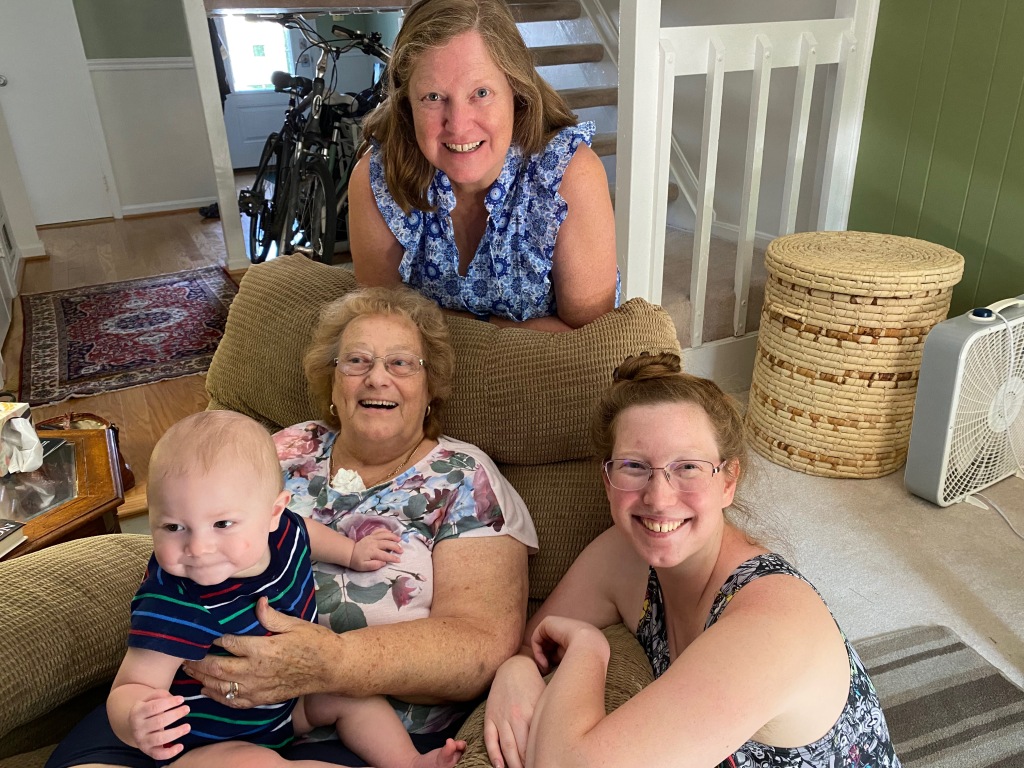
During her time in Diggle, Irene became a real member of Graeme’s family and the number of her family members has grown over the years to three biological children, three stepchildren–Alice, Hilary, and Ray–and their families, five grandchildren and spouses, and four great grandchildren. During COVID, Irene wrote, “God has been good to me. For 12 months I’ve been housebound, but never alone. I know He is always beside me so I give Him thanks for all my blessings.”
[This story was based in large part on notes Irene left behind, including “My Life in a Nutshell.”]
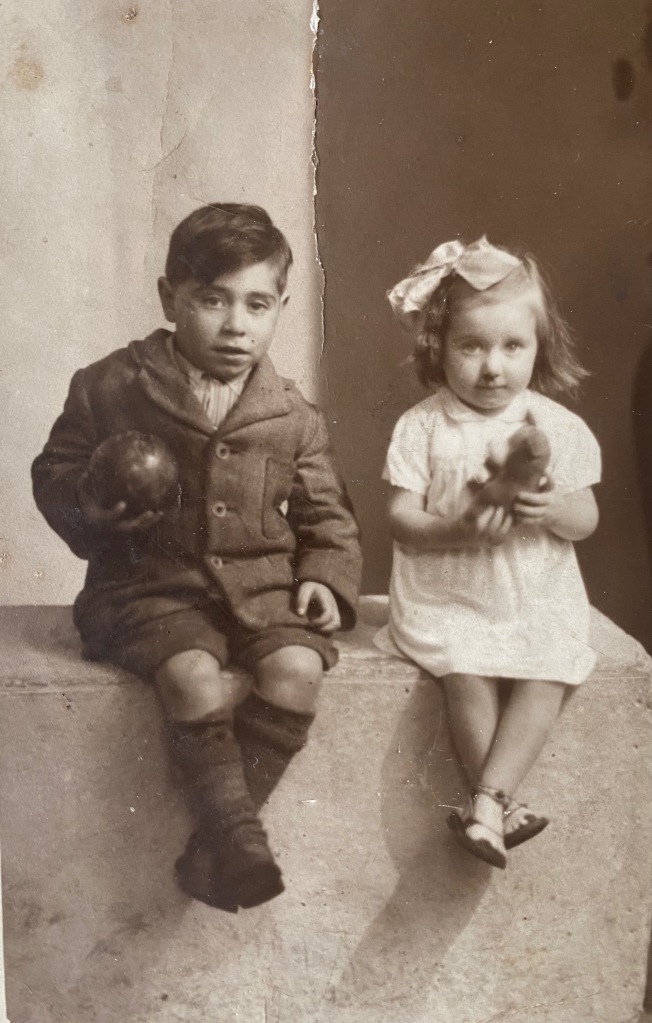
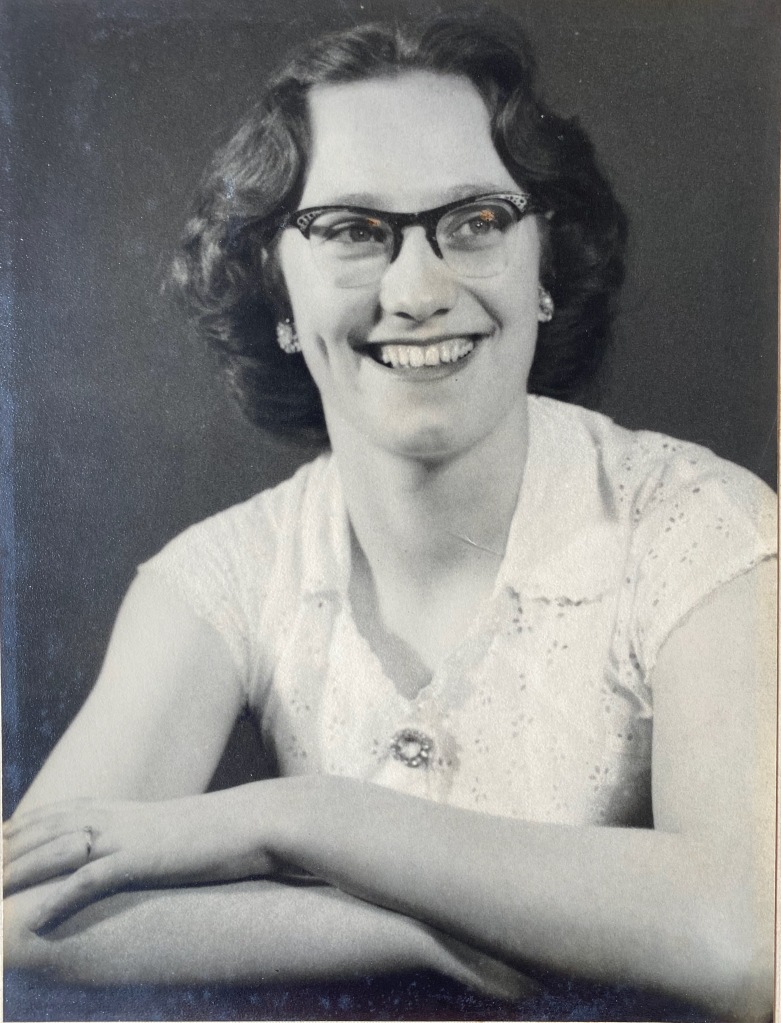
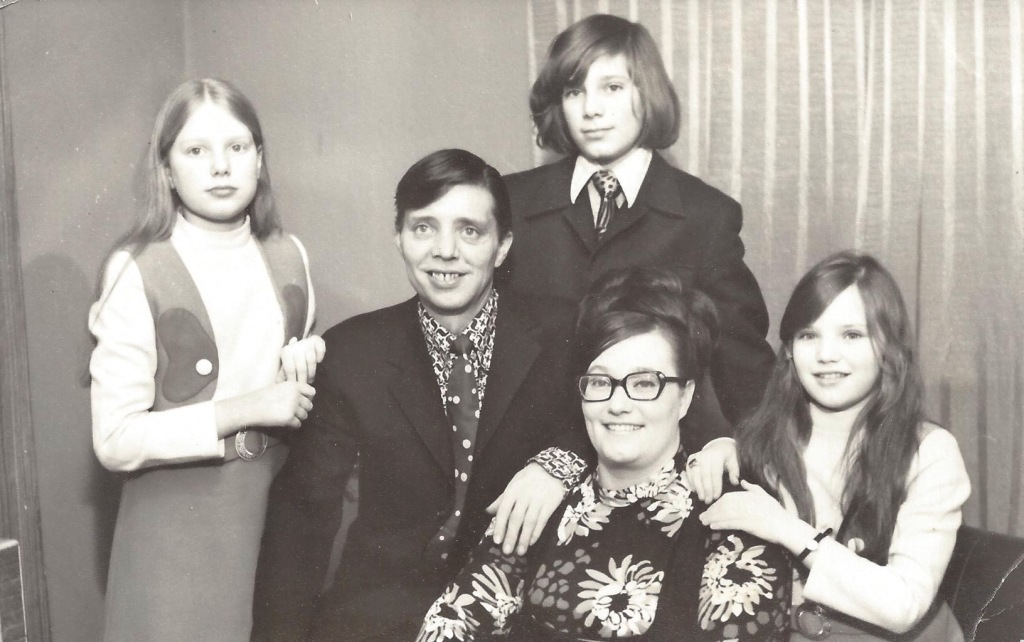
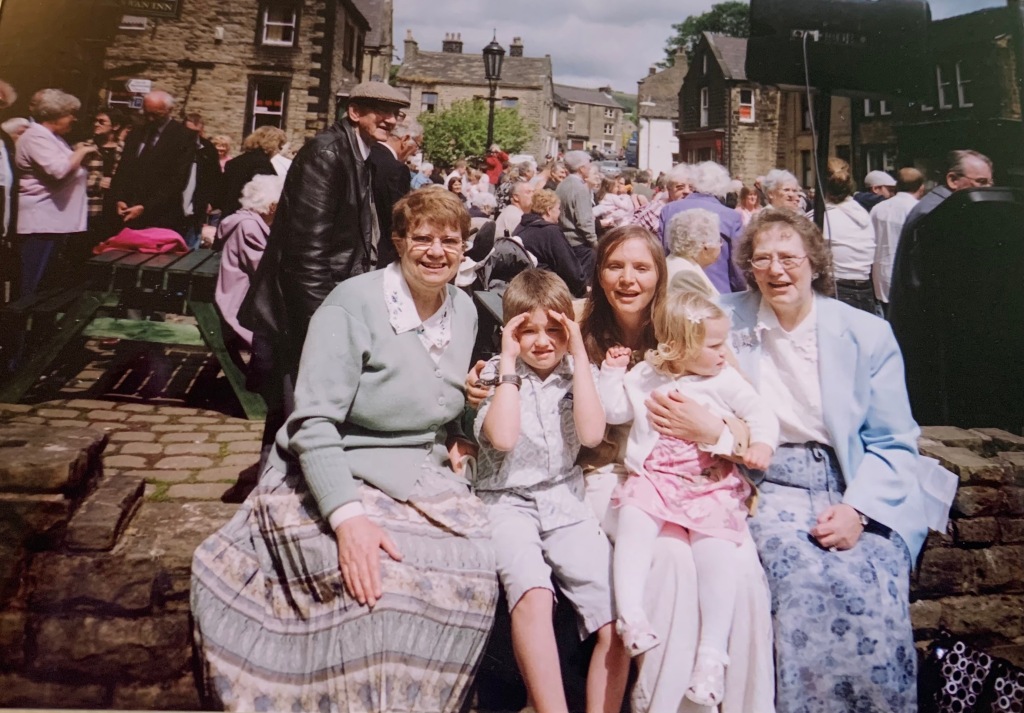
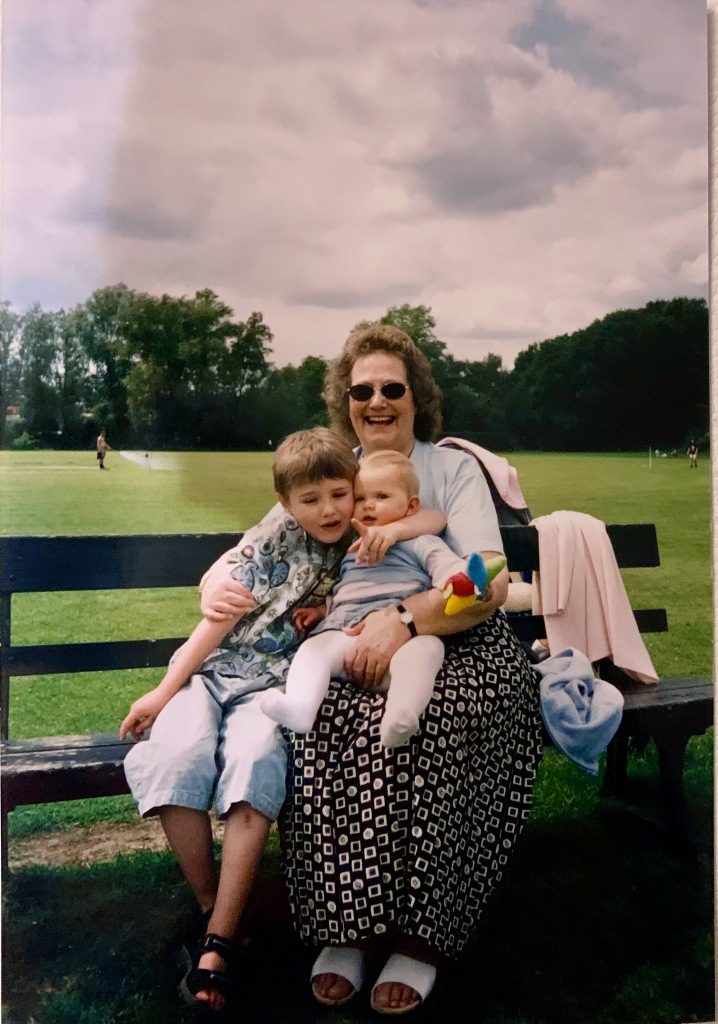
Aunty Mavis, Kito, Louise, Luella, and Mum Whitsuntide 2003Kito, Irene (Nana), and Luella 2002
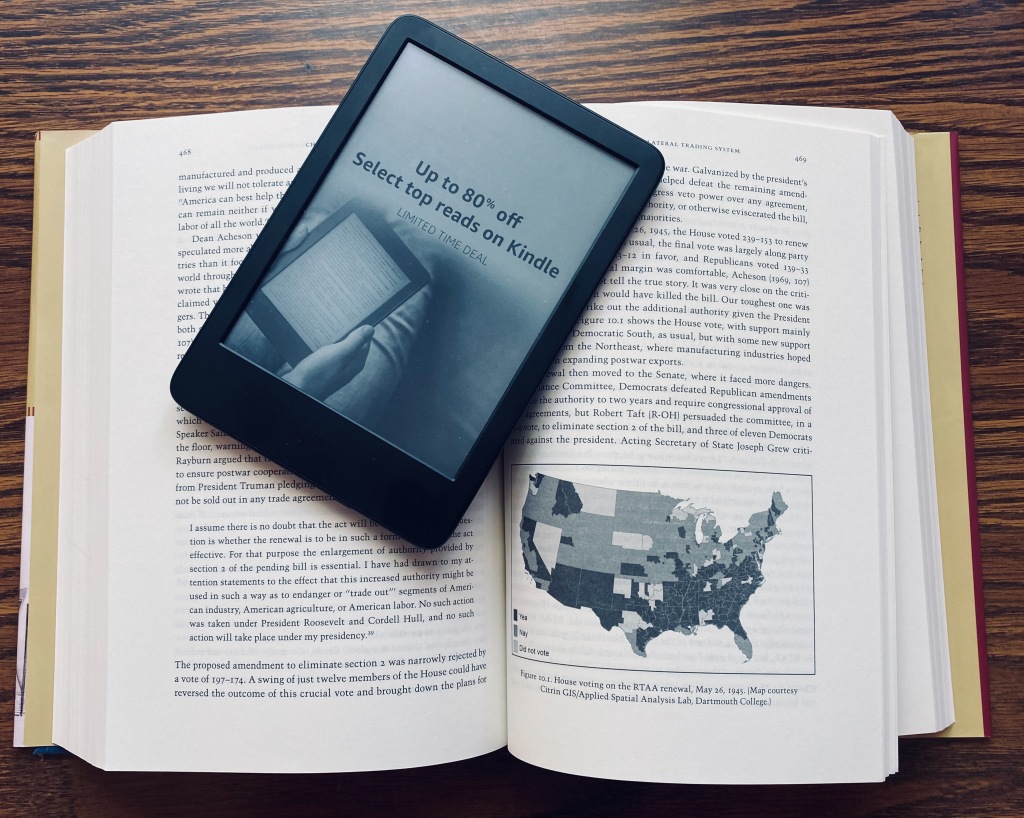
The Wall Street Journal recently reported that Baby Boomers like me prefer to read books on their Kindles while their children and grandchildren prefer real books made of cloth and paper. It seems like it should be the other way around, but I can understand the appeal of both modes of reading.
When I bought my first Kindle more than a decade ago, it soon became my primary way of reading books. I even joked for a while that “I don’t read books anymore” and imagined the day that my bookshelves would be mostly empty and brick-and-mortar bookstores would all be closed.
What I’ve liked most about the Kindle is its portability, self-illumination, and note-taking ability. If I go on a trip, this device weighing just a few ounces can literally carry a library of hundreds of books and articles. This is especially useful if it spares me toting a thousand-page tome that can weigh 2 or 3 pounds. In pre-Covid days, while standing on a packed Metro train into work, I could hold on to a pole with one hand and read from my Kindle with the other.
The self-lighting means I don’t need to find a bright corner to read. The “paper white” technology is really amazing in how it backlights the pages. This can allow reading in unusual places! In September 2020, on a backpacking adventure in Colorado, I read a few pages of James Joyce’s Dubliners as I settled for the night in my small tent at 10,700 feet. It would have been awkward to read a real book under an electric lamp (as well as carrying the additional weight in my backpack). Self-lighting also helps if you want to read in bed without disturbing a spouse who can’t sleep with the lights on.
With the Kindle, I can easily highlight passages and type in notes or comments on the page I’m reading. I know I can do the same with a pen or pencil in a real book, but with the Kindle I can download the highlights and notes to my laptop. This is especially useful if I’m writing a review for the blog or a publication. The Kindle allows me to export my notes via email, and then I can cut and paste them into a Word document. No retyping required.
As a bonus, the Kindle allows me to look up unfamiliar words instantly and it even keeps them stored in a “Vocabulary Builder” list that you can review in the form of flash cards. Over the years I’ve accumulated about 700 words on my list, e.g. palimpsest, aperitif, phlogiston, escutcheon, impecunious, objurgate, alpenglow, and gewgaw. (OK, I can already imagine some readers thinking, “He doesn’t know what THAT word means?”)
Despite all those advantages, I’ve found myself in recent years turning back to old fashioned books for more of my reading. Yes, there really is something pleasurable about turning paper pages in a book resting on your lap. And since I retired in 2020, I’ve had more time to sit in my favorite chaise lounge at the end of the sofa under a bright LED bulb. Reading on the Metro is no longer a factor.
While a new printed book is usually a few dollars more expensive than the Kindle version, a used printed copy is usually cheaper. To save money, I often order used books from third-party vendors on Amazon. I’ll also browse the basement of the Freeman Store and Museum in Vienna with its collection of used history, biography and fiction books (hardback $2, paperback $1).
If a book is heavy in photos or graphs, a real book is better. Kindle can display graphs and tables, but not in color and not always in a convenient format. Real books can also be more easily loaned or given away than Kindle books. And physical books are better in a reading group. If someone refers to “the quote at the bottom of page 179,” I can more quickly turn to it with an actual book than with a Kindle.
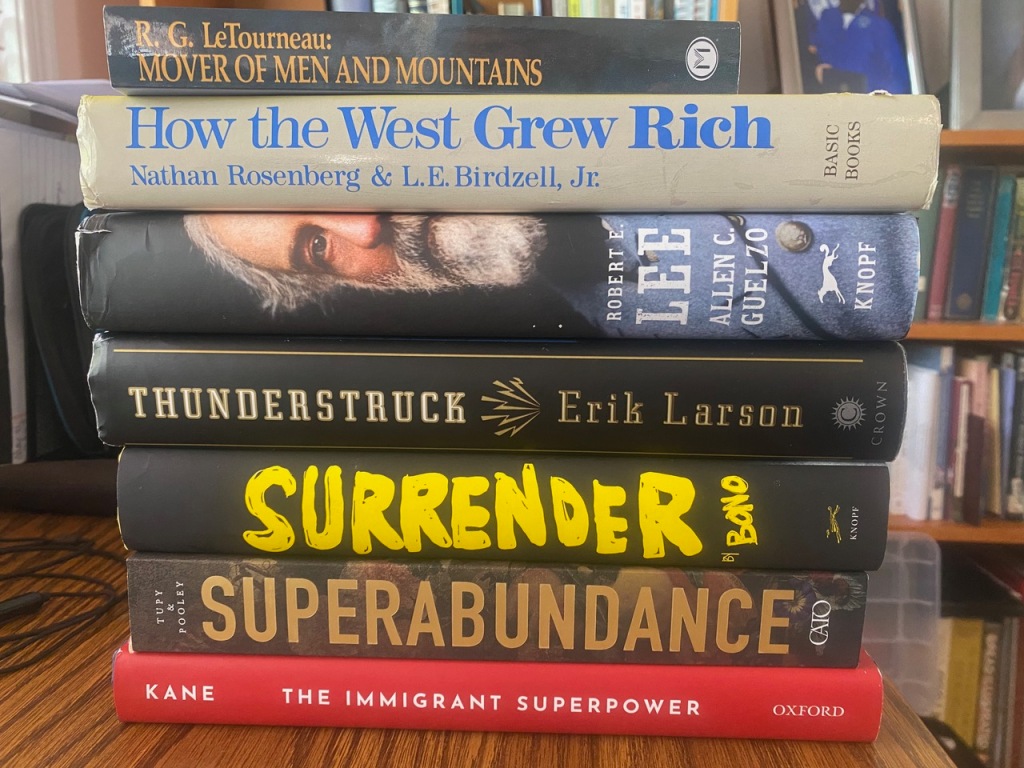
Real books do take up a lot of space and they’re heavy to move. We still have a few hundred on the bookshelves in our living room and more children’s books stored in a closet. I’ve culled our books in recent years by sending photos of them to people I know and asking if they want them for free. (See the photo below that I recently sent out.) I also drop them off at the Freeman Store or at a charity shop for resale. To prevent books from accumulating, I try to follow a “just in time” inventory approach by not buying one unless I’m planning to read it in the next three months. The Goodreads website is a great way to keep a virtual library of books that I might want to read one day without actually buying the books. (My “Want to Read” list has grown to an overly ambitious 494 and is probably due for a cull itself.)
I’ll still buy and read books on Kindle, but they’ve become the exception rather than the rule. Of the 40 books I read last year, 5 were on the Kindle. Of the 20 I’ve read so far this year, 4 have been on Kindle. So as an economist would say, my “revealed preference” is for physical books. But I can go either way, depending on the book and circumstances. When you’re lost in a good read, it doesn’t really matter how the words are formed before your eyes, whether by ink or electrons!
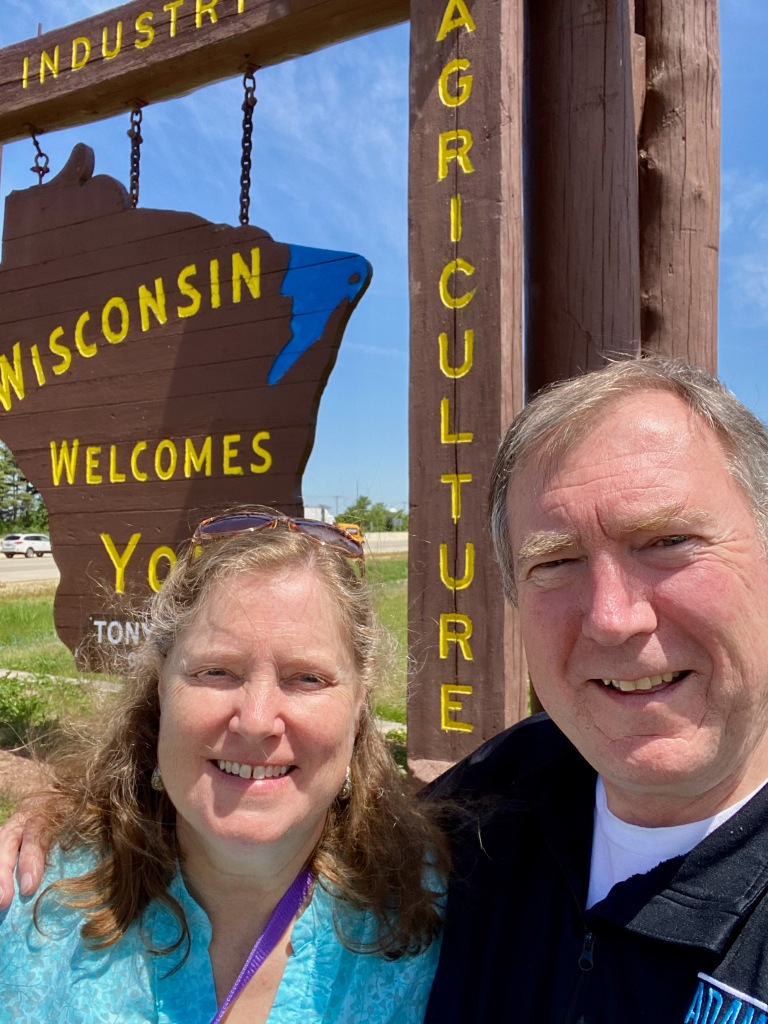
Elizabeth and I hit the road at the end of May for a six-day, 2,000-mile driving trip to my birth state of Wisconsin and back.
On the way out, we stayed overnight in Elkhart, Indiana, known as the “RV Capital of the World.” More than 80 percent of RVs built in the world are made in Elkhart County, so it’s the fitting home of the RV/Mobile Home Museum and Hall of Fame. As readers know, Elizabeth and I saw a lot of the United States and Canada in our 30-foot travel trailer in 2021-22. (We sold it in January.) Since we were just passing through town for the night, we weren’t able to visit the museum, but we were impressed with Elkhart’s thriving downtown and riverfront. (Two other museums we saw signs for on our trip but were not able to visit were the Sock Monkey Museum near Rockford Ill. and the Museum of Root Beer in Wisconsin Dells, Wis.!)
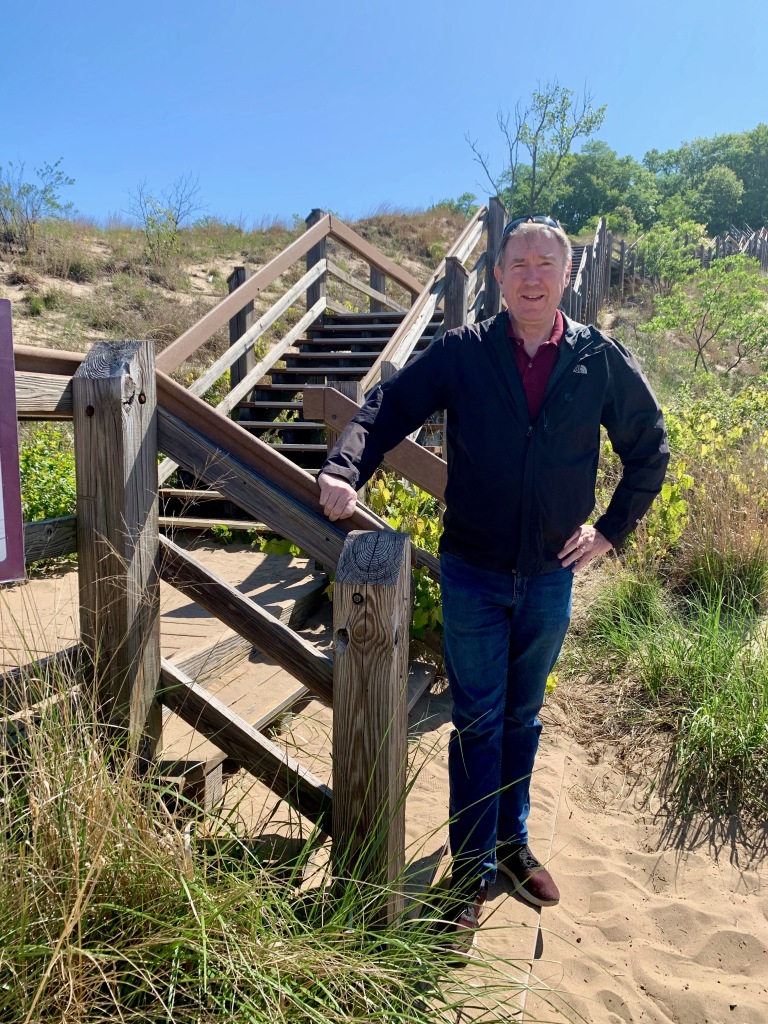
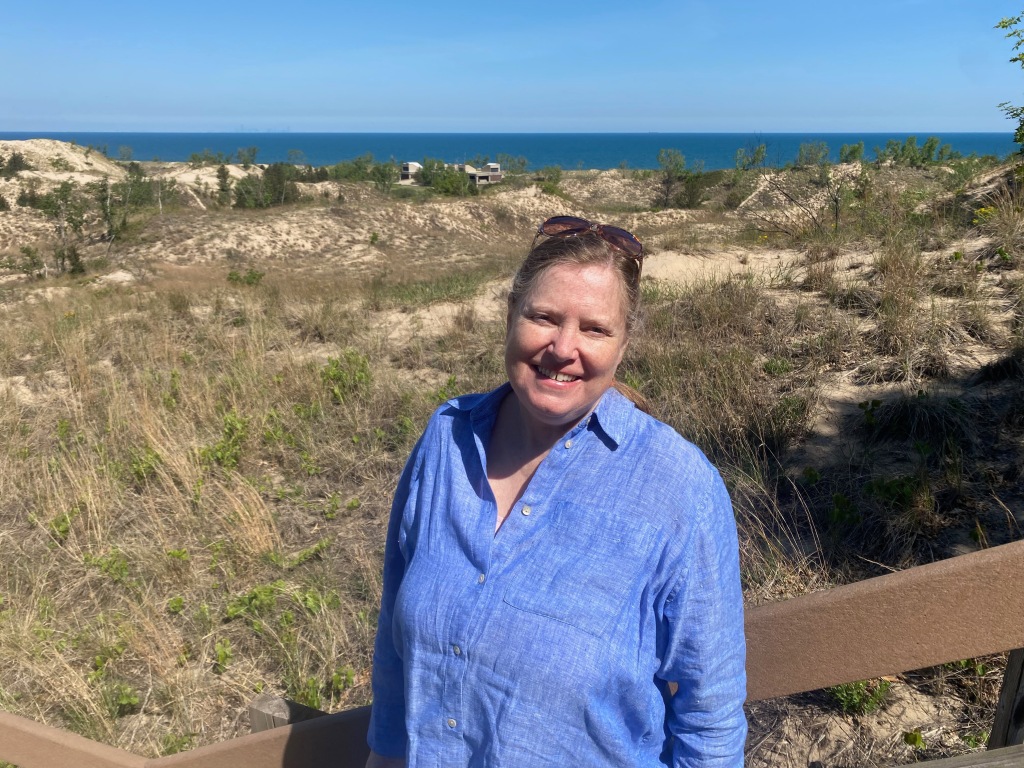
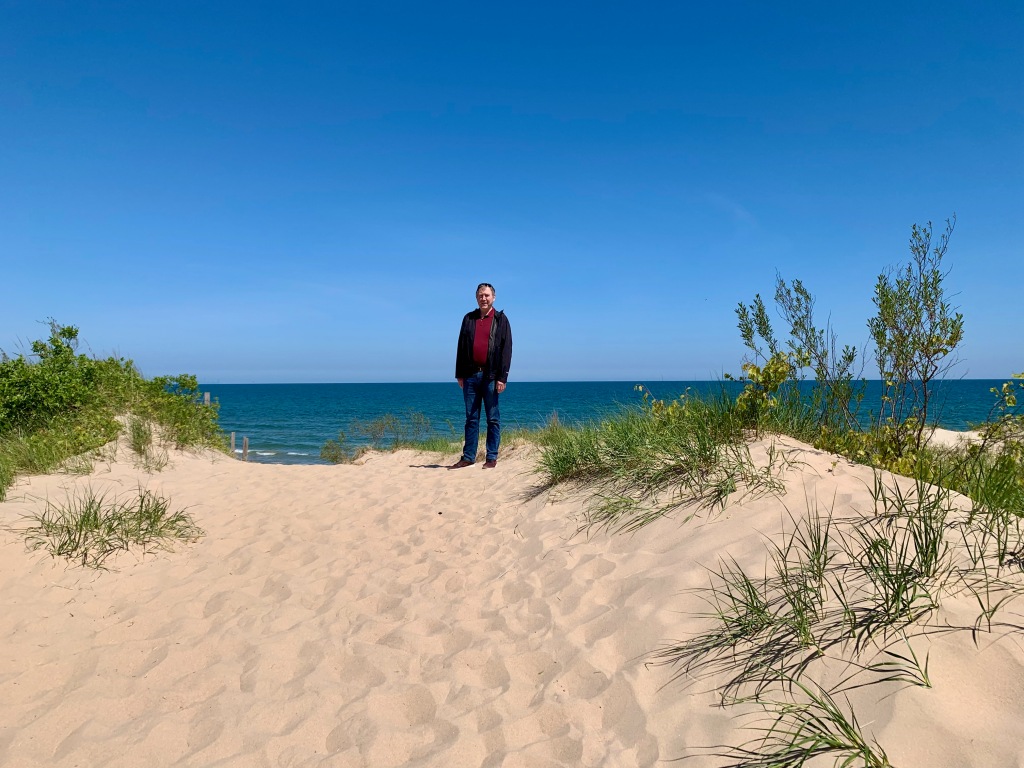
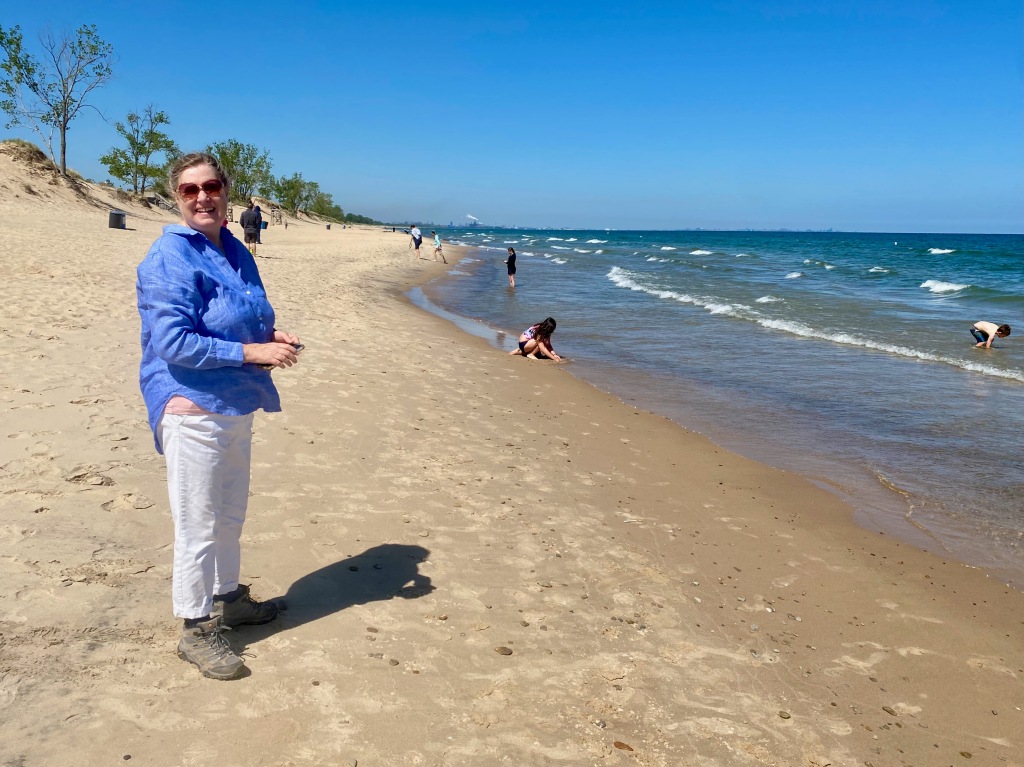
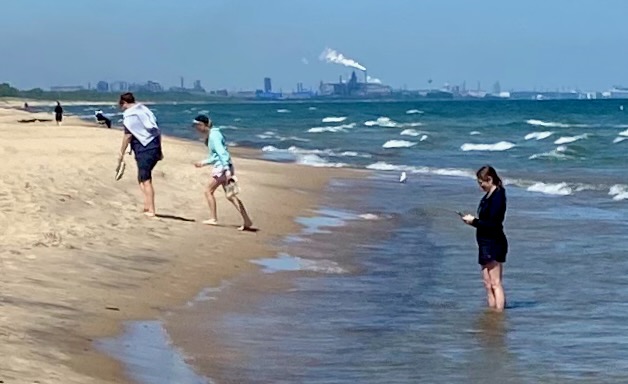
Between Elkhart and Chicago, along the shore of Lake Michigan, lies the Indiana Dunes National Park. It was only about 10 minutes off the freeway. We took the 1-mile Dune Succession Trail Loop, climbing the wooded steps that carried us over Diana’s Dune and down to the lakefront. The beach was clean and spotted with tourists willing to brave the water. The top of Lake Michigan lies 307 miles to north and the visible skyline of Chicago 28 miles to the west northwest. You can see the outlines of factories along the coast in either direction. Indiana Dunes became a national lakeshore in 1966 and a national park only in 2019 when then-President Trump signed an omnibus spending bill.
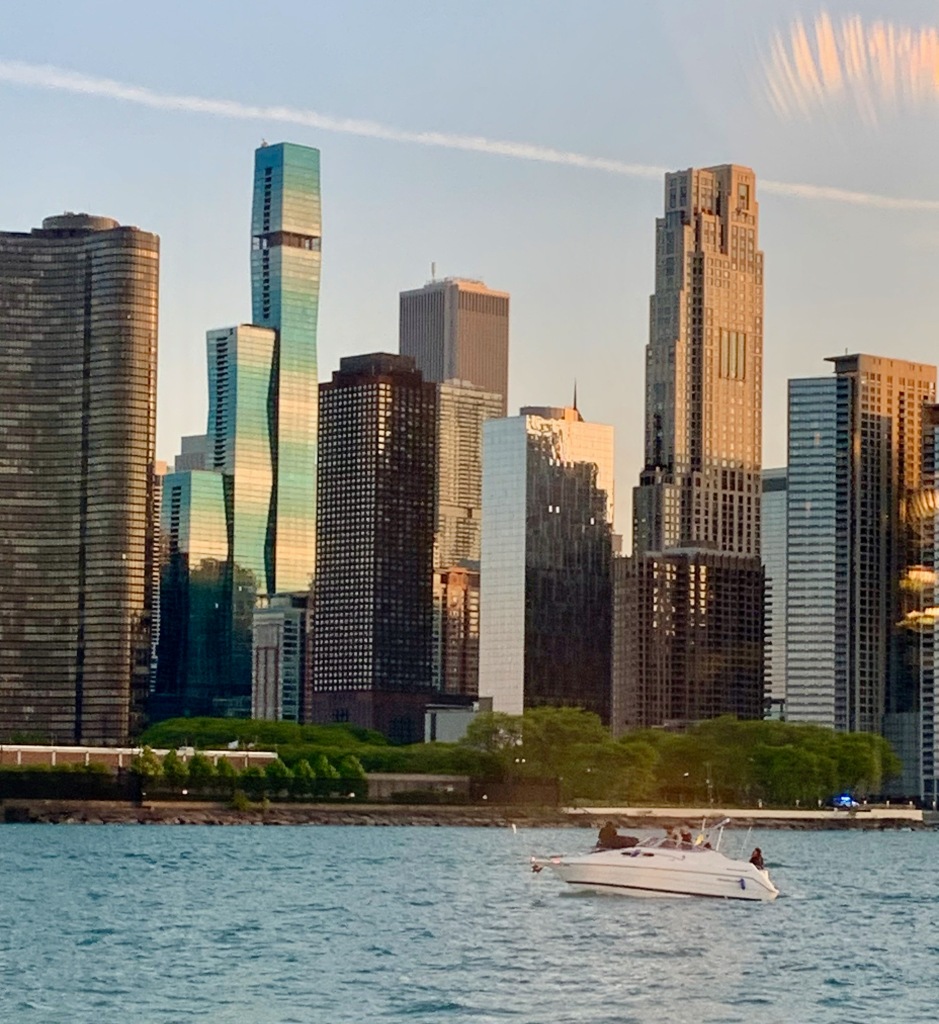
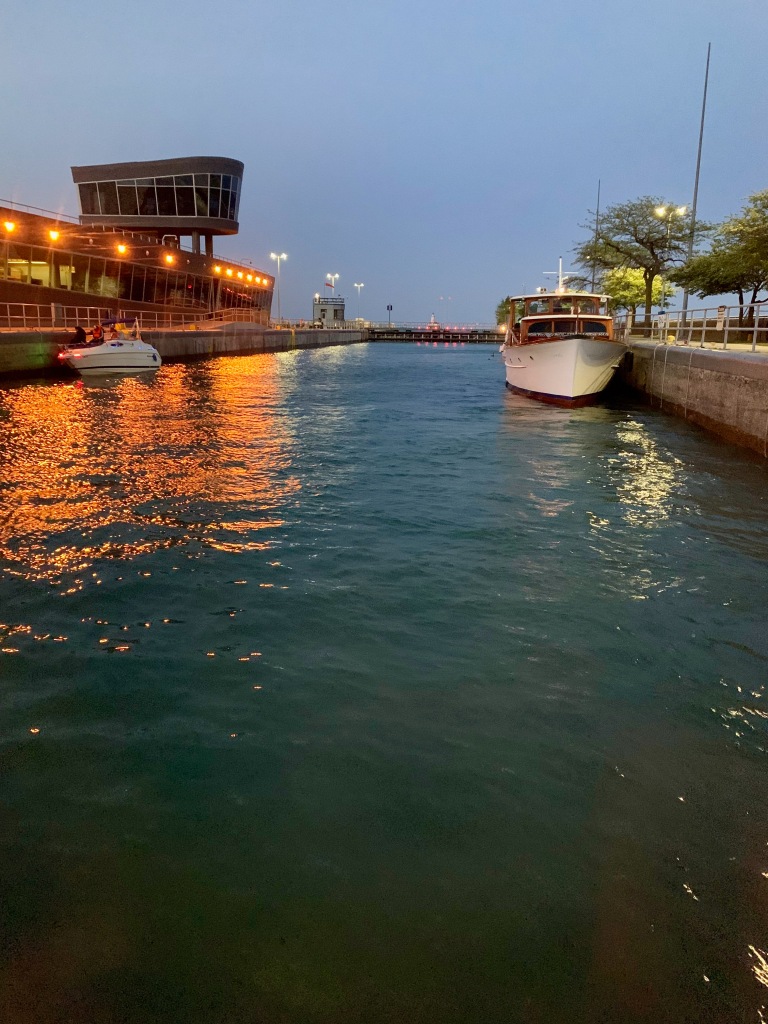
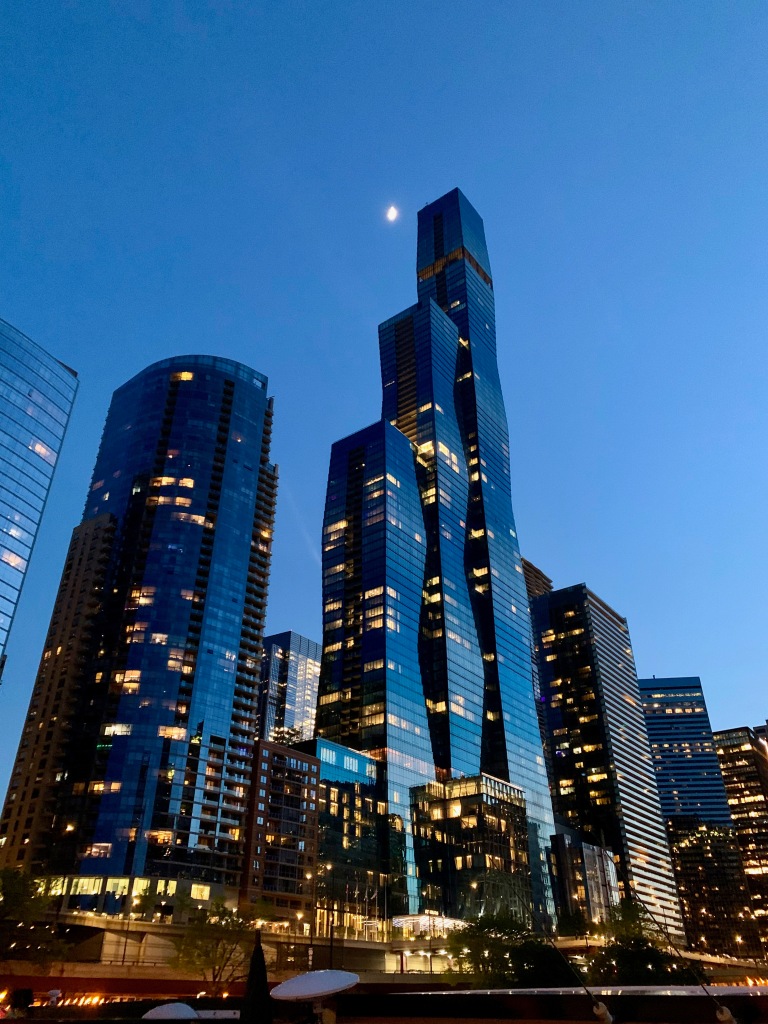
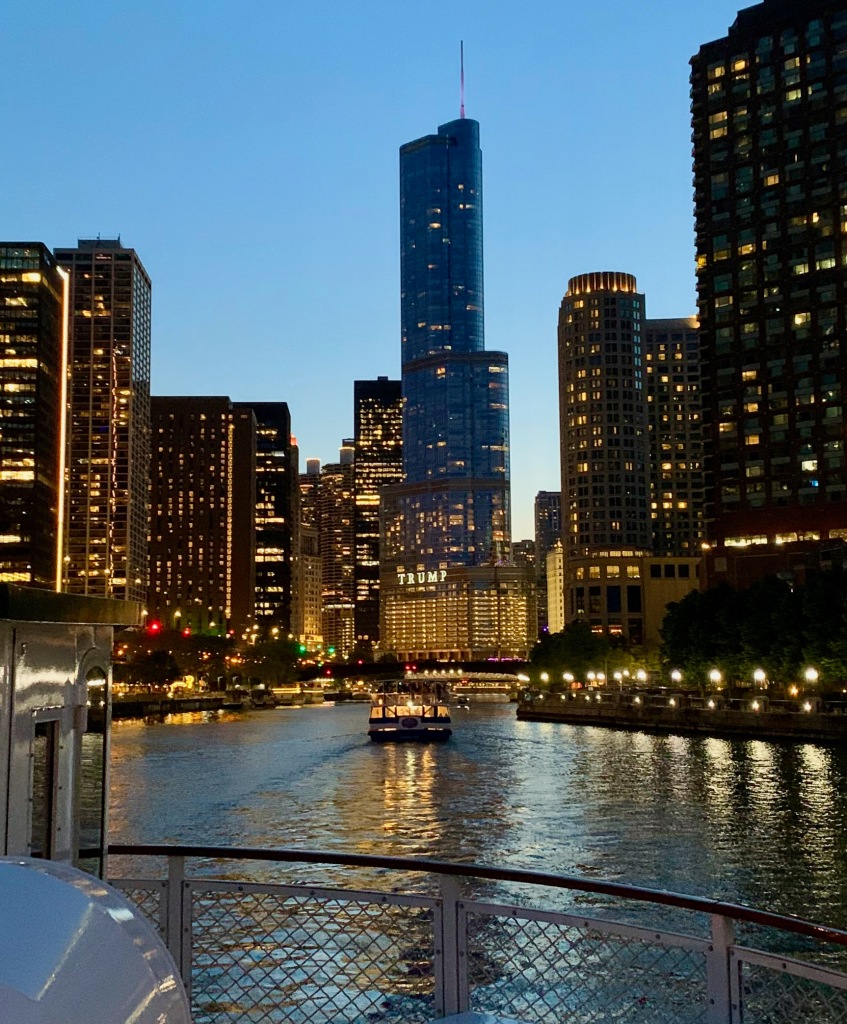
Our journey continued with an overnight stop in Chicago, a place Elizabeth had never visited. In our short time there we managed to see the Chicago Institute of Art, eat deep dish pizza at Giordanos, and cruise the Chicago River and Lake Michigan at dusk. Among the buildings we admired was the St. Regis, Chicago (formerly the Wanda Vista Tower), a 101-story, 1,198-foot-tall residential building completed in 2020 that is the tallest skyscraper in the world designed by a woman (Jeanne Gang). The curves were achieved not by bending any metal but by setting each floor a few inches off from the one below it. And we could not escape the ever-present Donald Trump, whose name adorns another tall building along the river. To pass from the river to the lake, all boats must transit a huge lock that was originally designed to keep the mucky river water from polluting the cleaner lake that was the source of the city’s drinking water. The lock is so large that several ships and boats can collect inside it before it’s raised or lowered.
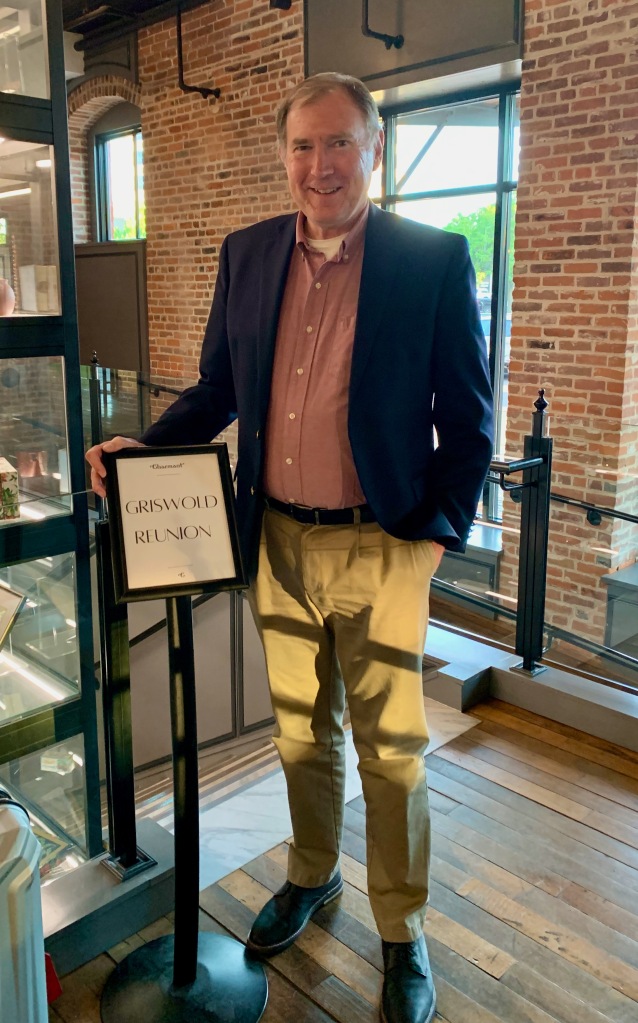
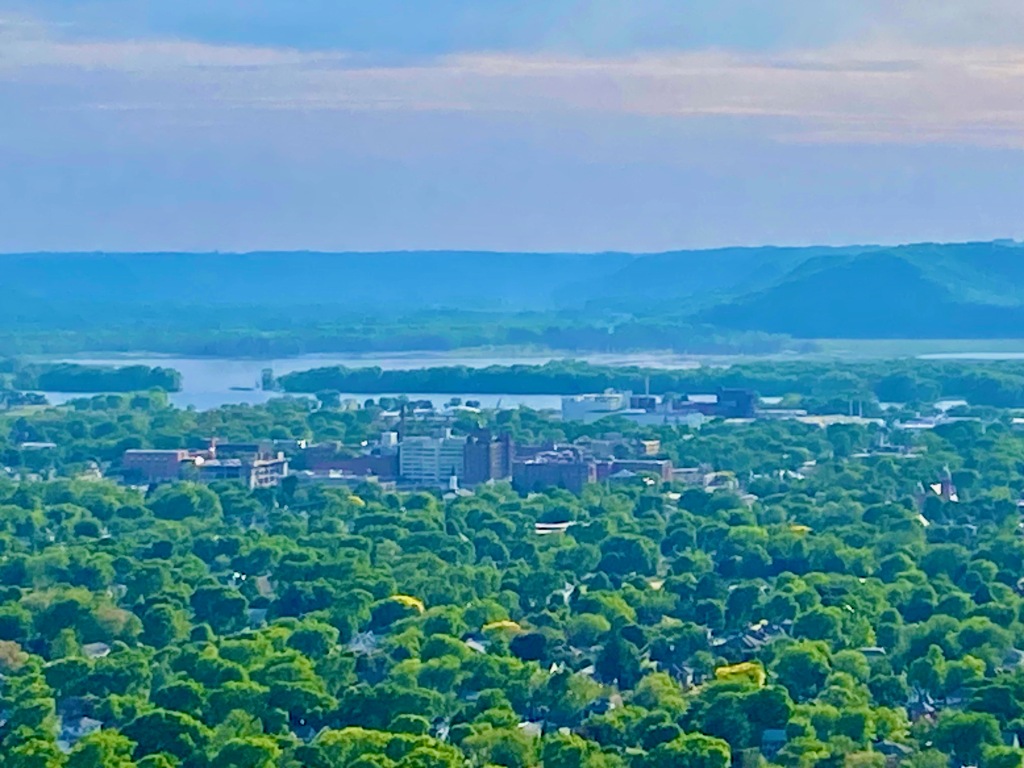
On our third day, Saturday, May 28, we reached my birthplace of La Crosse County, Wisconsin. I haven’t lived there for 45 years, but I relish the memories of growing up there and the beauty of the “Coulee Region.” We were there to attend an extended-family dinner Saturday night and a memorial service on Sunday for a second cousin of mine. He was being laid to rest in the Griswold section of Hamilton Cemetery in my hometown of West Salem. My cousin was a Navy veteran, so it was the fourth memorial I’ve attended there with the military honors of a gun salute and taps. (The other three were for my dad and two of my older brothers.) The cemetery is near where my great grandfather Henry Daniel Griswold established a dairy farm in the 1870s. The family sold the farm in the 1950s and its fertile land has since become a subdivision, with Griswold Avenue the only remaining link to the family.
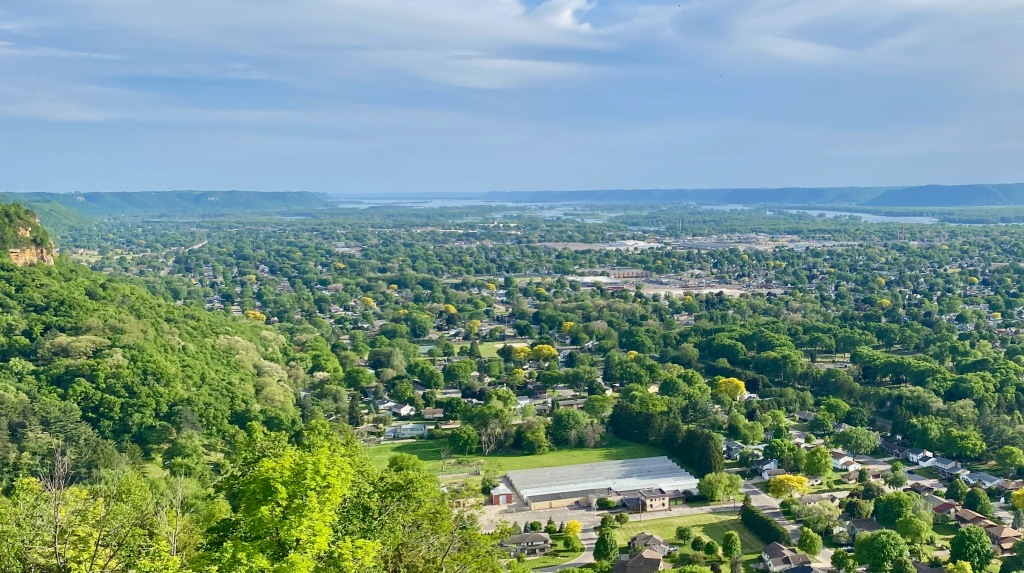
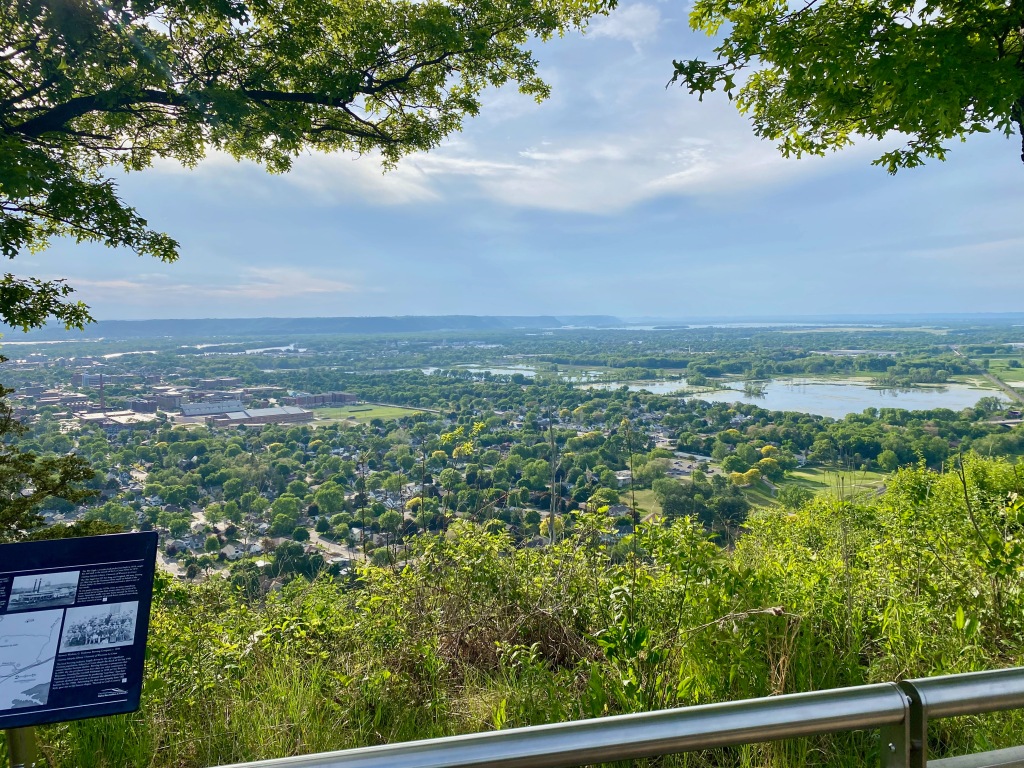
Later Sunday afternoon, Elizabeth and I drove to the top of Grandad Bluff, which stands 700 feet above La Crosse and the Mississippi River Valley. In contrast to the flat prairies of central Minnesota, where I also lived as a kid, western Wisconsin is marked by wooded hills and valleys, known as coulees. It’s called the “Driftless Area,” for reasons I should have learned as a fourth-grader at West Salem Elementary School if I had been a more diligent student! Providing remedial education was one of the display panels on Grandad Bluff that read:
THE DRIFTLESS AREA OF WISCONSIN
Casting a glance up and down the Wisconsin side of the Mississippi River Valley from Grandad Bluff, you can see a portion of the geological region called the Driftless Area. Its ridge-and-valley topography is both beautiful and distinct: there are narrow, steep valleys leading down to larger rivers, winding networks of spring fed streams, and craggy, forested bluffs punctuated with isolated remnants of oak savanna and prairie. The area measures approximately 10,000 square miles and covers much of the southwestern corner of the state. La Crosse is situated on its western edge.
The Driftless Area’s defining characteristic is that it was not covered by the thick ice sheets that advanced out of Canada numerous times over the past 2.6 million years. During the last glacial period about 30,000 years ago, the “Late Wisconsin Glaciation,” ice extended south from Canada. Diverted by the highlands of north-central Wisconsin, the ice sheets bypassed the southwestern section of the state. This created an unglaciated area which looks markedly different from the surrounding regions. Rather than having its hills smoothed over and river valleys filled with glacial sediment, or “drift,” the Driftless Area retained its rugged ridge-and-valley topography. …
Looking around from the top of Grandad Bluff, you can see an immense plateau of the Driftless Area, with numerous narrow, steep valleys carved into it over the millennia by rivers and streams. Locally, these small valleys are known as “coulees,” a term derived from the French word “couler,” to flow. This expression has given rise in recent decades to the name “Coulee Region,” describing the greater La Crosse area.
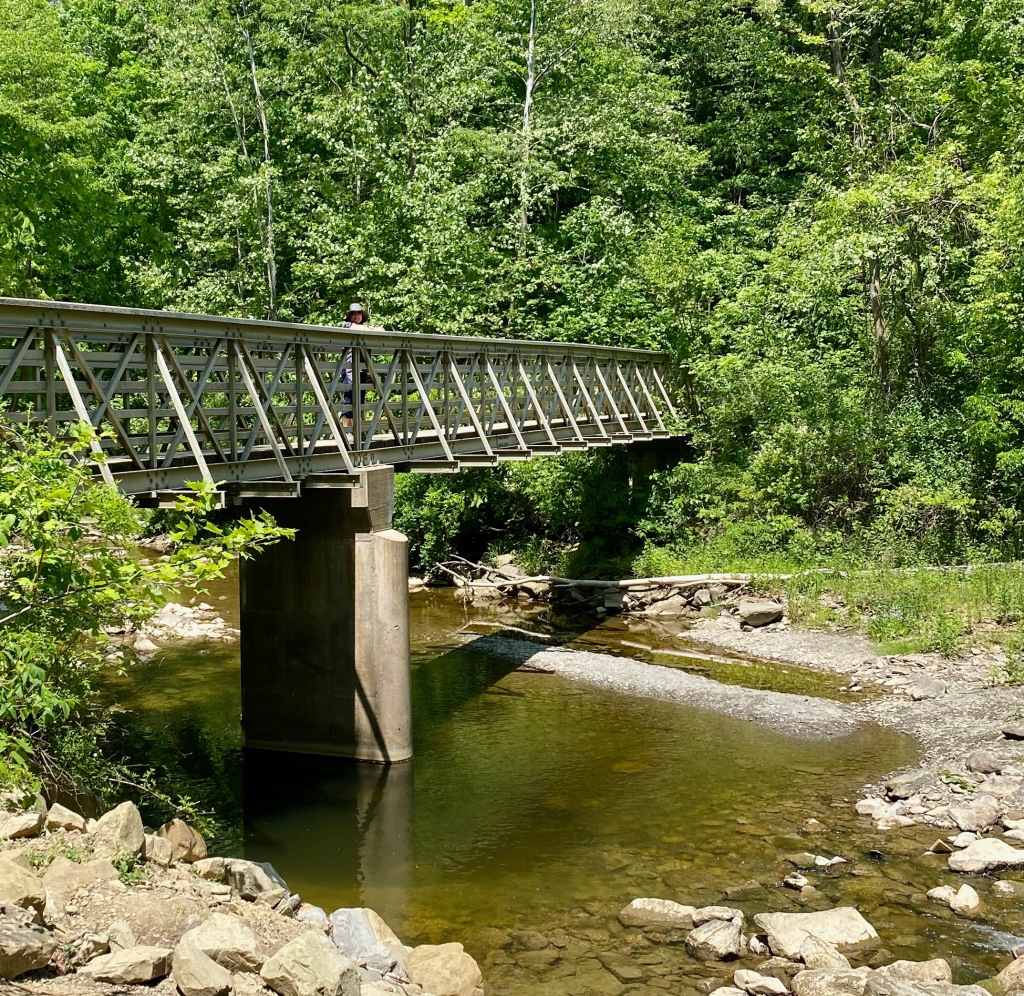
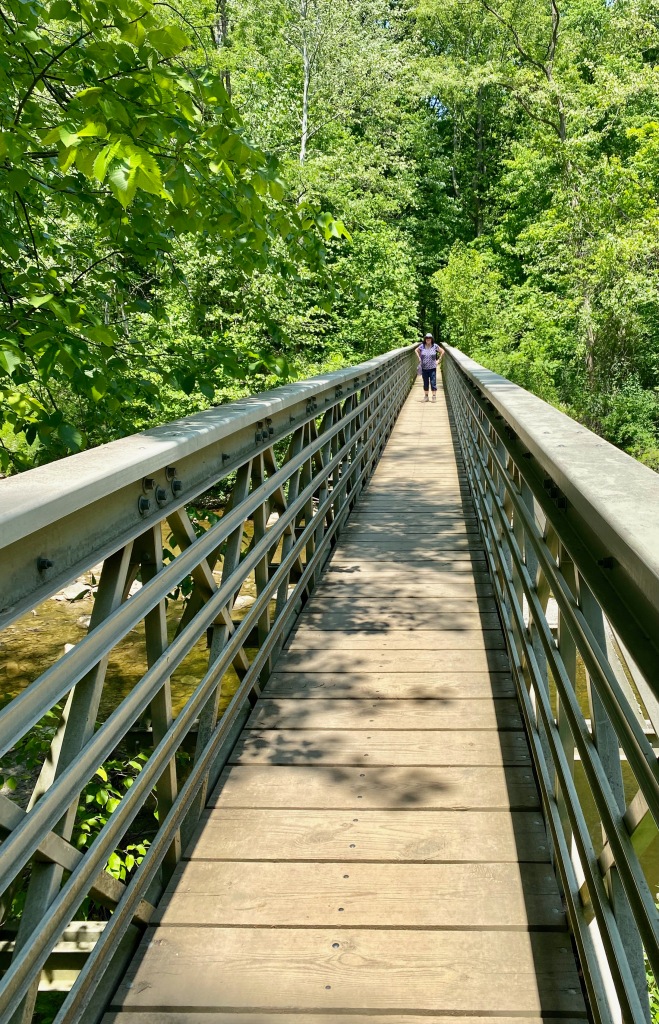
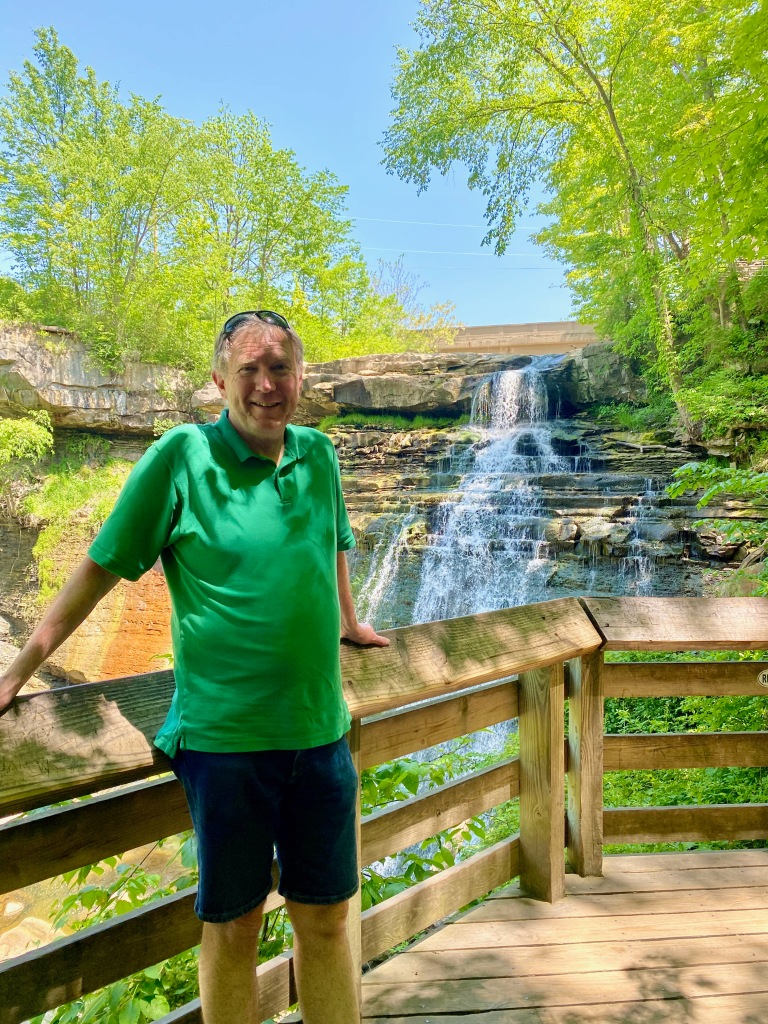
On the trip home, we stopped at another of the lesser-known national parks, Cuyahoga Valley N.P. in Ohio, south of Cleveland. We didn’t have time to visit the main area of the park, but 10 minutes off the freeway we parked at the trailhead for a 1.4-mile loop hike to Brandywine Falls. The trail taking us to the 60-foot falls descended to a bridge across Brandywine Creek and then up to a walkway that took me to an overlook of the falls. Along the way we saw ducks and a big heron in the creek. On a return trip it might be fun to ride bikes along the canal tow path that runs through the main valley. This park is also relatively new. Originally set aside as a National Recreation Area in 1974, it was redesignated a national park in 2000. Although our time was short in both Indiana Dunes and Cuyahoga Valley NPs, our spontaneous stops allowed me to check off no. 34 and no. 35 in national parks I’ve visited. Only 28 more to go!
In 2021 and 2022, Elizabeth and I towed our Keystone Hideout 253RL travel trailer across the country and up into Atlantic Canada. Over those two years, we hauled the RV 17,400 miles behind our F-150 pickup truck. We unhitched and re-hitched the RV at nearly 100 campgrounds. We could not have done it without the master checklist below.
At every stop, we would pull up the checklist on our phones and follow it religiously. Granted, pulling an RV is not rocket science, but as normal Baby Boomers, we didn’t want to rely on perfect recall every time. We sold the RV earlier this year, but I wanted to post our checklist with the thought that it could be useful to other RVers.
The checklist begins with our three phases of breaking camp–closing up the RV, disconnecting it from the campground hook-ups, and hitching it to the truck. We then go through a short list of items before pulling out for the next destination. Once we arrive at the next camp, the checklist covers pulling into the camp site, unhitching the RV, and connecting the utility hookups. Our checklist ends with leaving the RV behind for a day or two, winterizing it, and then de-winterizing it the next spring.
This list evolved from experience–some of it hard-won. We hope this list will help other RVers avoid any miscues and cover all their bases. Feel free to copy it and modify it for your own use.
Breaking camp & hitting the road
Full tank of gas before hitching!
Install side mirror extenders on truck (make sure they aren’t too cold and brittle before fastening to truck)
Interior checklist before travel (Phase 1)
Close all vents and windows
Make sure all doors are secured and cabinets closed
Secure the two easy chairs
Secure loose items in storage compartments
Make sure refrigerator doors are closed and latched
Latch bedroom door, and close bathroom door.
Turn off main heat/AC.
Turn off water heater
Empty gray and black holding tanks
Disconnect and store sewer hoses
Check that slide out roof is free of debris
Retract slide out after clearing path of any floor debris
Turn all circuit breakers to off
Keep code handy for RV park bathrooms
Retract both sets of stairs
Check that both outside doors are shut tight and locked
External checklist (Phase 2)
Close propane tank valve
Disconnect cable TV
Disconnect water hose
Disconnect electrical cable
Raise both stabilizers
Hitching up! Once RV is closed and stabilizers retracted (Phase 3):
Connect receiver ball to truck
Raise RV hitch to level above ball (may be there already)
Back truck ball under hitch
Lower RV so hitch fits on ball, ball snug to front, full weight on truck— enough so pin hitch goes all the way forward
Fasten hitch ball latch and pin (pull truck slightly forward if needed)
Raise RV to attach support bars—only get it high enough as needed—to middle of bar code on crow bar
Attach left support bar, fasten bar with pin
Repeat for support bar on other side
Retract tongue jack to be level with bars; full weight of RV falls on ball hitch
Remove and store leveler blocks that were under jack
Attach one chain to opposite side
Attach other chain
Attach emergency brake wire
Plug in signal cord
Remove chocks from tires
Make sure pass through doors are locked before departing
Check turn signals and break lights for proper operation
Pull forward slightly and manually check trailer brakes
Remove level adjuster blocks from under tires (if used) when free
Before pulling out and while driving
Adjust mirror extension
Pray!
Cue up Google maps for next destination— Identify potential stopping points along the way if needed
Engage tow haul button!
Along the way
Check vehicle hitching set at every rest stop
When arriving at campground
Pull RV forward or back it to most level spot
Leave at least four feet clearing for slide-out
If backing in, back in looking over left shoulder for best driver view
Get out and look (or GOAL, for short)!
Before unhitching RV, check level of interior
Adjust left to right with leveler blocks if needed
Once RV is level, place wheel chocks
Unhitching RV from truck
Disconnect signal cord
Disconnect right and left chains
Disconnect emergency brake wire
Place two or more levelers underneath tongue jack
Raise RV to ease removal of support bars—no higher!
Detach left support bar
Detach right support bar
Stow support bars and hitches in pass through
Lower RV enough that weight of RV rests fully on the ball
Disconnect hitch and pin from receiver
Reattach pin
Raise RV until hitch clears ball to allow truck to drive away
Drive truck away from RV
Recheck the interior level gauge front and back—adjust tongue jack as needed
Lower stabilizers to engage the ground
Connecting hookups at campground
Make sure circuit breaker is turned off at campsite electrical hookup
Connect surge protector and RV power cord to campsite 120 V/30 amp outlet
Turn campsite circuit breaker on
Check that the two green lights in surge protector are glowing
Open valve on propane gas tank
Connect water surge regulator at source of water supply, then hose to unit
Turn on camp water valve
Open the main door to RV and lower step
Turn on circuit breakers—listen for beep of microwave
Check if refrigerator light is on
Open slide out
Remove receiver from truck and store
Before leaving RV behind at campsite for extended period:
Turn off lights
Turn off heat
Turn off fireplace
Close curtains
Turn off propane tank
Retract awning
Lock pass thru
Lock doors
Winterizing/storage
Make sure to have on hand:
2 gallons pink non-toxic RV antifreeze
Tube for feeding water pump
Steps to winterize RV
Drain the water heater. Remove rod and open release valve. Be sure water is not hot!
Open red and blue low-point drains outside near the waste water drain.
Open all hot and cold faucets, including outside shower.
Open the fresh water drain on the undercarriage and let water fully drain.
Turn off all faucets that you opened in Step 3, including low-point drains outside.
Turn the water heater bypass valve to “on.” This is the white T switch at the front of the heater.
Remove the access panel to the water pump.
Connect the anti-freeze to the intake valve of the pump via pick-up tube.
Turn on the water pump.
Open each faucet and flush the toilet until pink anti-freeze is flowing through the line.
Turn off the water pump.
Pour a quart of the antifreeze into the toilet to preserve seal.
Turn off and clean out refrigerator and leave doors ajar.
Remove all perishables and stuff we want.
Check for leaks under sink.
Close all blinds.
Open awning to dry and then retract.
Fit wheel covers.
Place chalks on tires.
Disconnect battery.
Double check that doors and pass through are locked.
When removing RV from storage:
Reconnect battery.
Connect to electricity to charge battery.
Screw rod back into water heater.
Turn off water heater bypass.
Connect to city water or add to water tank.
Turn on water heater.
Run all taps until pink antifreeze is flushed out.
Our time on Prince Edward Island this week was cut short by the threat of Hurricane Fiona, but we did manage to enjoy its red sand beaches, a walk in the capital of Charlottetown, and a visit to the Anne of Green Gables house.
If you’re a fan of the 1908 book Anne of Green Gables and its author Lucy Maud Montgomery, this is the place to visit. We started our day on Wednesday by driving just a few miles down the road to the Anne of Green Gables Heritage Place. The house and visitor center are located near the small town of Cavendish on the north central coast of the island, where Montgomery grew up. The house belonged to a cousin of hers from the Macneill family. Montgomery was a frequent visitor and the charming house and surrounding woods became the imaginary model for the home that took in an 11-year-old red-headed orphan from Halifax.
The Canadian government has refurbished the house with green shutters and trim to match the house Montgomery describes in the book. It has also been furnished with period pieces and the rooms arranged to reflect the life of Anne’s little family. You can see Marilla Cuthbert’s room featuring the broach and shawl from one of the more memorable chapters in the book. Park staff inside the house did a wonderful job of relating the objects in the house to the book as well as the author’s life. From the house we took two lovely walks in the nearby woods that were favorites of both Montgomery and her fictional teen—the Haunted Woods and Lover’s Lane.
Elizabeth and I learned a lot at the visitor’s center about Montgomery’s life and her famous book. The manuscript for Anne of Green Gables was rejected by five publishers before being accepted and becoming an international bestseller. One wall display shows translated versions of the book in 40 different languages. I found it telling that several of the translated works—including those in Russian, Romanian, Czech, Serbian and Ukrainian—were not published until the 1990s, after communism ended in those places. Apparently, even the story of a lively, adventurous and imaginative young girl living on a private farm on a small island was too much for the communist censors!
Just down the road from the Heritage Place is the Cavendish Cemetery, where Montgomery and her husband are buried. We noticed that many of the headstones bore Scottish names, including many with the names of her Macneill relatives. The copy editor in me did spot one interesting anomaly on the joint headstone for Montgomery and her husband, Rev. MacDonald. (See if you can spot it in the photo.) It speaks well of Montgomery’s character and modesty that her headstone is not one made for a world-famous author but for the faithful wife of a Presbyterian minister.
That afternoon we took advantage of a break in the weather to drive 40 minutes to the provincial capital and port city of Charlottetown. It’s a pleasant city of 35,000 with a boardwalk and a pedestrian shopping district called Victoria Row. Elizabeth spent time in the Northern Watters Knitwear and Tartan Shop where she admired the skillful work of the employees on the knitting machines at the back of the store. The boardwalk along the waterfront connects up to the Irish Settlers Memorial, dedicated to the thousands of Irish immigrants who came to the island, and further up to Victoria Park.
During our time at the campsite, we strolled the distinctive beaches of Prince Edward Island National Park. The beach sand, rocks, and small cliffs are all of a reddish hue and the beach is strewn with small, flat rocks ideal for skipping–if only there had been any still waters nearby! We walked the beach our first evening there as the sun was setting, and I took a longer walk this morning as the sun was rising. For photos, I experimented with a few different iPhone settings, such as “Vivid” and “Dramatic.” If that resulted in images a bit more idealized than reality, that only seems fitting for the idyllic setting of Anne of Green Gables! (Less dramatic but just as beautiful in its own way was the rolling green farmland of PEI–corn and potato fields, giant rolls of hay, and cows grazing in pastures.)
* * *
We had planned to stay on PEI until Friday, but the campground told us that they would be closing today (Thursday) out of “an abundance of caution” at the approach of the storm expected to arrive by the weekend. So we hitched up this morning and drove back across the 8-mile-long Confederation Bridge and on to our current campsite in central New Brunswick. Tomorrow we plan to drive across the border into Maine and then make our way home over the next week.
We’ve loved our time in Canada and highly recommend that you consider a visit. If you have your Covid shots and a passport, crossing the border is no problem. Gasoline and other items seemed a bit more expensive than in the states, even with the strong dollar, but not so much that it should put anybody off. You also need to convert from metric and Celsius to American here, but that’s true of virtually everywhere else you might go in the world. Anyway, that’s all I have to say about Canada other than it’s a beautiful place and friendly to American tourists and we’re glad we visited.